We've got you cornered with a fun new twist on bookmarks -- in-the-hoop corner bookmarks! They're terrific for marking a page in your favorite book, and they're perfect to give as a clever little gift.
Supplies
Project Needs & Notes:
- 1/4 yard of cotton or other fabric (for front piece)
- 1/4 yard of cotton, or other fabric (for the back piece)
- Medium weight cutaway stabilizer
- Tear-away stabilizer
- Temporary spray adhesive (such as Gunold's KK100)
Designs featured in this tutorial include:
- Watermelon Corner Bookmark (In-the-Hoop)
Designs Used
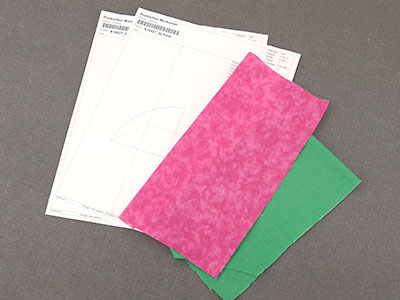
This in-the-hoop design has multiple files. One is a full embroidery file. The others are dieline files marked with the letters DL.
Dielines are used to cut the fabric to the right shape and size. Open the dieline files with an embroidery software. Learn more about working with dieline files by watching this video
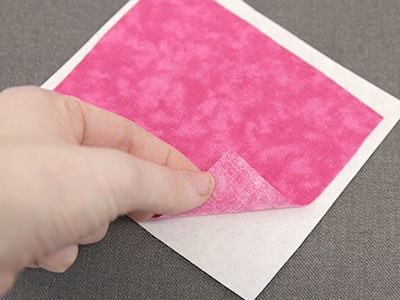
To make the front fabric piece, spray a piece of cut away stabilizer with temporary spray adhesive. Then smooth it onto the wrong side of the front piece fabric.
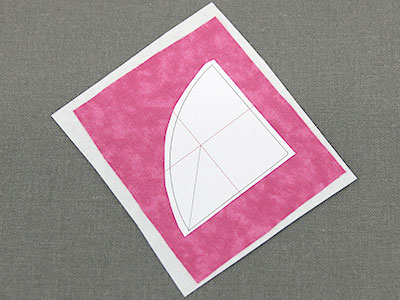
Then, spray the backside of the paper dieline for the front piece with temporary spray adhesive. Then smooth it onto the right side of the fabric.
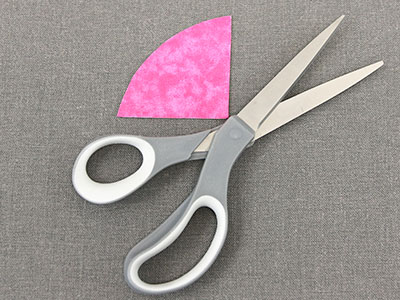
Cut out the shape to create the front fabric piece..
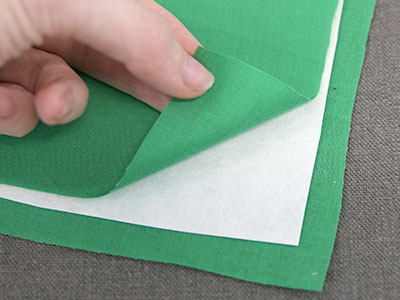
For the back fabric piece, take a piece of cutaway stabilizer, spray it with temporary spray adhesive, and smooth it onto the wrong side of a piece of fabric.
Then spray the opposite side of the stabilizer, and smooth it onto the wrong side of another piece of fabric. This will make a sandwich of fabric on top, stabilizer in the middle, and fabric on the bottom.
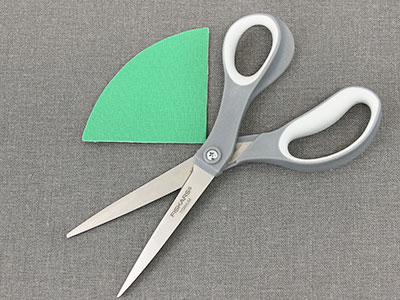
Spray the backside of the back paper dieline, and smooth it onto either side of the sandwich of fabric and stabilizer. Then cut it out to make the back fabric piece.
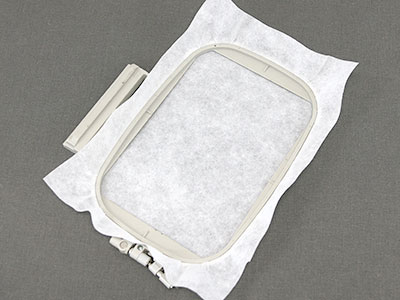
Hoop a piece of tear-away stabilizer firmly.
Make sure it is nice and tight with no wrinkles. Madeira E-Zee 1.5 oz or Floriani Tearaway medium are good options. Those stabilizers are more fibrous, less paper like, and will tear more cleanly.
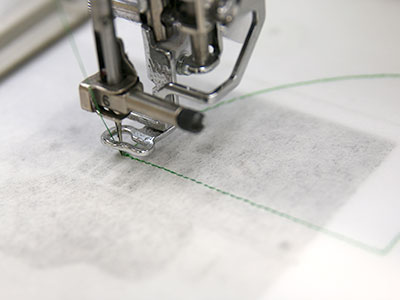
Attach the hoop onto the machine and load the full embroidery file (not the dieline files).
Embroider the design. The first thing to embroider will be the "front piece dieline". This will mark the area on the stabilizer where the front fabric piece is to be placed.
Remove the hoop from the machine, but do not unhoop the stabilizer.
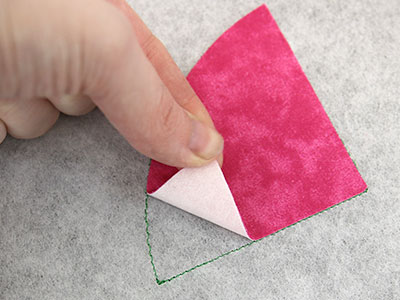
Spray the back of the front piece with temporary adhesive, and smooth it into place inside of the sewn dieline.
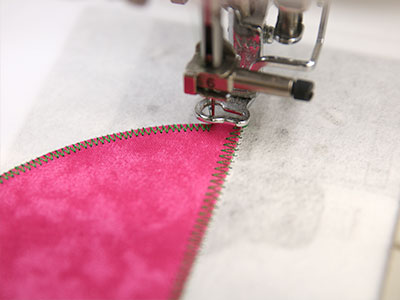
Then attach the hoop back onto the machine and sew the "front piece tackdown" which will hold that fabric piece in place on the hooped stabilizer.
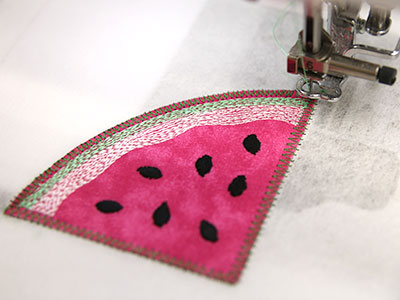
Continue to embroider the inner details of the design. Stop before the embroidering the step called "Front piece boarder".

As the rest of the embroidery will now be seen from both sides, wind a bobbin with the same thread that is being used in the top needle.
If the design uses multiple colors, wind a bobbin for each color.
Place the matching bobbin into the machine.
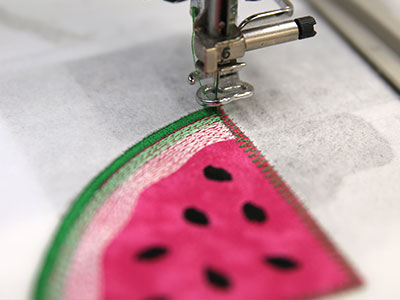
Return the hoop back to the machine and embroider the "Front piece boarder"
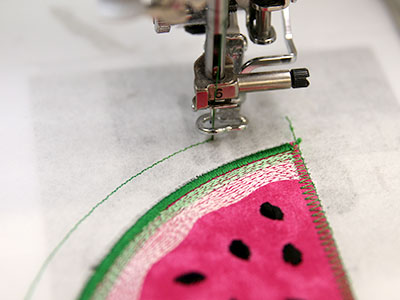
Then embroider the "back piece dieline" which will show where the back piece will be place on the back of the hoop.
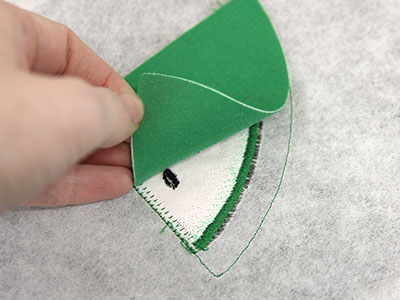
Remove the hoop from the machine without unhooping the stabilizer, and flip it so the back side of the embroidery is facing up.
Spray either side of the back piece with temporary adhesive, and smooth it into place within the dieline.
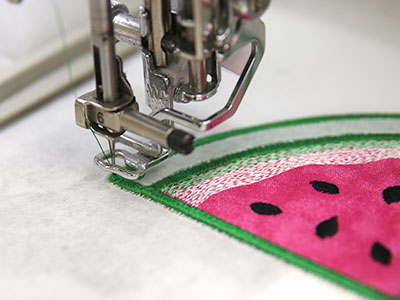
Place the hoop back onto the machine, and embroider the final steps of the design.
The "back piece tackdown" will sew out first, followed by the "finishing edge". Make sure to use matching bobbins for these steps as well.
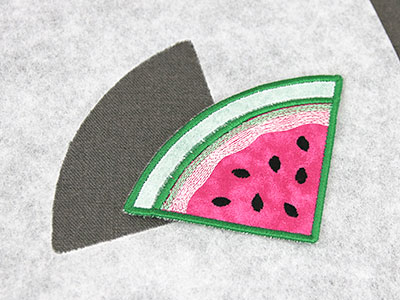
Once the embroidery is finished, unhoop the stabilizer, and remove the excess stabilizer from around the design.
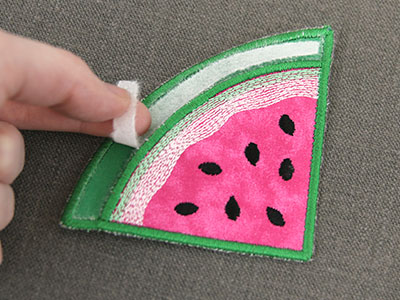
Lastly, tear the bookmark open by removing the small strip of tearaway stabilizer that remains at the top edge.


