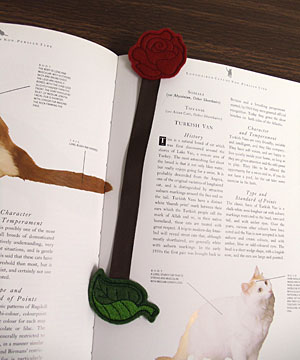
Mix and match crafty cut applique designs to create this adorable bookmark! Friends and family will love receiving bookmarks created to suit their personalities -- and don't forget to make a few for yourself too!
Read below for these free project instructions!
Supplies
Supplies Needed:
**Small pieces of fabric (for front and back; we used craft felt)
**Tear-away stabilizer
**Temporary spray adhesive
**Masking tape
**1/2 inch to 5/8 inch wide ribbon
The designs we used in this project can be found in the A Crafty Cut Bookmarks Design Pack.
Designs Used

When you download a Crafty Cut Bookmark design you will find three files. Two of the files are marked with "_DL" - these are the dieline files. One of these files is marked "_DLFront". This dieline will be used to cut the fabric for the front of the bookmark. The other file is marked as "_DLBack". This dieline will be used to cut the fabric piece for the back of the bookmark. The other file is marked with only an "X" followed by 4 numbers - this is the embroidery file.
If you have embroidery software, create paper templates of the dielines by printing them at full size. If you do not have embroidery software, you may create paper templates by sewing the dielines directly onto the paper. To do this, hoop a piece of paper. Attach the hoop to the machine, load the dieline files, and embroidery them onto the paper.
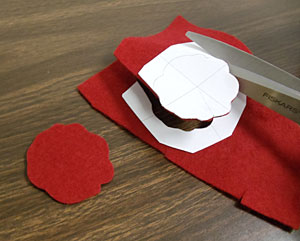
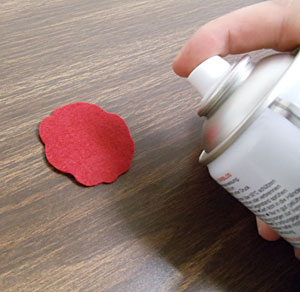
Now we will prepare the fabric pieces. Spray the backside of both the front and back paper templates with a bit of adhesive and smooth it on top of the fabric (we are using craft felt). Then, cut out the shapes.
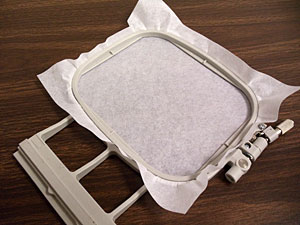
Hoop a piece of tear-away stabilizer.
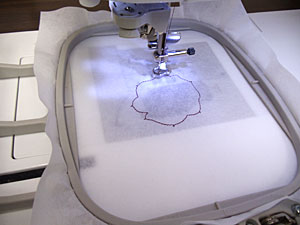
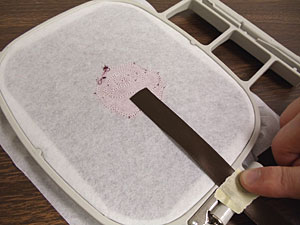
Attach the hoop to the machine and load the first full embroidery design (marked with only an "X" followed by 4 numbers). Embroider the design. The first thing to embroider is another dieline - this is the front fabric dieline.
After the dieline has sewn, stop the machine. Spray the backside of the front fabric piece with adhesive.
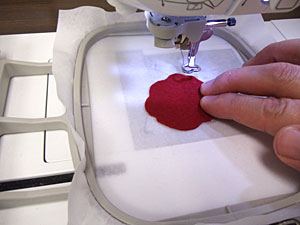
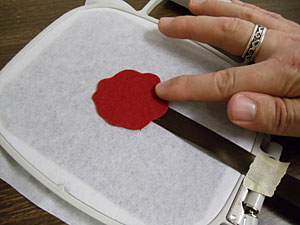
Lay the fabric piece directly inside the dieline shape. The dielines have small "tabs" wherever there is a point or corner on the shape. Align the points or corners of the fabric piece with the tabs on the dieline.
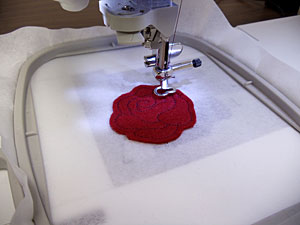
Continue embroidering the design - a tack down stitch will sew next - the tack down binds the fabric piece to the stabilizer for the remainder of the design. Next, all of the inside elements will sew. When you get to the step on the color change sheet that says "back piece tack down" stop the machine and remove the hoop from the machine but do not remove the stabilizer from the hoop.
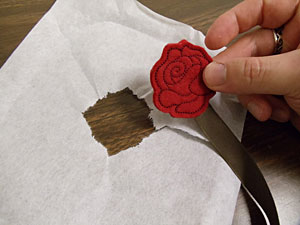
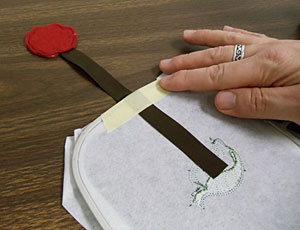
Flip the hoop over to the backside of the embroidery. Then, cut a piece of ribbon to the length you like - we cut our ribbon to 8 inches long. Spray one end of the ribbon with temporary adhesive and press it in place at the bottom of the shape on the backside of the embroidery - allow the end of the ribbon to extend up about 1/2 inch from the bottom edge of the design. Then, secure the ribbon to the outer edge of the hoop with a piece of masking tape to keep the ribbon from being sewn over in the next steps.
Spray the backside of the back fabric piece with adhesive, align it with the shape on the backside of the embroidery (over the ribbon) and press it in place.
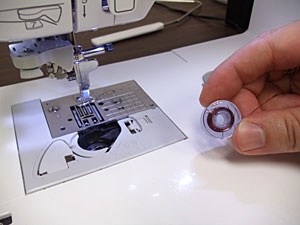
Since both sides of the bookmark will show, wind a bobbin with the same thread as the top for the remaining steps.
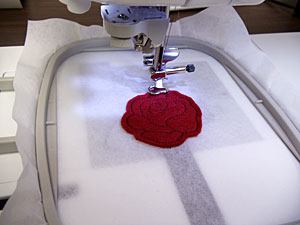
Attach the hoop back onto the machine and continue embroidering the design. A tack down stitch will sew next finishing the design.
Unhoop the stabilizer and gently tear away the excess. The dieline stitches will tear away as well.
Hoop another piece of tear-away stabilizer. Load the second design and embroider it (just as did the first design) once again stopping the machine when you get to the step on the color change sheet that says "back piece tack down". Remove the hoop from the machine and flip the hoop over to the backside of the embroidery. Spray the bottom, open end of the ribbon with adhesive and press it in place on the backside of the embroidery with the end of the ribbon extending in about 1/2 inch from the top edge of the design and with the top end design facing down. Tape the ribbon in place at the outer edge of the hoop.
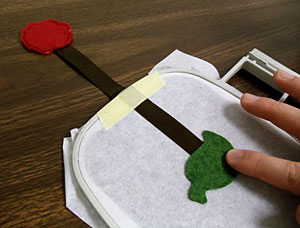
Spray the backside of the back fabric piece with adhesive, align it with the shape on the backside of the embroidery (over the ribbon) and press it in place.
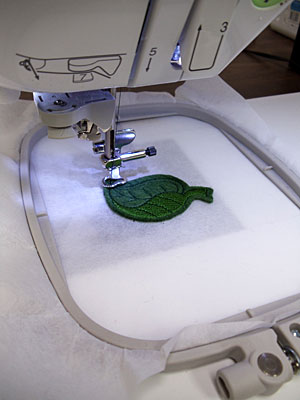
Attach the hoop back onto the machine and continue embroidering the design. A tack down stitch will sew next finishing the design.
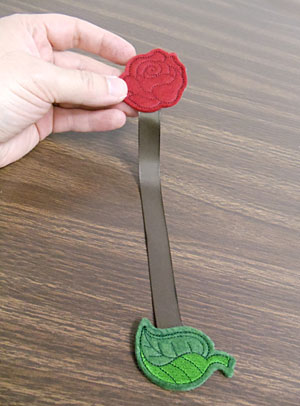
Gently tear away the excess stabilizer and the dieline stitches and your bookmark is complete.

Experiment with different colors and lengths of ribbons as well as different designs to make a bookmark uniquely you!


