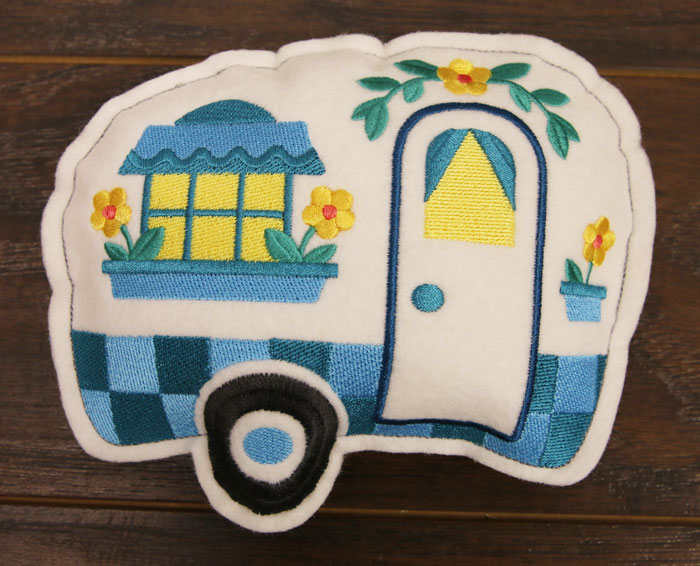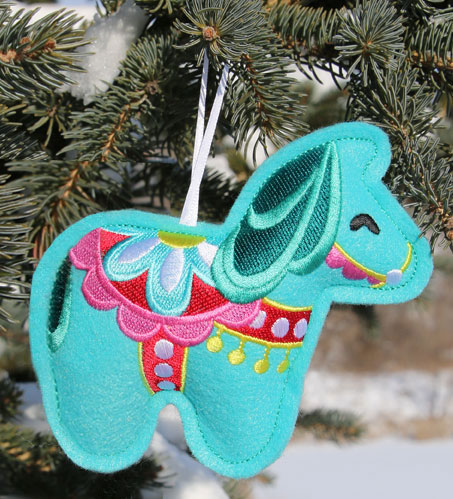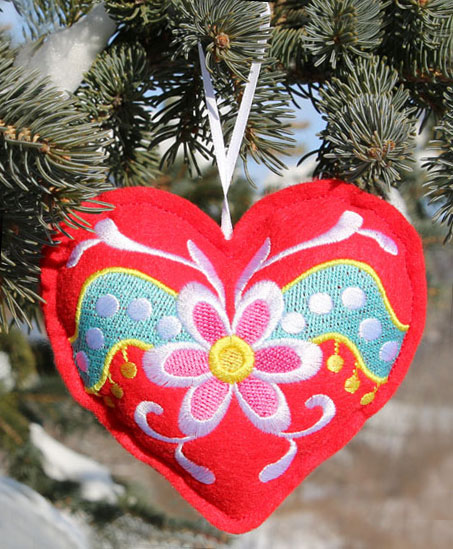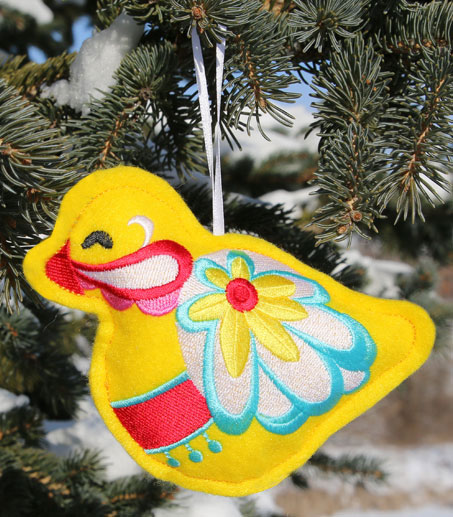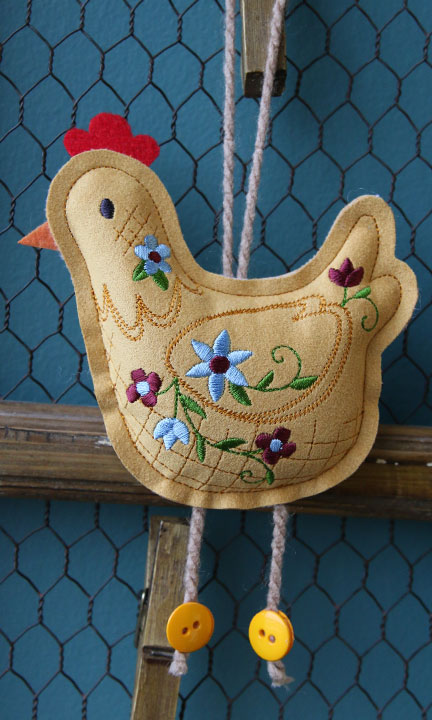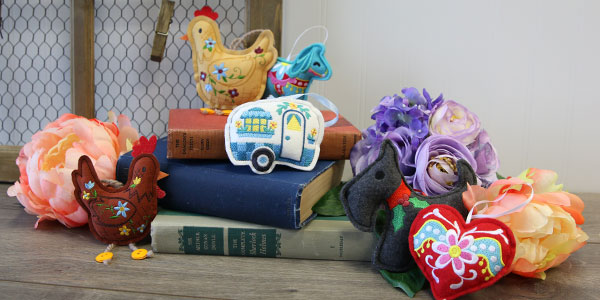
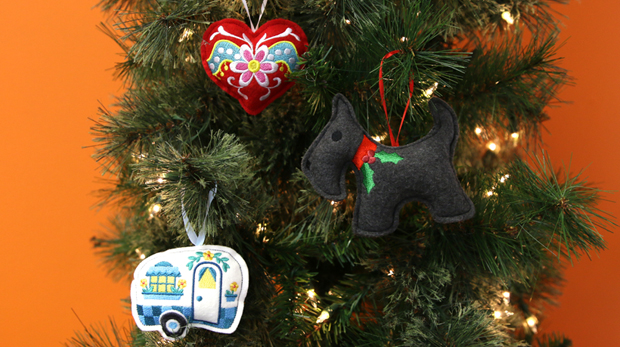
Create a crafty look in your home with these stuffie designs! Featuring a raw, crafty-cut edge and beautiful photography, they're a gorgeous decoration on Christmas trees, hung in windows, and more.
Supplies
- Small pieces of felt or Ultra Suede
- Tear-away stabilizer- Yarn, cord, or ribbon
- Stiff felt scraps (some designs only)
- 4 buttons (some designs only)
- Polyester fiberfill
Tools
- Temporary spray adhesive (Gunold KK100)
- Needle and thread for hand sewing
- Hot glue gun (some designs only)
Designs Used
When you download the in-the-hoop stuffie design, you will find multiple files. Some are the embroidery files, and the others are dieline files marked with the letters "DL". Dielines are used to cut the fabric to the correct shape and size. Open and print each dieline file using an embroidery software. If you do not have an embroidery software, take a look at our helpful video on using dielines.
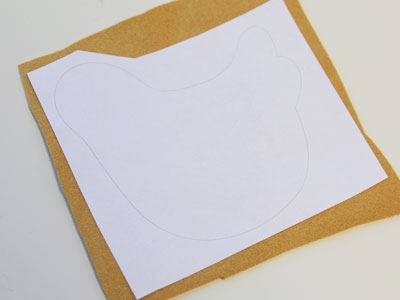
Spray the backside of the printed dieline for the front of the stuffie with a small amount of temporary adhesive.
Smooth that on top of a piece of felt or Ultra Suede.
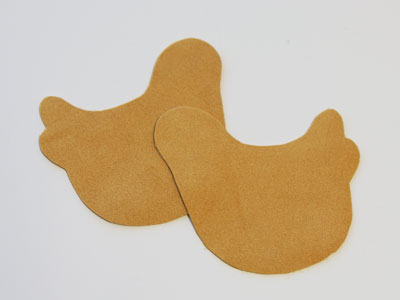
Cut out the shape. Remove the paper.
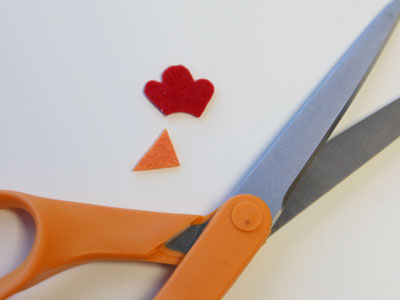
Repeat this process for the back dieline and fabric, too.
If the crafty cut stuffie has an applique piece on the design, cut it out of felt or ultra suede. If the crafty cut stuffie has additional fabric pieces, you'll need stiff felt for those. Cut out and set aside for later.
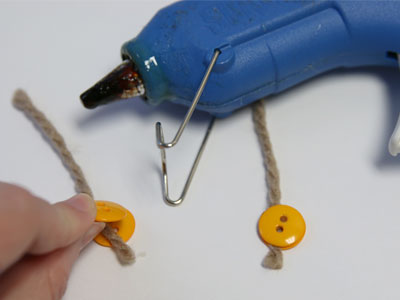
Some crafty cut stuffies include button feet.
To assemble the feet, cut two pieces of 3 1/2" cord or yarn.
Put hot glue onto the wrong side of one of the buttons and lay the end of the yarn onto the glue. Extend the cord sticking out over the button a little.
Press the wrong side of the second button onto the yarn, sandwiching it between the buttons. Repeat for the other leg.
Now that the fabric pieces are cut to the proper shape and size, it's time to embroider the design.
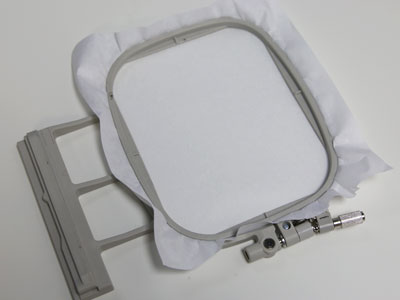
Hoop a piece of tear-away stabilizer.
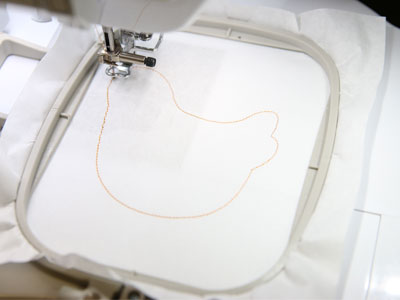
Attach the hoop to the machine and load the full embroidery design (not the dieline files).
Use a size 11 or 75/11 sharp sewing needle, rather than an embroidery needle. A sharp sewing needle has a smaller, finer point than an embroidery needle, so that will make smaller perforations in the stabilizer.
Embroider the design. The first thing to embroider will be a dieline or outline. This marks the area on the stabilizer for the front fabric piece.
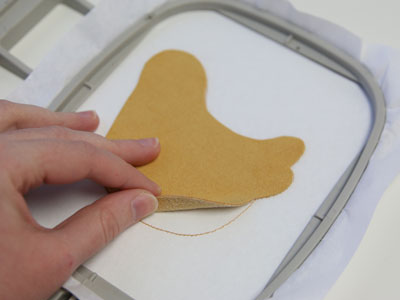
Remove the hoop from the machine, but do not unhoop the stabilizer.
Spray the back of the front fabric piece with a small amount of temporary adhesive.
Place the fabric right inside the sewn outline.
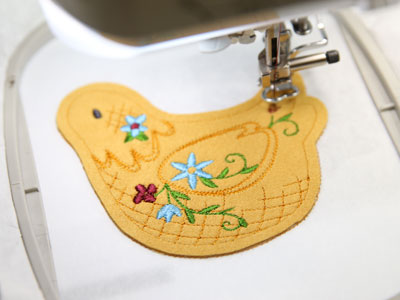
Attach the hoop back onto the machine and continue with the design.
A running stitch tackdown will sew next. This holds the front fabric in place for the remainder of the design.
Continue embroidering the design. If your design has an additional applique piece, embroider each inner detail step (if there are any) until you get to the "dieline" step for the applique piece. Then follow the next step below. If the design does not have an applique piece, embroider the inner details, then stop before sewing the "finishing seam", and skip the two applique steps below this.
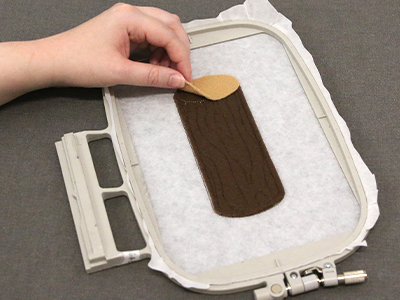
If your design has an additional applique piece, embroider the dieline. Then spray the wrong side of the applique piece with temporary adhesive, and place it on top of the front fabric piece over the sewn dieline.
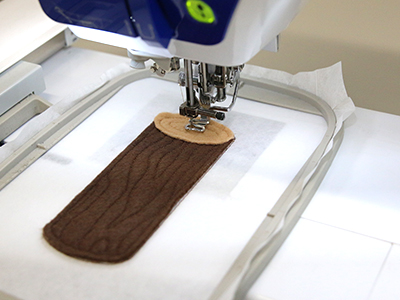
Place the hoop back onto the machine after the additional applique piece is in place. Then embroider the tackdown for the piece to hold it in place. Embroider any remaining inner details, and stop before sewing the "finishing seam" step.
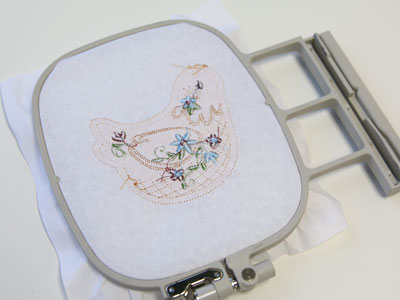
On the color change sheet, look for the note that says "finishing seam."
When you get to this section, stop the machine and remove the hoop from the machine but do not unhoop the stabilizer.
If working with a design with additional pieces, add them at this time. Instructions are below.
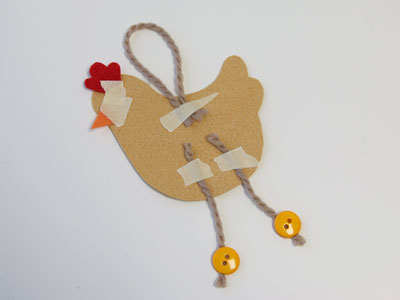
If working with stuffies with additional pieces, tape all of the additional fabric pieces, legs, or ribbon to the backside of the back fabric piece using small pieces of masking tape.
To make a hanger, cut a 7" length of ribbon or yarn and fold it into a loop before taping it to the backside of the back fabric piece.
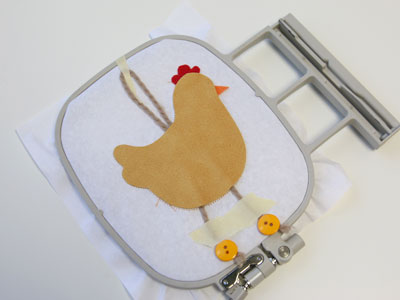
Spray the backside of the back fabric piece with adhesive.
Turn the hoop over and place the back fabric inside the shape on the backside of the embroidery.
Tape the ribbon, legs, etc. to the side of the hoop so that it will not be sewn over in the remaining steps.
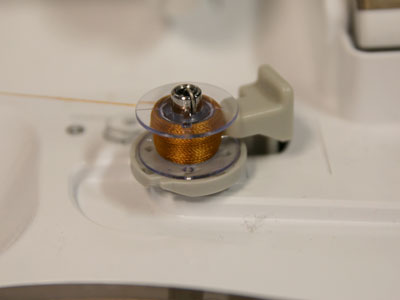
Since both sides of the stuffie with be seen, wind a bobbin with the same thread used in the needle.
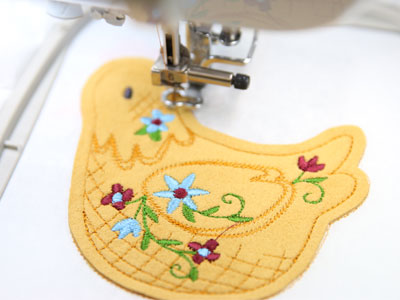
Attach the hoop back to the machine and continue embroidering the design.
A tack down stitch will sew around the outer edge of the stuffie. This binds all the layers together.
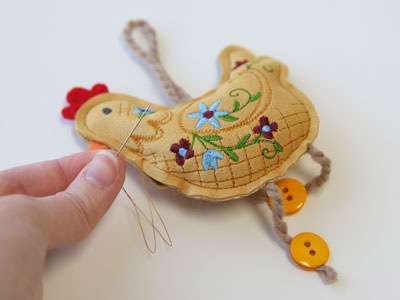
Once the embroidery is finished, remove the hoop from the machine.
Unhoop the stabilizer, and carefully tear it away (the dieline will be removed with the stabilizer).
Then fill the stuffie, using polyester fiberfill, through the opening. Using needle and thread, sew the opening closed by stitching along the original tack down seam.
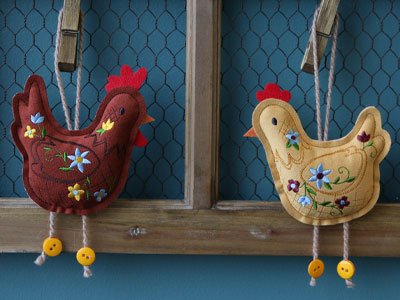
A charming country hen and rooster are the perfect way to decorate your kitchen.
