Keeping your pens, pencils, and sewing supplies nearby and ready to use just got easier!
Stitch a design of your choice onto a cup caddy to create a cup o' crafty organizer. With print fabric on the inside, and a sweet design embroidered on the outside, an ordinary mug is transformed into a cute and crafty organizer!
Read on for project instructions for creating a personalized cup caddy.
Supplies
Supplies Needed:
**Coffee mug
**12" by 12" piece of lightweight canvas, twill, or denim
**1/3 yard print cotton fabric (I used quilter's cotton)
**Medium weight or lightweight cutaway stabilizer
**Temporary spray adhesive
**Air-erase pen
**Double fold extra wide bias tape
**1 yard - 1/4" wide ribbon
**Measuring tape
Special Project Notes:
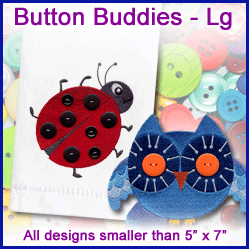
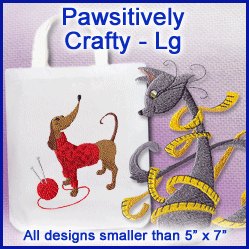
For this cup caddy organizer project, I chose a design from the Say It with Stitches V Design Pack. Designs from the Button Buddies Design Pack and the Pawsitively Crafty Design Pack would be cute on the cup caddy as well.
Make sure to choose a design and size that will suit your project needs.
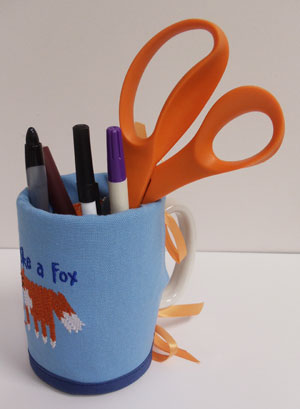
This cup caddy organizer features inside pockets perfect for pens and pencils. Ribbon ties hold the caddy securely to the mug.
Finished Size: My finished cup caddy was 10" wide by 9 1/2" high. Your final cup caddy size will depend on the size of the mug you are using.
Designs Used

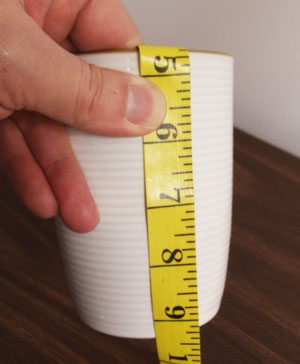
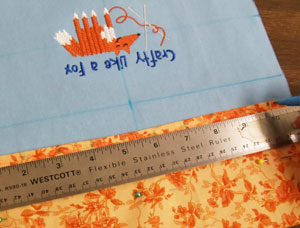
Using a tape measure, measure the mug from the bottom of the inside, around the top brim, and down to the bottom of the outside of the mug. Take this measurement and add 1/2". This is the height of the front/inner fabric.
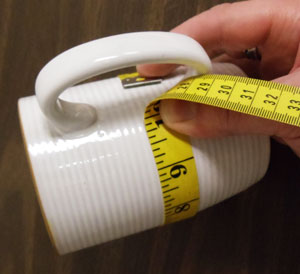
Measure the circumference of the mug by measuring around the middle starting and stopping along the sides of the handle. Take this measurement and add one inch This is the width of the front/inner fabric.
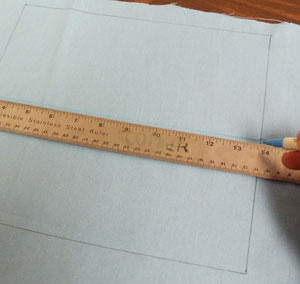
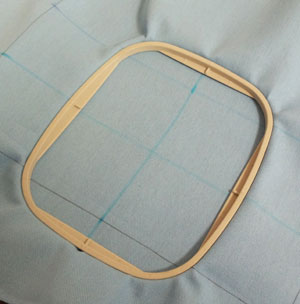
Using your measurements and using an air-erase pen, draw a rectangle on the canvas. Measure and mark the center of each side of the shape by measuring and dividing by two. Draw a line connecting the marks. This line represents the fold line between the front and inner sections of the fabric.
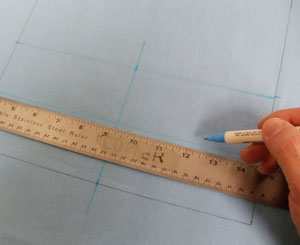
Working within the bottom section of the shape (which is the front of the caddy), measure and mark the center of each side by measuring and dividing by two. Draw lines connecting the marks. These lines will be used for hooping.
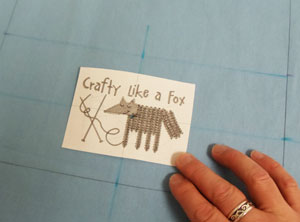
Create a paper template of the design by printing it at full size using embroidery software. Poke a hole in the center of the design and align it with the center point on the fabric. Make sure the design fits well within the shape; there should be at least one inch of space between the edges of the design and the edges of the shape.
Spray a piece of medium weight stabilizer with temporary adhesive and smooth the fabric on top. Hoop the fabric and stabilizer together by aligning the marks on the hoop with the lines on the fabric.
Attach the hoop to the machine and load the design. Move the hoop so that the needle is aligned with the center point on the fabric. Embroider the design.
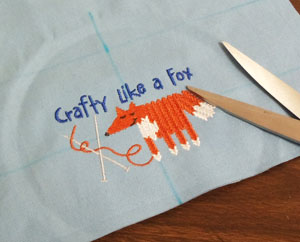
After the design has finished, trim away the excess stabilizer on the backside of the embroidery and cut out the shape.
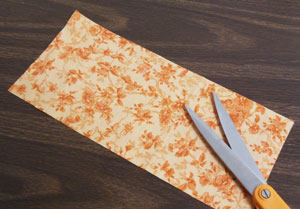
To prepare the inner pocket fabric, cut a piece of print cotton fabric to the same size as the top section of the front/inner fabric.
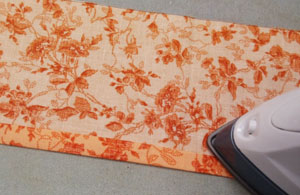
Fold one of the long edges of the fabric over 1/4" to the wrong side and press. Then, fold the fabric over again 1/4" to the wrong side and press. Sew a 1/8" seam along the folded edge.
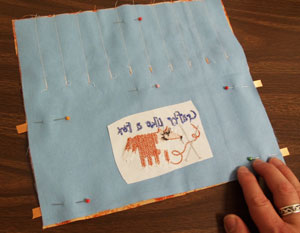
Align the pocket fabric with the bottom edge (raw edge) aligned with the top edge of the front/inner fabric piece, with the right side of the pocket fabric facing up (the folded edge of the pocket fabric should face towards the fold line on the front/inner fabric). Pin in place.
Measure and mark the top edge of the pocket fabric along the folded edge every one inch. Then sew a seam starting at the marks and sew down to the raw outer edge of the fabric. Doing this creates the pockets.
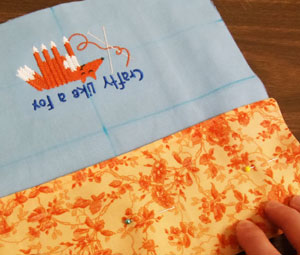
To prepare the fabric for the back of the caddy, lay the assembled front/inner fabric and pocket piece over the print cotton, pin in place, trace the shape, and cut out the shape.
Align the pieces together, right sides together, and pin in place. Cut four 8" lengths of 1/4" wide ribbon. Tuck two of the ribbon pieces in between the layers of fabric on the bottom section (embroidered section) of the front/inner fabric about 1/2" under the fold line. Allow about 1/2" of the ribbon to extend out past the outer edges of the fabric.
Tuck the remaining two ribbon pieces in between the fabric layers on the bottom section of the front/inner fabric about 1/2" above the bottom edge of the fabric. Again, allow about 1/2" of the ribbon to extend out past the outer edges of the fabric.
Pin in place and sew a 1/2" seam along the side and top edges only. Leave the bottom edge open for turning.
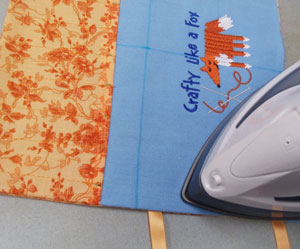
Turn the fabric right side out and press the seams. Top stitch a 1/4" seam along the side and top edges.
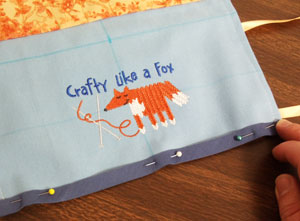
Wrap bias tape along the bottom edge of the caddy, fold the ends in to the wrong side, pin in place, and sew a seam along the inner edge of the tape.
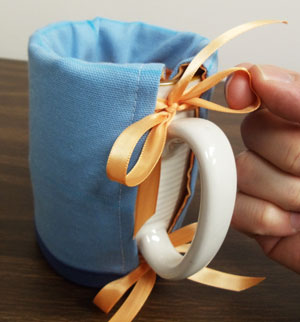
Your caddy is complete! To add the caddy to the mug, insert the inner pocket section into the mug and wrap the front section around the outside of the mug. Tie the ribbon into bows on the back of the caddy above and below the handle.
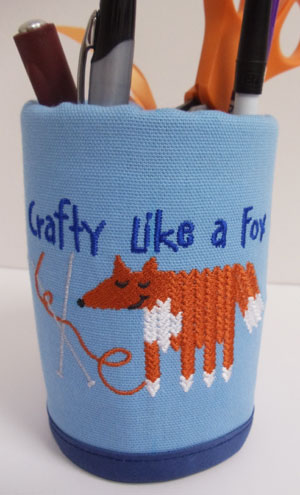
A cup o' crafty organizer is a great way to combine the beauty of embroidery with the functionality of an organizer!
Pens, pencils, scissors, and other sewing supplies are right at hand, with a personalized touch.
Make one for yourself, and one for a crafty friend!


