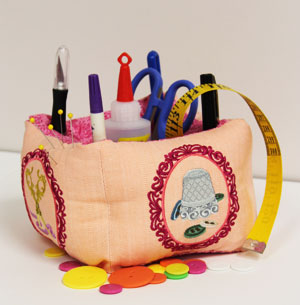
An embroidered pincushion organizer keeps sewing essentials in reach, and brightens any room's decor.
Fill it with all your most used notions to keep them handy. Pencils, marking pens, craft knifes, and seam rippers store neatly in each corner, safely tucked into the folds.
Read on for project instructions!
Supplies
Supplies Needed:
**1/4 yard cotton fabric (for outer shell -- I used lightweight twill)
**1/4 yard cotton fabric (for inner lining -- I used quilter's cotton)
**4 3/4" wide by 4 3/4" high piece of heavy weight stiff fusible interfacing
**Medium weight cutaway stabilizer
**Temporary spray adhesive
**Air-erase pen
**Polyester fiberfill
**Nylon monofilament thread
**Needle and thread for some hand sewing
Special Project Notes:
Designs Used:
I used designs from the small sizes of the Crafty Cameos Design Pack for my pincushion organizer. Visit the Crafty Collectibles department for lots of designs that are cute for this project!
Finished Size:
7" wide by 4 1/4" high by 7" deep
Designs Used
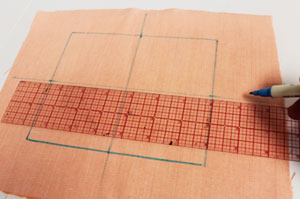
First, to prepare the fabric for the outer shell, using an air-erase pen or other marking tool, draw a 6 1/2" wide by 5 1/2" high rectangle on the fabric (I used lightweight twill). Measure and mark the center of each side of the shape by measuring and dividing by two. Draw lines connecting the marks.
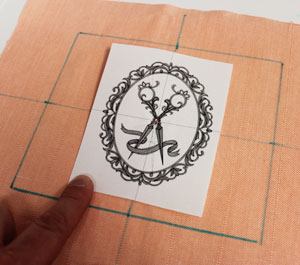
Create paper templates of the designs. See these handy instructions for more information about making and using templates. Make sure the design fits well within the shape. There should be at least 3/4" of space between the outer edges of the design and the edges of the shape.
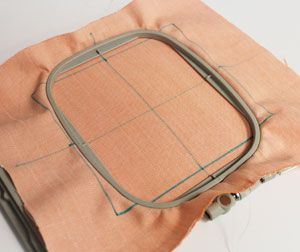
Remove the template and spray a piece of medium weight cutaway stabilizer with temporary adhesive and smooth the fabric on top. Hoop the fabric and stabilizer together by aligning the marks on the hoop with the lines on the fabric. Attach the hoop to the machine and load the design. Move the hoop so that the needle is aligned with the center point on the fabric, and embroider the design.
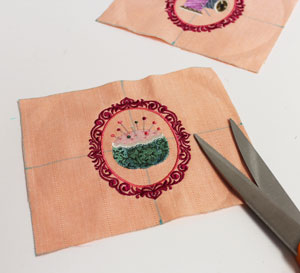
When the design has finished, trim away the excess stabilizer on the backside of the embroidery. Cut out the shape. Repeat the hooping and embroidering process for a total of four panels.
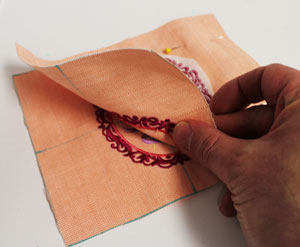
Next, align the second panel on top of the first panel, right sides together, and pin in place along the right side. Sew a 1/2" seam along the right side only. Press the back seam open with an iron.
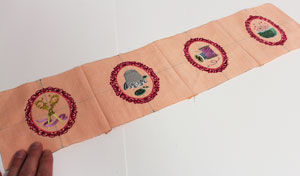
Place the third panel on top of the second panel, right sides together, pin in place along the right side and sew a 1/2" seam along the right side only. Press the seam. Repeat this process for the remaining panel.

To prepare the inner lining fabric, cut four pieces of fabric (I used quilter's cotton) to 6 1/2" wide by 5 1/2" high. Assemble the pieces together just as you did for the inner lining.
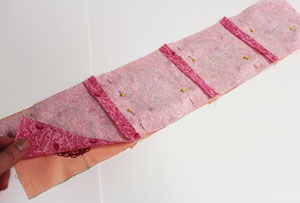
Lay the embroidered outer shell flat with the right side facing up. Align the inner lining on top, right sides together, with the seams aligned. Pin in place and sew a 1/4" seam along the top and bottom edges only. Leave the side edges open for turning.
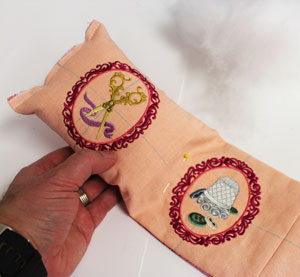
Turn the fabric right side out and press the seams. Sew a 1/4" seam along the left short end to close it (leave the right end open for stuffing). Then, turn the fabric of the right short end in 1/2" to the wrong side and press. Stuff the first panel with fiberfill. Then, push the fiberfill to the side away from the first seam and pin the layers of fabric in place.
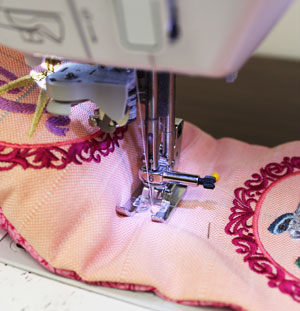
Sew a one inch long seam in the center of the existing seam. This binds the layers together but allows the top and bottom of the panels to flatten out a bit. Repeat this process for the second and third panel.
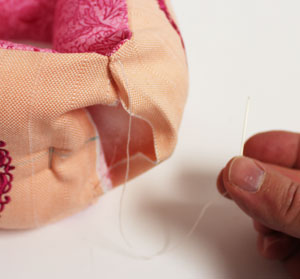
When you reach the fourth panel, stuff it as you did for the other panels and insert 1/2" of the raw end (left end) inside the right end (folded end) forming the cushion into a ring. Align the seams and using needle and thread, tack the layers together at the top and bottom (where the seams align).
Stitch both layers together in the center of the fold (just as you did in between the other panels). Sew the remaining openings closed by stitching through just the top layers on the outer shell and just the top layers on the inner lining. Turn the cushion inside out to reach the inner lining layers. Turn the cushion right side out.
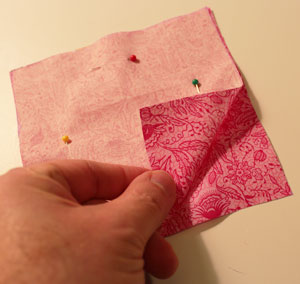
To prepare the bottom of the cushion, cut two pieces of fabric to 5 1/2" wide by 5 1/2" high. Align the pieces together, right sides together, pin in place, and sew a 1/4" seam along three sides only. Leave one side open for turning.
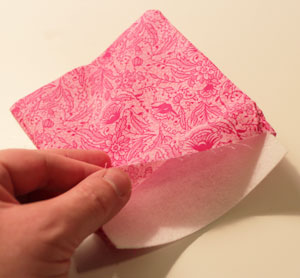
Turn the fabric right side out and press the seams. Cut a piece of heavy weight stiff fusible interfacing to 4 3/4" wide by 4 3/4" high and insert it inside the fabric. Turn the fabric of the opening in 1/4" and press. Then, press the square to activate the fusible interfacing. Top stitch a 1/4" seam along the entire outer edge of the square.
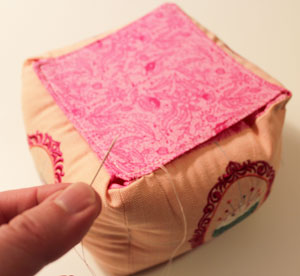
Next, align the bottom piece with the bottom seam of the cushion and hand stitch in place.
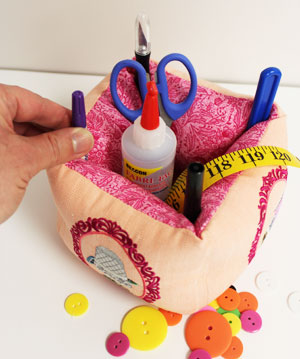
And your pincushion organizer is complete!


