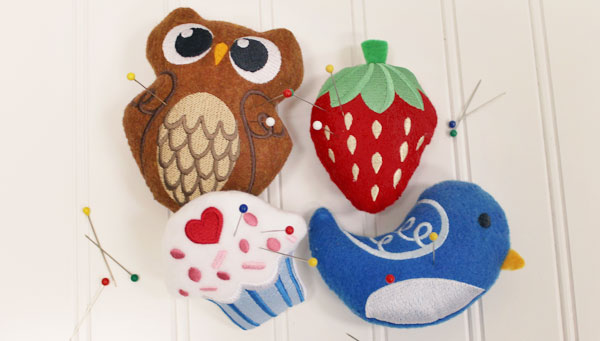
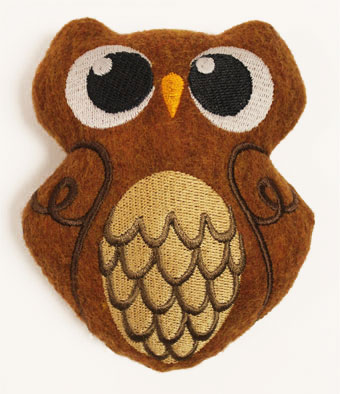
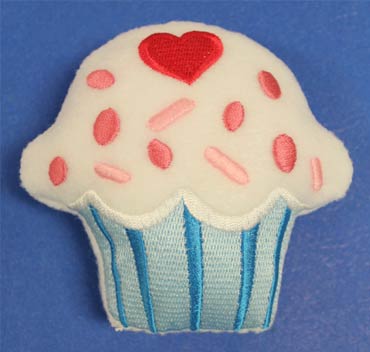
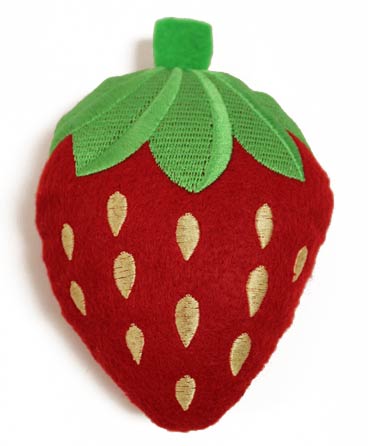
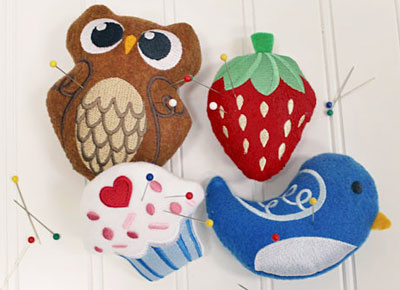
Make a cute and crafty pincushion right in the hoop! These fun pincushions come in fabulous shapes and multiple sizes, and are a charming addition to your sewing space.
Supplies
- Felt
- Tear-away stabilizer
- Temporary spray adhesive (like Gunold KK100)
- Polyester fiberfill
- Needle and thread for some hand sewing
- Masking tape
Designs Used
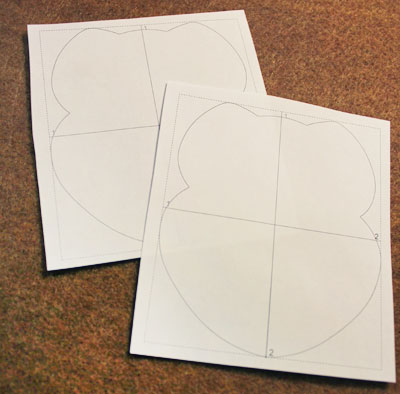
When you download an in-the-hoop crafty pincushion design, you will find multiple files. Some are the embroidery files, and the others are dieline files marked with the letters "DL". Dielines are used to cut the fabric to the correct shape and size. Open and print each dieline file using an embroidery software. If you do not have an embroidery software, take a look at our helpful video on using dielines.

Spray the back of a printed dieline with temporary adhesive and smooth it onto a piece of felt.
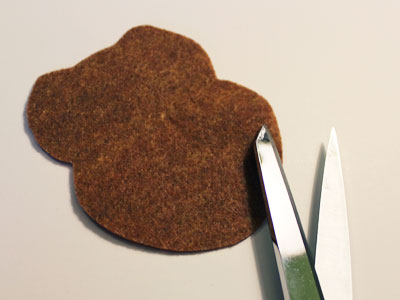
Cut out the shape, and remove the paper. Repeat this process for all of the dieline files.
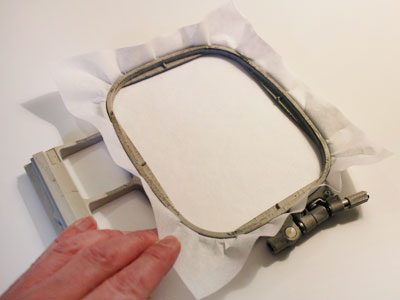
Now that the fabric pieces are cut to the proper shape and size, it's time to embroider the design. Hoop a piece of tear-away stabilizer. Madeira E-Zee Tear 1.5 oz. or Floriani Tearaway Medium are good choices. Those brands are more fibrous, less paper-like, and will tear more cleanly.
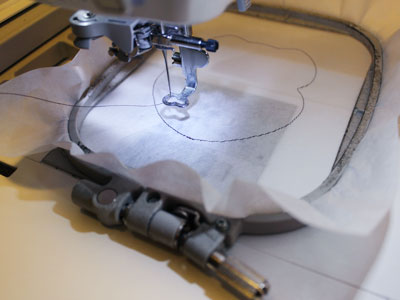
Attach the hoop to the machine and load the full embroidery design (not the DL files). Use a size 11 or 75/11 sharp sewing needle, not an embroidery needle. A sewing needle has a smaller, finer point than an embroidery needle, and that will make smaller, finer perforations in the stabilizer. Embroider the design. The first thing to embroider will be an outline for the front fabric piece.
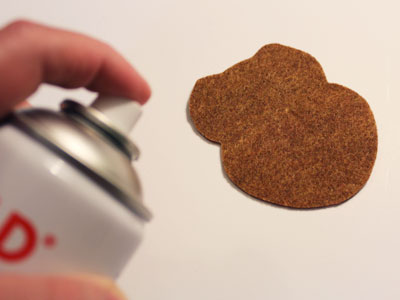
Spray the backside of the front fabric piece with a small amount of temporary adhesive.
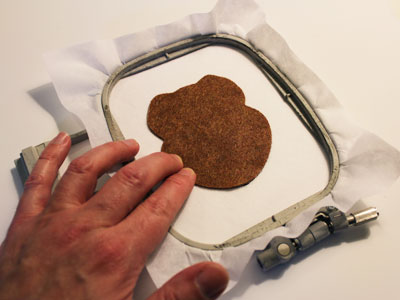
Remove the hoop from the machine, but do not unhoop the stabilizer. Place the fabric inside the stitched outline.
and continue embroidering the design. The color change sheet will be your guide. A running stitch tack down will sew next. This holds the front fabric in place for the remainder of the design.
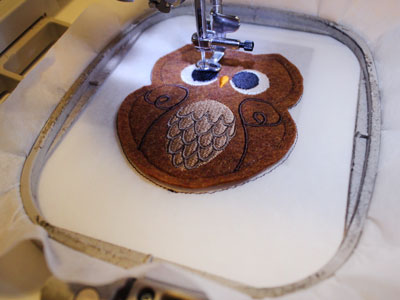
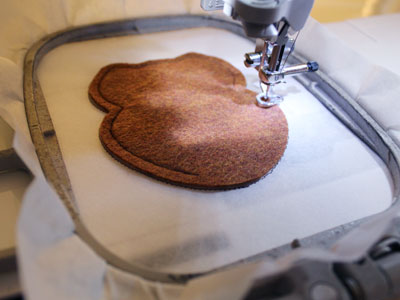
Inside elements will sew next. On the color change sheet, look for the note that says "back piece tack down." When you get to this section, stop the machine and remove the hoop from the machine. Do not unhoop the stabilizer.
Spray the right side of the back fabric piece with a bit of temporary spray adhesive. Spray along the outer edges. Place the back piece right over the front piece.
Attach the hoop to the machine and continue embroidering the design. A running stitch tack down sews to bind all the layers together.
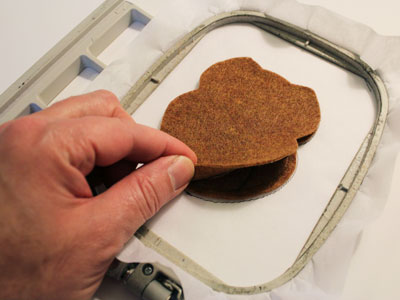
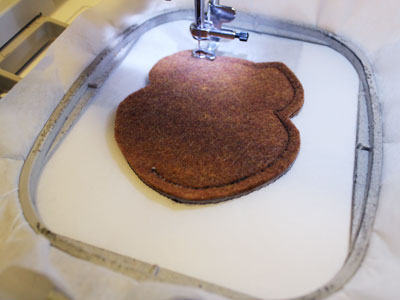
Remove the hoop from the machine and unhoop the stabilizer. Carefully tear the stabilizer away. The dieline will be removed with the stabilizer.
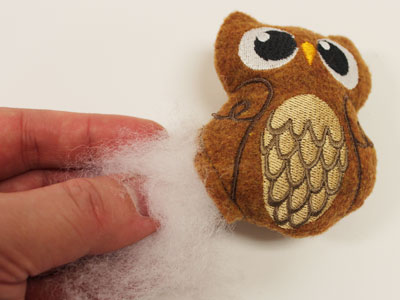
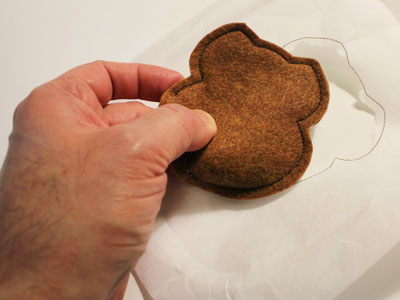
Turn the pincushion right side out. Push out any corners with the blunt end of a pen or pencil. Fill the pincushion with polyester fiberfill until it is firm.
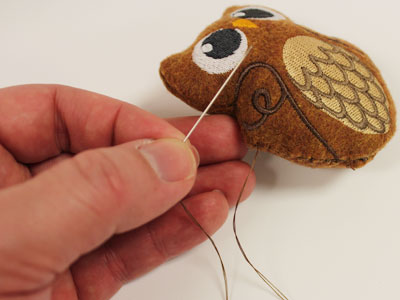
Turn the fabric of the opening in 1/4" and hand-sew the opening closed to finish.
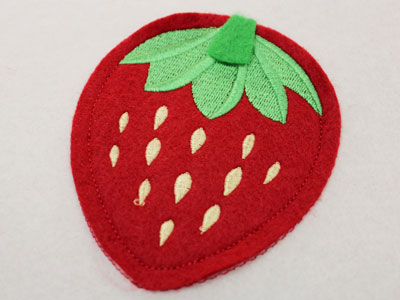
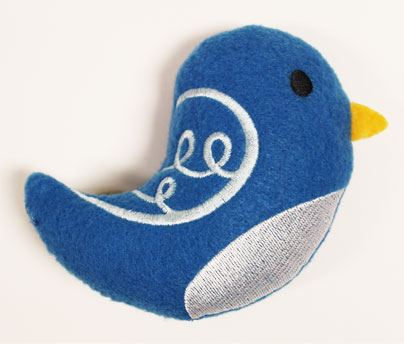
Special Project Note: The strawberry and birdie pincushion have special steps. For the strawberry, an extra dieline file is included for the stem. Cut a piece of felt using the dieline for the stem. Right before the back piece tack down stitches, add the stem piece to the top of the berry. Align the short end with the outer edge of the fabric.
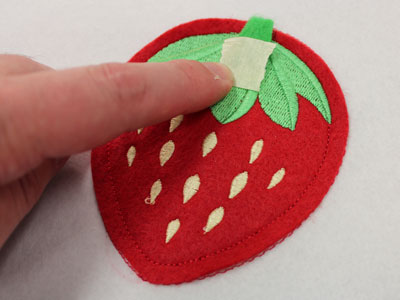
Place a small piece of masking tape over the inner end of the stem to hold it in place. Make sure the tape is to the inside of the tack down stitch so it will not be sewn over later on.
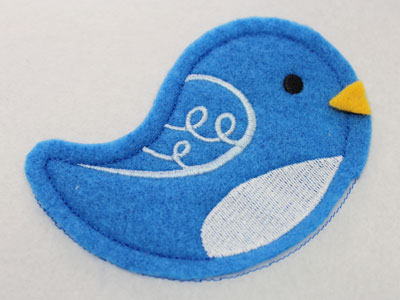
If you are embroidering the birdie, a dieline is included for the beak. Cut a piece of felt using the dieline for the beak. Right before the back piece tack down stitches, place the felt for the beak at the right side of the bird just below the eye. Align the long end with the outer edge of the fabric (the point should face in).
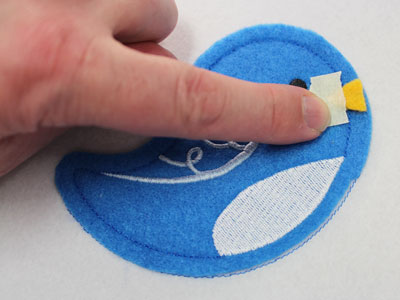
Place a small piece of masking tape over the inner end of the beak to hold it in place. Make sure the tape is inside of the tack down stitch so it will not be sewn over later on.
Stitch a cute and charming inthe-hoop pincushion today! They're a fabulous way to keep pins and needles close at hand while sewing.


