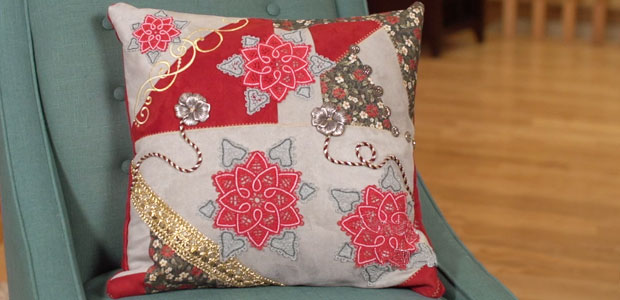
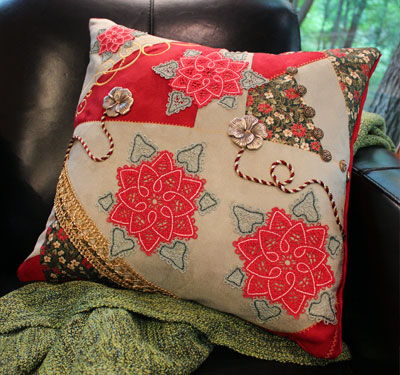
This ho-ho-holiday pillow is fashioned after the crazy quilting style made popular in the late 1800s. In colonial times, the piecing together of leftover scraps of fabric was done out of necessity.
Nowadays, crazy quilting is done to open up your creativity! The whimsical shapes and random patterns in this Christmas pillow give it unique character -- pick your favorite designs and fabrics, and go wild!
Supplies
Project Needs & Notes
- 18" by 18" pillow form
- 3/4 yard faux suede for front and back panel
- 1/2 yard faux suede for front and inner panel
- Small pieces of print quilter's cotton
- Medium weight (2.5 ounce) cutaway stabilizer
- Temporary spray adhesive (like Gunold KK100)
- Air-erase pen for marking
- Heavy-duty thread for decorative top stitching
- Nylon monofilament thread
- 1 3/4" wide decorative trim and cord
- Decorative buttons
- One standard 1" button for back closure
- 1/4" wide ribbon for button tie
- Fabric glue
- Straight edge
- Needle and thread for some hand sewing
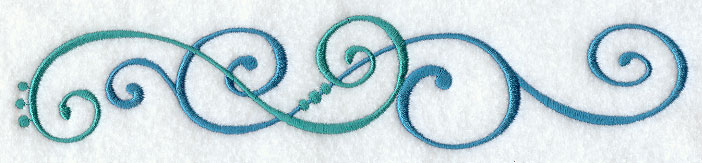
For this tutorial, I used the large size of the Alhena Swirl Border and all sizes of the Battenburg Lace Poinsettia design. For instructions on how to embroider freestanding Battenburg lace reference the tutorial here.
Finished size: 18" x 18"
This project was featured in the following:
Dreaming of Christmas Lookbook
Crafty Christmas Trunk Show Video
Pillow Party Trunk Show Christmas Edition
Designs Used
Begin by preparing the upper left section of the pillow front.
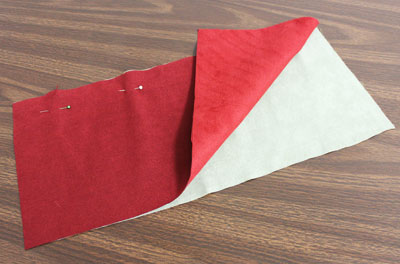
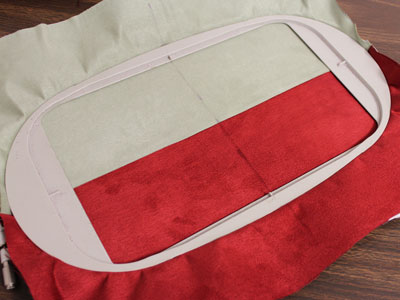
Cut two pieces of faux suede to 18" x 8". In this example, two different colors of faux suede are used.
Align the pieces right sides together. Pin in place along one of the long sides and sew a 1/2" seam along the pinned edge only.
Press the back seam open. Use a pressing cloth with faux suede to prevent melting or scorching.
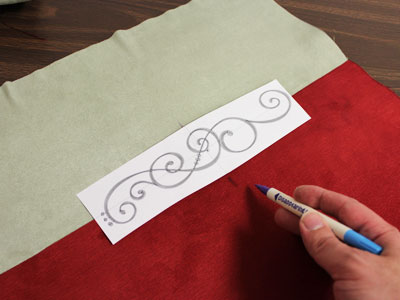
Use an air-erase pen to mark the center of the seam.
Print a template of the border design from embroidery software.
If you do not have embroidery software that makes templates, Wilcom's TrueSizer is a free program to use.
Align the template with the center point on the fabric, and align the horizontal axis line with the seam. Mark the vertical axis point. These marks will be used for hooping.
Next, to make sure the seams will not fold over during the embroidering process, top stitch a 1/8" seam along each side of the seam. Match the top thread to the fabric color to make the top stitches less noticeable.
Spray the cutaway stabilizer with a small amount of temporary adhesive, and smooth the faux suede on top.
Hoop the fabric and stabilizer together, aligning the marks on the fabric with the marks on the hoop.
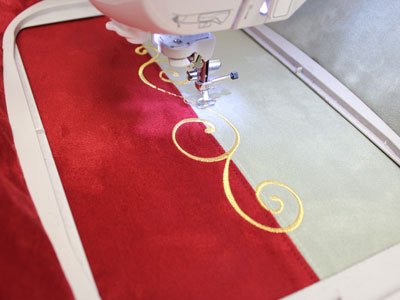
Attach the hoop to the machine and load the design. Move the hoop so that the needle is directly aligned with the center point on the fabric.
Embroider the design.
After embroidering, trim the stabilizer away from the back. Leave about 1/2" of stabilizer around the design.
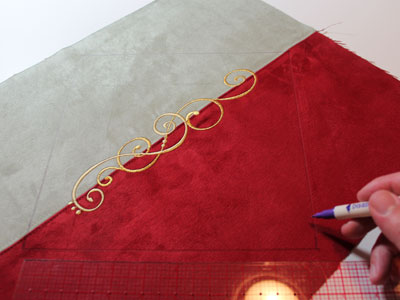
Draw a diamond on the fabric with the sides 9 1/2" long.
Draw the diamond so that the seam goes through the top and bottom points.

Cut out the diamond shape.
Next, prepare the fabric for the upper right section of the front of the pillow.
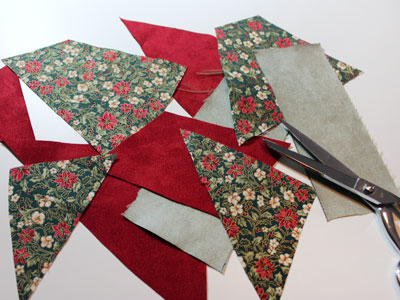
Cut several pieces of faux suede and quilter's cotton into irregular shapes.
Piece them together randomly; align the edges together, right sides together. Pin in place, and sew 1/4" seams along the pinned edges.
Trim the fabric to create straight edges and repeat the process of piecing the fabric until you have an area that is a bit larger than 10 1/2" x9 1/2".
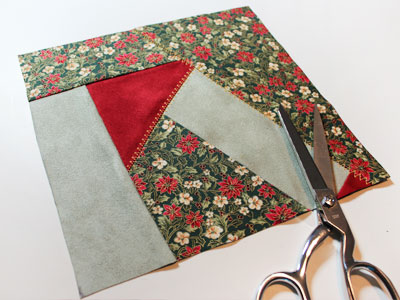
Add decorative stitches along some of the seams with heavy-duty thread.
Heavy-duty thread shows up more than regular all-purpose thread, because it is thicker.
Draw a 10 1/2" x 9 1/2" square on the fabric and cut out the shape.
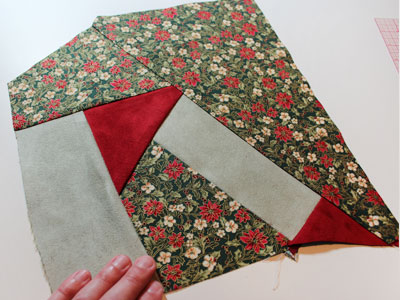
Lay the upper left section flat with the right side facing up. Align the upper right section on top, right sides together.
Pin in place along the right side and sew a 1/2" seam along the pinned edge only.
Press the seams, using a pressing cloth.
To prepare the bottom section of the front, piece together the fabric just as you did for the upper right section.
Create a piece that is a little larger than 19" x 10 1/2".
In this example, solid-colored pieces of fabric are used. This will work well to enhance the Battenburg lace poinsettias.
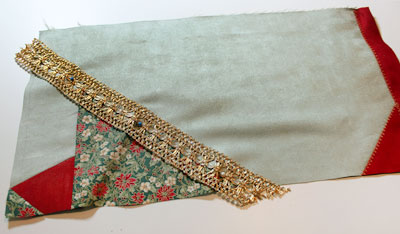
Add decorative trim along one of the seams. Pin the trim in place and sew it in place with nylon monofilament thread in the needle. Leave about 1/2" of excess trim extending out past the edge of the fabric.
Align the bottom section on the top section, right sides together.
Sew a 1/2" seam along the bottom edge. Press the seam, using a pressing cloth.
Top stitch a decorative stitch along the seam between the top and bottom sections.
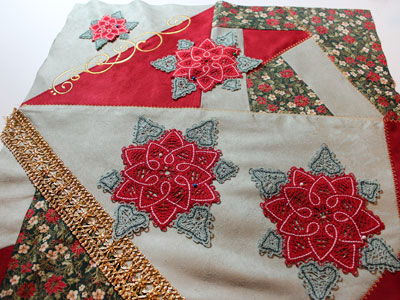
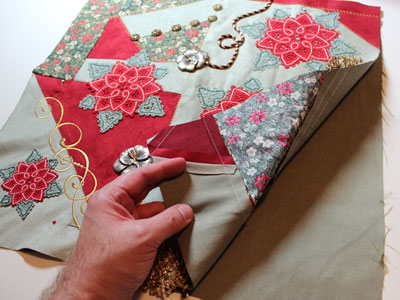
Embroider the Battenburg lace poinsettias, then attach them to the fabric. Leave at least one inch of space between the edges of the lace and the fabric edge.
Pin in place and using nylon monofilament thread in the needle, tack the lace in place by sewing a seam around the entire outer edges.
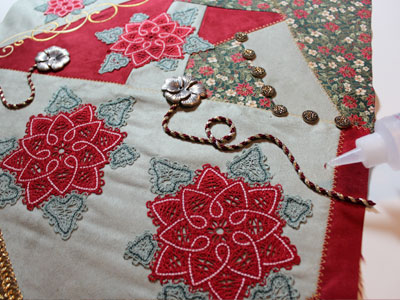
Add decorative buttons and cord. The backs of the buttons were trimmed with a wire cutter so they would lay flat on the fabric.
Add fabric glue to the buttons and cord and press them in place.
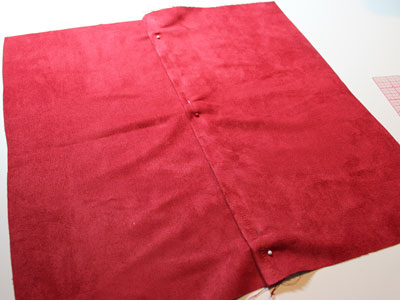
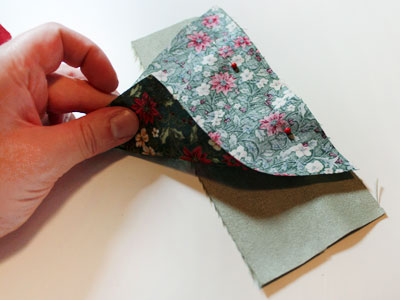
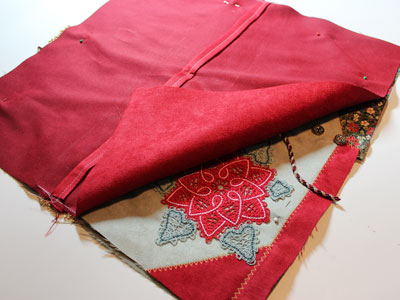
To prepare the back panels, cut two pieces of faux suede to 12 1/2" x 19".
Fold one of the long edges of each panel in 1/2" to the wrong side and press. Use a pressing cloth.
Fold the fabric over 1/2" to the wrong side again and press, with a cloth. Sew a 1/4" seam along the folded edges.
Overlap the panels over one another, wrong side over right side, and with the folded edges facing in.
Measure the panels top to bottom and left to right. Overlap them so that the total dimensions are 19" x 19". Pin in place and tack the panels together at the top and bottom by sewing a 1/4" seam along the overlapping areas only.
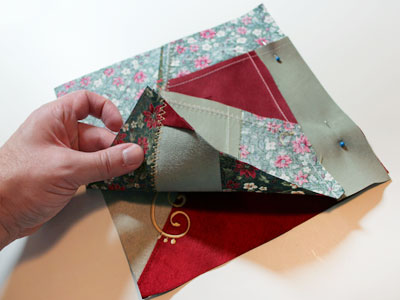
To prepare the inner lining for the front panel, lay the front panel on top of the fabric, wrong sides together. Pin in place, and cut out the shape.
Align the back panels on top of the front panel, right sides together.
Pin in place and sew a 1/2" seam along the entire outer edges of the fabric.
Turn the fabric right side out and insert the pillow inside.
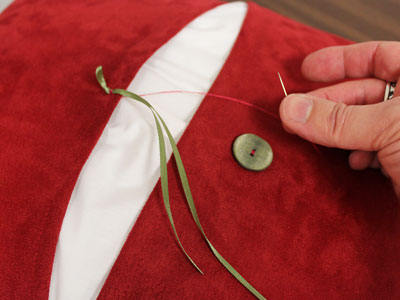
For the back closure, add a 1" button at the center of the bottom panel about 1 1/2" from the folded edge.
Cut a length of 1/4" wide ribbon to 12", fold it in half, and tie a knot at one end.
Hand-sew the ribbon in place directly across from the button on the other panel (the top panel).
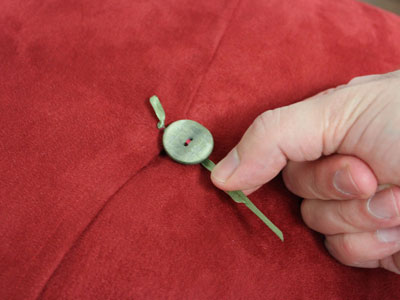
To close the back, overlap the panels and wrap the ribbon around the button.
Let your creativity take the lead when making this crazy quilt project!
Break away from our design and use patterns, embellishments, and designs to give it a unique, fun look.


