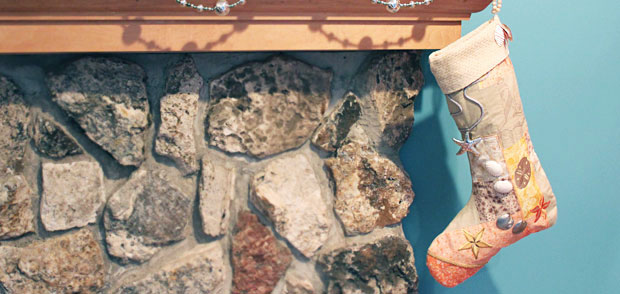
Pair classic quilt techniques with fabulous embroidery to create this magnificent stocking. We used sunset-on-the-beach colors, and added starfish and seashell baubles. Use this idea to make stockings in a variety of themes -- yarn and needles for knitters, mini-ornaments and jingle bells for Christmas, coffee embroidery for the java lover, or book designs for the avid reader.
Supplies
Project Needs & Notes
- 1/2 yard chenille for inner lining and cuff
- 18" x 18" piece of quilter's cotton for back
- Small pieces of quilter's cotton to piece together for front
- Medium-weight (2.5 ounce) cutaway stabilizer
- Temporary spray adhesive (like Gunold KK100)
- Air-erase pen for marking
- Decorative trim and cord
- 8" long string of beads for hanger
- Decorative buttons, pendants, and sea shells
- Fabric glue
- Scotch tape
- Needle and thread for some hand sewing
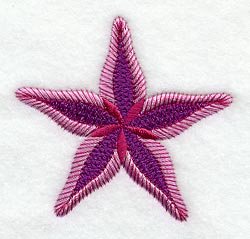
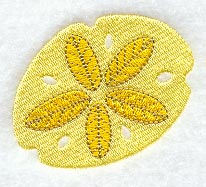
For this tutorial, I used the medium size of the Swirl Stripe Lighthouse design, the Jacobean Coral Reef Starfish 1 design, the Jacobean Coral Reef Starfish 2 design, and the Jacobean Coral Reef Sand Dollar design.
Finished Size:
18" cuff to heel
13" toe to heel
6 1/2" opening
This project was featured in the following:
12 Days of Christmas Stockings Lookbook
To get started, print the PDF of the stocking pattern. The pattern consists of four pieces, each on a piece of 8 1/2" x 11" paper.
Designs Used
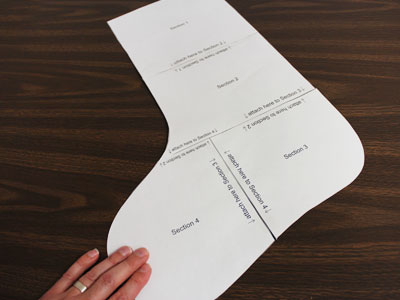
Cut out the pieces and tape them together.
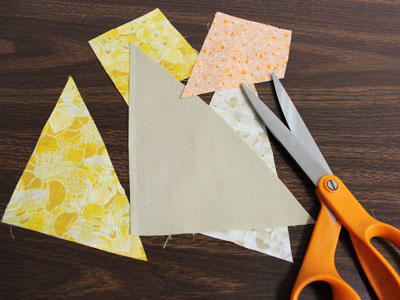
Piece together different cotton fabric for the front of the stocking.
To do this, cut several pieces of quilter's cotton into irregular shapes.
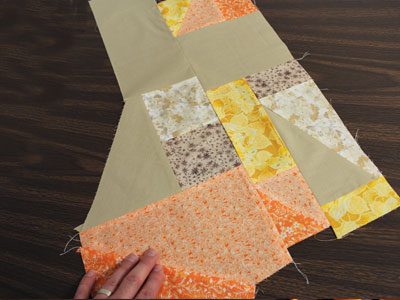
Piece the fabric together randomly.
Align the edges together, right sides together. Pin in place and sew a 1/4" seam along the pinned edge.
Press the seams open with an iron.
Trim the fabric to create straight edges. Repeat this until you have an area that is roughly 18" x 24", or large enough to cover the entire shape of the stocking pattern.
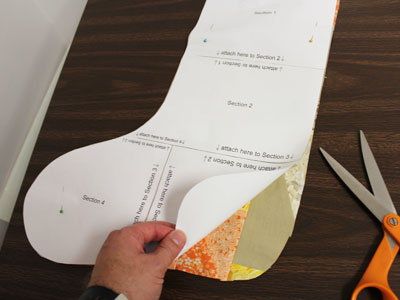
Lay the pattern piece on top, pin in place, and cut out the shape.
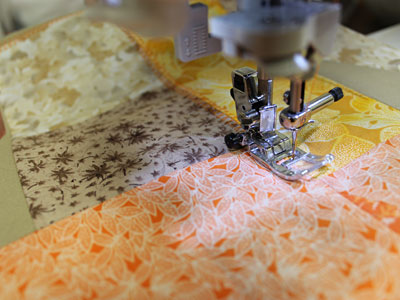
To add extra detail, use a decorative stitch to top stitch along some of the seams.
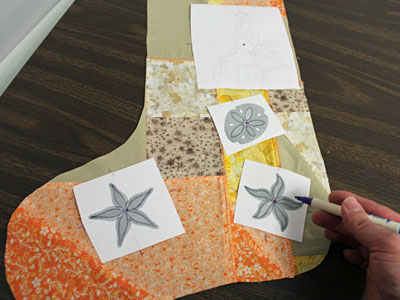
Print the design from embroidery software to make a template. If you don't have software to make templates, use Wilcom's TrueSizer, a free program.
Arrange the templates on the stocking. Leave at least 1" of space between the outer edges of the designs and the edge of the fabric.
Use an air-erase pen to mark the center points of each template, as well as the vertical and horizontal axis points.
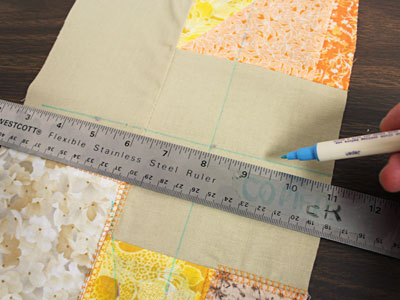
Remove the templates and draw lines connecting the marks. These marks will be used when hooping.
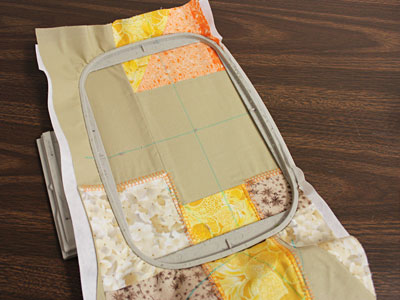
Spray the cutaway stabilize with a quick shot of temporary adhesive, and smooth the fabric on top.
Hoop the fabric and stabilizer together. Align the marks on the hoop with the marks that you made for the first design.
Attach the hoop to the machine, and move the hoop so the needle is over the center point. Embroider the design.
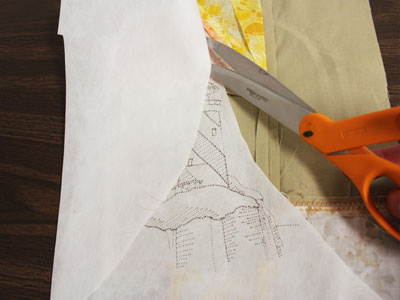
Trim away the excess stabilizer from the back of the fabric.
Repeat the steps of hooping, embroidering, and trimming the stabilizer, for each of the designs that you wish to embroider on the fabric.
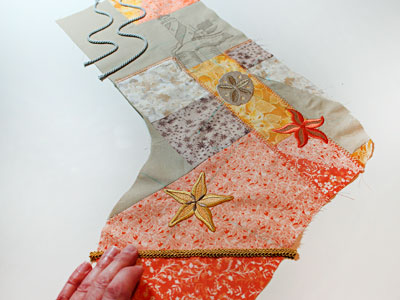
Add the decorative trim by gluing it in place. Allow 1/2" of excess to extend past the outer edge of the stocking fabric.
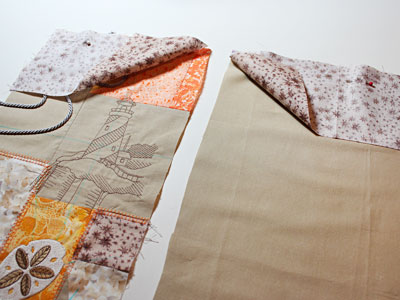
To prepare the fabric for the back, flip the pattern piece over to the wrong side and lay it on top of the fabric. Pin the pattern in place and cut out the shape.
Then, to prepare the fabric for the cuffs of the outer shell portion, cut two pieces of quilter's cotton to 8 1/2" x 4 1/2".
Align the cuff pieces with the top edges of the front and back pieces, right sides together.
Pin in place, and sew a 1/2" seam along the top edges only. Press the seams.
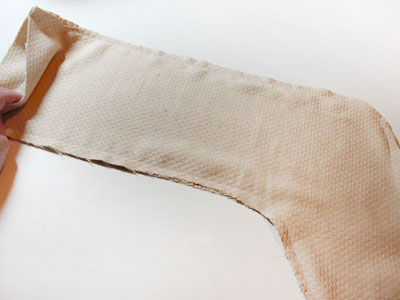
To prepare the inner lining fabric, lay the assembled front/cuff and back/cuff pieces on top of the chenille. Place the right sides facing up.
Pin in place and cut out the shapes.
Align the inner lining pieces together, right sides together, pin in place. Sew a 1/2" seam along the side and bottom edges. Leave the top edge open.
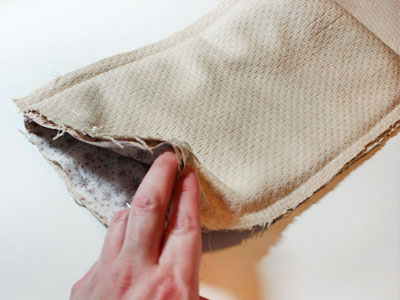
Insert the outer shell inside the inner lining, right sides together.
Align the top edges and seams together.
Pin in place and sew a 1/2" seam along the top edge, leaving about 3" open for turning.
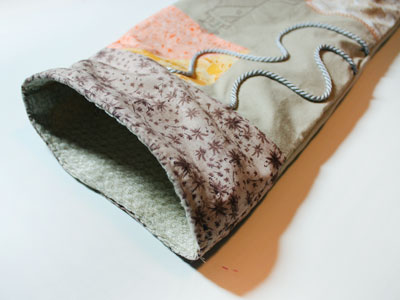
Turn the fabric right side out and insert the inner lining inside the outer shell.
Turn the fabric of the opening in 1/2", press, and pin in place.
Sew a 1/4" seam along the entire top edge of the stocking.
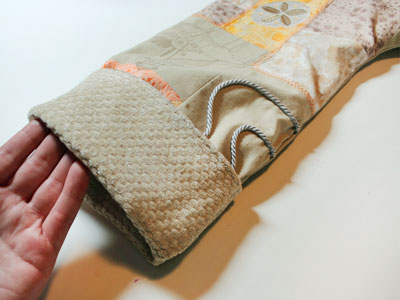
Roll the cuff down about 3".
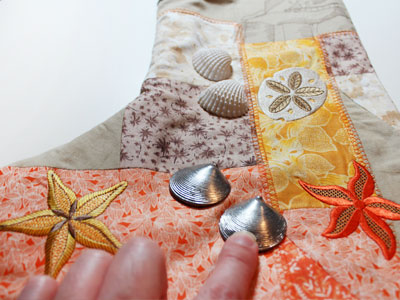
Add embellishments such as buttons, pendants, and sea shells. Glue them, or hand stitch them in place.
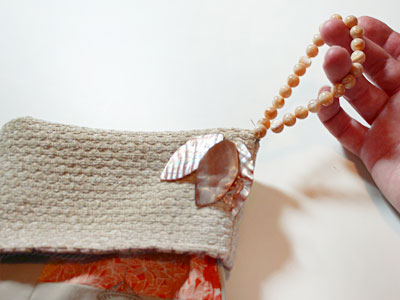
Add the hanger by forming the string of beads into a loop and hand sewing them in place at the top right seam on the cuff.
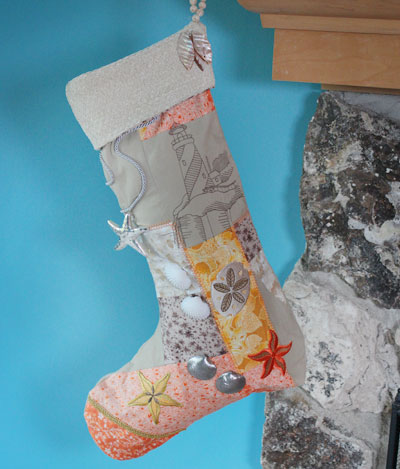
The combination of fabric choice, embroidery designs, and embellishments give this stocking it's unique and beautiful look.
Adapt it for your favorite hobby!
