Embroidery is usually added to items, but in this project, we are turning that around and adding embellishments to the embroidery!
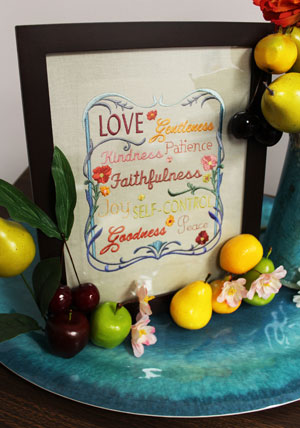
Begin by framing an embroidery design, and then add an embroidered accent piece, flowers, and any other decorative elements to make a bright and colorful tableau. Choose any theme to create a scene -- let your creative juices flow!
Read on for project instructions to create a vibrant 3D embroidery scene.
Supplies
Supplies Needed:
**8" by 10" picture frame
**1/3 yard fabric (I used linen)
**Small piece of heavy weight interfacing
**Medium weight cutaway stabilizer
**Temporary spray adhesive
**Air-erase pen
**5" diameter plastic lid or tape roll (for tracing)
**Permanent all-purpose spray adhesive
**Hot glue and glue gun
**Fabric glue
**Wire cutter
**Small vase
**Faux flowers and assorted decorative pieces
**Poster tack putty (optional)
Special Project Notes:
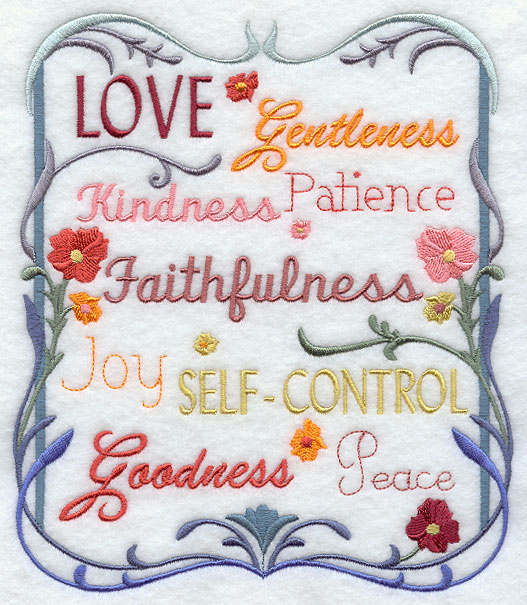
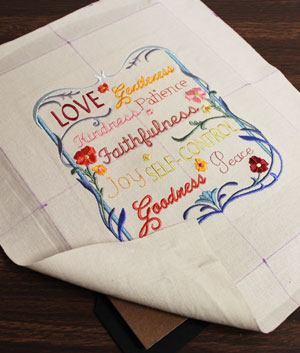
For my "Fruits of the Spirit" theme, I used the medium size of the Fruit of the Spirit design. I also stitched the Fall into Color Apple design for the vase accent piece. Let your imagination run wild with other themes! Use this idea with a lighthouse scene (add seashells), a country scene (add hens and roosters), or a child theme (add blocks and toys).
I found my tray and decorative fruit at Target (labeled as vase filler), and the vase and flowers at Michaels.
The first steps for embroidery design framing are included below. For the final steps of the framing process, go to my project instructions on framing embroidery.
Designs Used
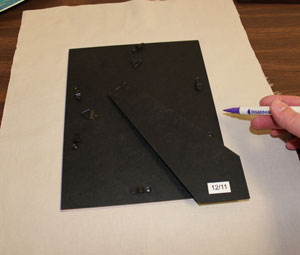
First, prepare the fabric for the framed piece. Lay the fabric flat with the right side facing up. Remove the back of the frame and lay it on top of the fabric, leaving a couple of inches of excess fabric around the outer edges of the frame back. Using an air-erase pen or other marking tool, trace the shape.
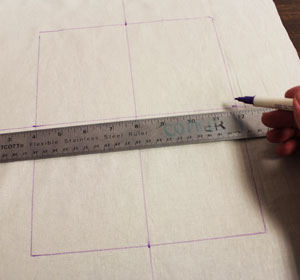
Mark the center of each side of the shape by measuring and dividing by two. Draw lines connecting the marks; the lines will be used for hooping.
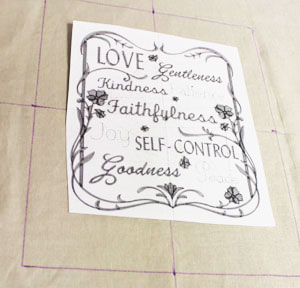
Create a paper template of the design by printing it at full size using embroidery software. Poke a hole in the center of the template and align it with the center point on the fabric. Make sure the design fits well within the shape. There should be at least one inch of space between the edges of the design and the outer edges of the shape.
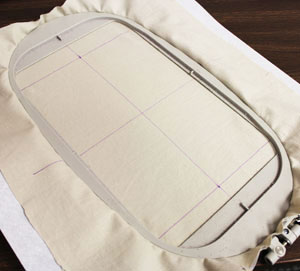
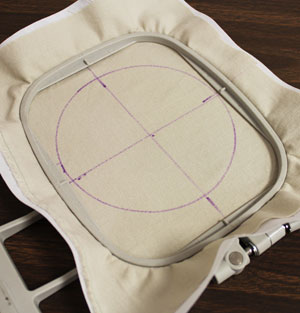
Spray a piece of medium weight cutaway stabilizer with temporary adhesive and smooth the fabric on top. Hoop the fabric and stabilizer together by aligning the marks on the hoop with the lines on the fabric. Attach the hoop to the machine and load the design. Move the hoop so that the needle is directly over the center point on the fabric and embroider the design.
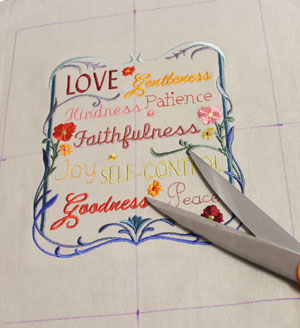
When the design has finished, trim away the excess stabilizer on the backside of the design.
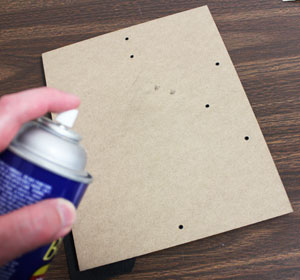
Spray the front side of the back of the frame with permanent spray adhesive.
Align the embroidered piece on top of the frame back, right side facing up, aligning the marked lines on the fabric with the edges of the frame back. Smooth the fabric in place.
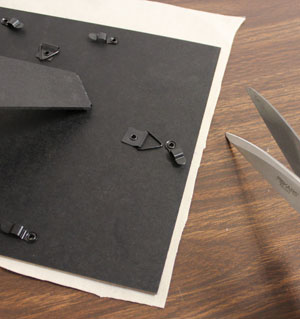
Trim the fabric around the outer edges of the frame back leaving about 1/4" excess. Insert the frame back in the frame and secure it in place.
For the final steps to complete the framed embroidery piece, see the project instructions for framing embroidery.
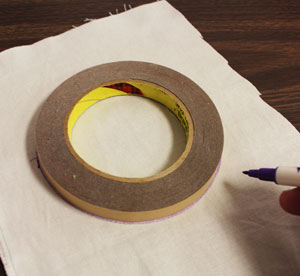
To prepare the fabric for the vase accent piece, cut a piece of fabric a bit larger than your hoop. Trace a 5" in diameter object onto the fabric (I used a roll of tape).
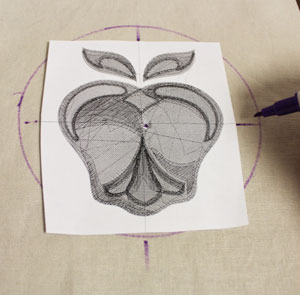
Create a paper template of the design and position it within the shape. Make sure the design fits well within the shape. There should be at least 1/2" of space between the outer edges of the design and the edges of the shape. Poke a hole in the center of the template and mark the fabric. Also, mark the horizontal and vertical axis points.
Draw lines connecting the marks. Spray a piece of medium weight cutaway stabilizer with temporary adhesive and smooth the fabric on top. Hoop the fabric, attach the hoop to the machine, load the design, move the hoop to align the needle with the center point, and embroider the fabric.
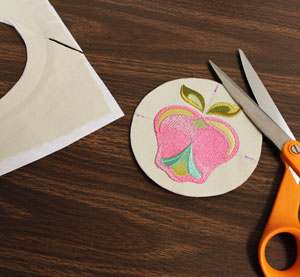
To assemble the accent piece, spray the backside of the embroidered fabric piece with temporary adhesive and smooth it on the heavy weight interfacing. Spray the backside of the interfacing and smooth it on top of the fabric. Cut out the shape. Zigzag stitch around the outer edges of the shape, leaving about 1/4" open at the bottom.
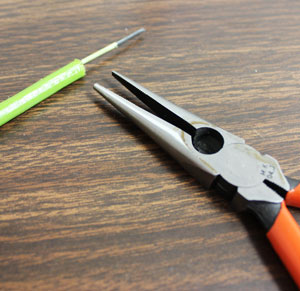
Using a wire cutter, trim a length of stem from the faux flowers (sized to fit your vase), and remove about one inch of the plastic covering from one of the ends.
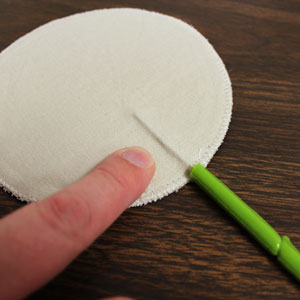
Add a few drops of fabric glue to the exposed wire, and then insert it in between the inner and back layers on the bottom of the accent piece.
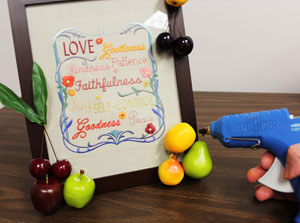
Add the decorative pieces to the frame by hot gluing them in place.
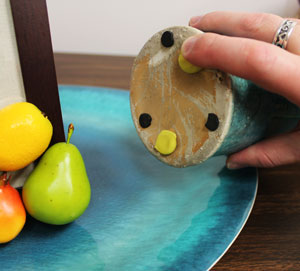
I then placed the frame and the vase on a tray for easy carrying and placement once the project is completed. You can secure the frame and vase in place by using poster tack putty or hot glue them in place for a permanent arrangement. Add the accent piece and faux flowers to the vase, and you are done!
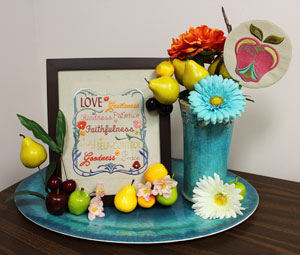
Choose your favorite embroidery design to build a beautiful 3D scene around! Add fabulous embellishments and decorations to match your theme, and you'll have a beautiful showpiece.


