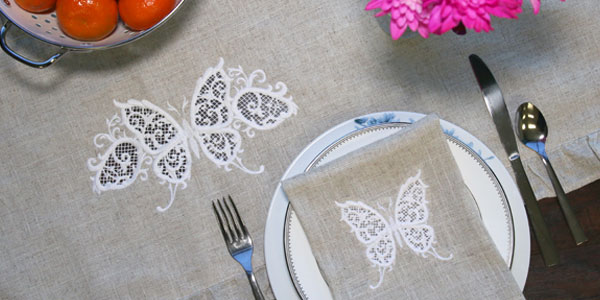
Add an impressive look to your table linens, fashion, and other home decor projects with stunning cutwork embroidery. It combines traditional embroidery with freestanding lace for a beautiful effect.
Supplies
- Woven fabric (like linen)
- Medium-weight (2.5 ounce) cutaway stabilizer
- Lightweight water-soluble stabilizer
Tools
- Sharp craft knife and cutting pad
- 30-35 weight cotton thread
- Double stick tape
- Paper towels
Designs Used
Special Notes:
There are some special cutwork needles available on the market, however, we used a 75/11 sharp sewing needle. Cutwork needles should not be used with our cutwork designs. The open areas are cut using a sharp craft knife (while the fabric and stabilizer are still hooped).
It's important to use 30-35 weight cotton thread when embroidering cutwork, as it is thicker than rayon or polyester thread and will hold up the delicate detail of the cutwork.
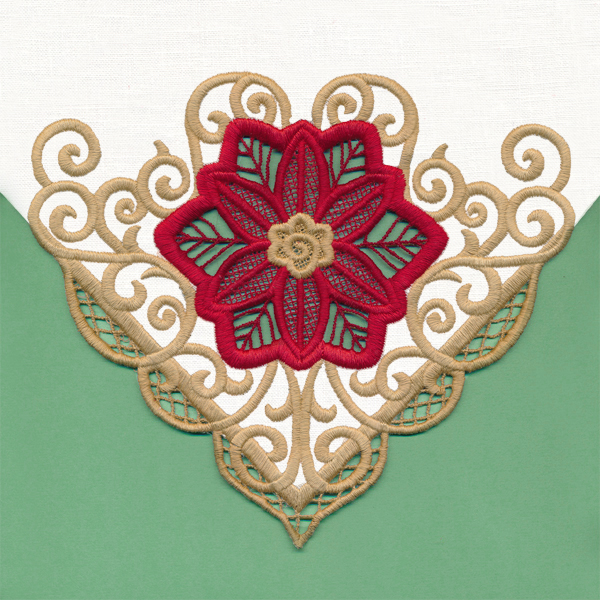
If you are sewing a cutwork corner embroidery design that extends past the edge of the fabric, such as the Golden Swirls Poinsettia Corner (Cutwork), the beginning steps are different. See the end of the tutorial for special instructions.
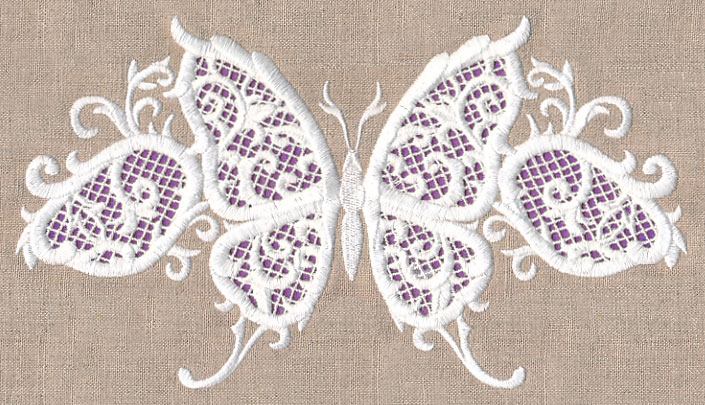
Cutwork is a mix of freestanding embroidery and embroidering directly onto fabric.
Woven fabrics, like linen, are an excellent choice for cutwork. Avoid stretchy fabrics and fabrics with Lycra or Spandex as these types of fabric will bunch and pucker.
Before starting, be sure to preshrink the fabric by washing and drying it. If you do not preshrink the fabric, it may pucker later on.
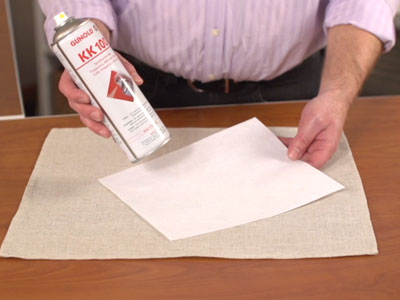
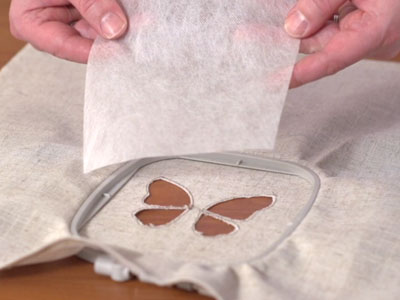
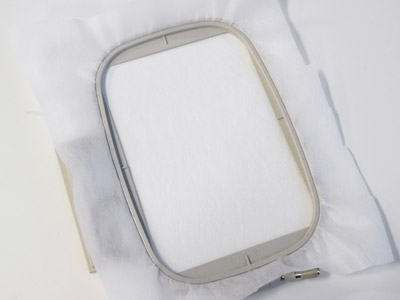
First, cut a piece of medium-weight cutaway stabilizer a bit larger than your hoop.
Spray the stabilizer with temporary adhesive and smooth the fabric on top.

Hoop the fabric and stabilizer together firmly, and tighten the hand screw.
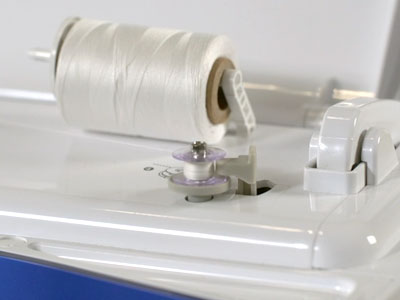
Since both sides of the cutwork can be seen, wind a bobbin with the same thread used in the needle.
It's important to use 30 or 35 weight cotton thread when embroidering cutwork.
There are a couple of different names for cotton thread, like mercerized and all-purpose.
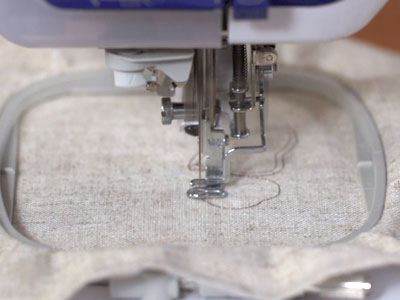
Attach the hoop to the machine and load the design.
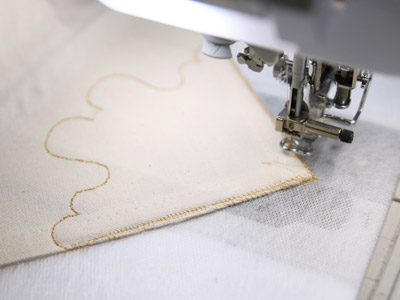
Embroider the design -- the first thing to sew will be the cut lines. These lines will be used to cut the openings in the fabric.
Using a darker colored thread to sew the cut lines will make it easier to see them on the fabric.
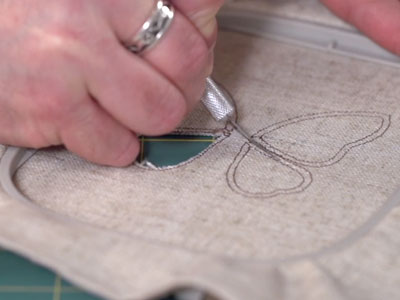
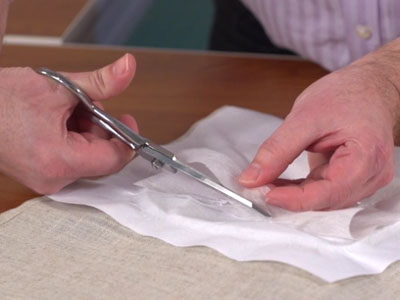
After the cut lines have sewn, remove the hoop but do not unhoop the fabric.
Place the hoop onto a cutting pad. Then, using a sharp craft knife, carefully cut out the openings by cutting in between the sewn cut lines.
Cut through the fabric and the cutaway stabilizer.
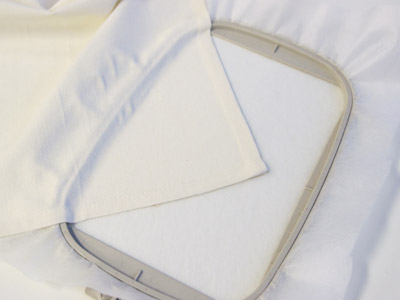
Next, cut a piece of water-soluble stabilizer to the size of your hoop. This tutorial uses Vilene, which is soft and fabric like.
Add double stick tape to the outer edges of the stabilizer and smooth it on the back of the embroidery.
Attach the hoop back onto the machine and continue with the design.
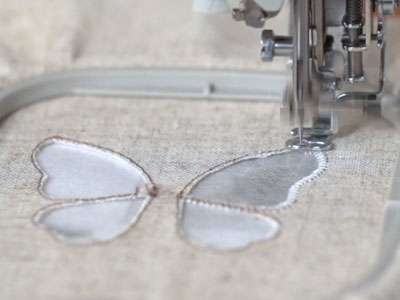
A zigzag stitch tack down will sew around the raw edges of the fabric. This tack down binds the fabric and stabilizer together.
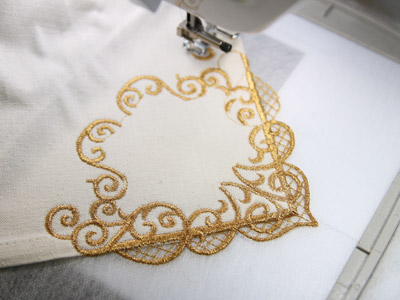
Next, the design will sew over the water-soluble stabilizer and the fabric, covering the raw edges of the openings.
After the design has finished, unhoop the fabric and cut away the excess water-soluble stabilizer and the cutaway stabilizer on the backside of the embroidery.

To remove the remaining water-soluble stabilizer, lay a dry paper towel underneath the embroidery and using a damp paper towel or sponge, dab the embroidery inside the open areas.
Or, you can hand wash the fabric with a mild detergent.
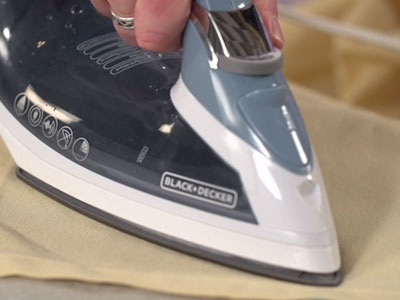
Allow the fabric to air dry. Then, using a pressing cloth on top, press the embroidery with an iron.
For a cutwork corner design, hoop one piece of heavy water soluble stabilizer rather than hooping the fabric.

Wind a bobbin to match the top thread, and place it into the machine. Attach the hoop onto the machine and load the design.
Embroider the design -- the first thing to sew will be the corner dieline. This shows exactly where to place the corner of the napkin.
Generously spray the corner of the napkin with temporary spray adhesive.
This will help the fabric stay in place while embroidering, because the napkin will not be hooped.
Place the corner of the napkin directly on the water soluble stabilizer inside of the sewn dieline.
Next, a tackdown stitch will sew around the edge of the design, and a zig zag stitch will sew around the edges of the napkin.
This tack down binds the fabric and the stabilizer together.
In corner cutwork designs, a special lace border will sew on along the edges of the napkin. Continue sewing, and watch the color change sheet.
After the "cutlines" step has stitched out, go back and follow the remaining cutwork steps above to cut out the shape and finish sewing the design.
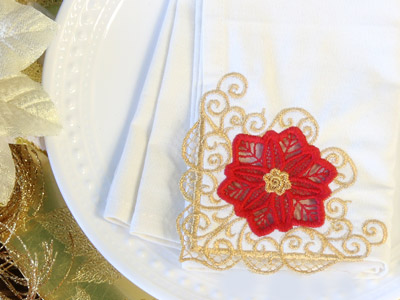
Use cutwork to dress up your table with napkins and table runners. This unique and exciting type of embroidery is a great way to dress up your table with napkins and table runners.
Or, add it to garments, pillows, and more for classic, delicate, and dainty detail.


