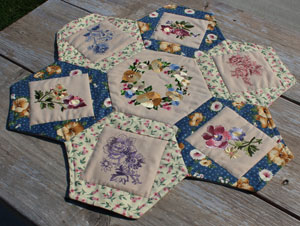
This project combines embroidery and quilting with fabrics from the beautiful Thimbleberries Pattern Party line to create this very pretty table topper.
You'll get great tips about how to blend embroidery designs with quilting. Where does the embroidery go? How can a design look not-so-busy with a printed fabric?
Create your own daisy-shaped table topper with your favorite fabrics and embroidery designs, put a vase of wildflowers in the center, and transform your table!
Supplies
Supplies Needed:
**3/4 yard solid colored quilter's cotton
**1/2 (total) yard print quilter's cotton (two different prints -- 1/4 yard each)
**3/4 yard (or 27" wide by 27" high piece) cotton batting
**Medium weight cutaway stabilizer
**Temporary spray adhesive
**Air-erase pen
**Piece of paper or tag board (for pattern pieces)
Designs Used:
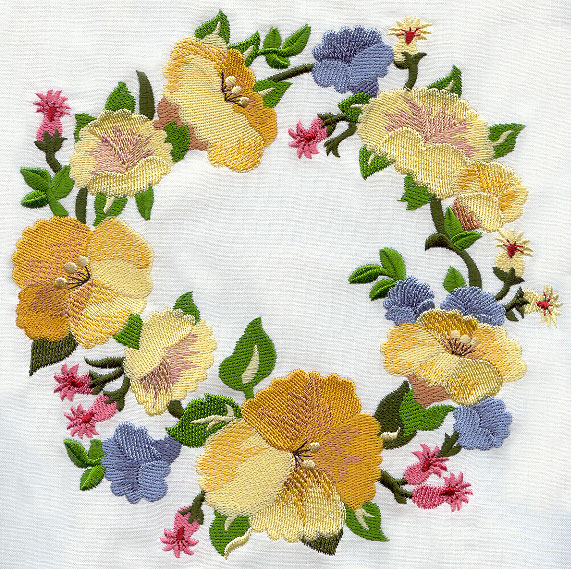
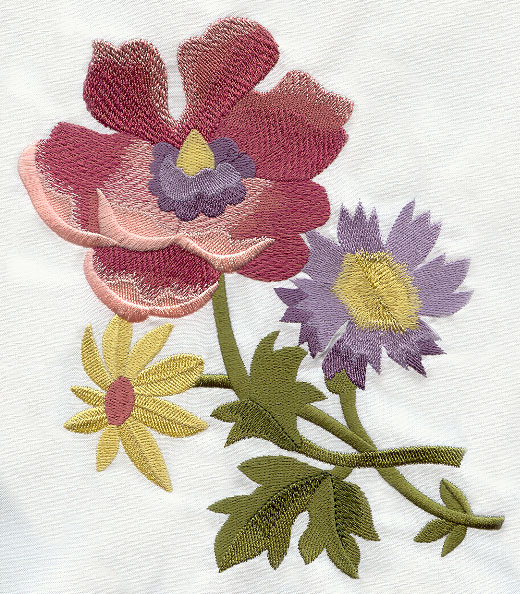
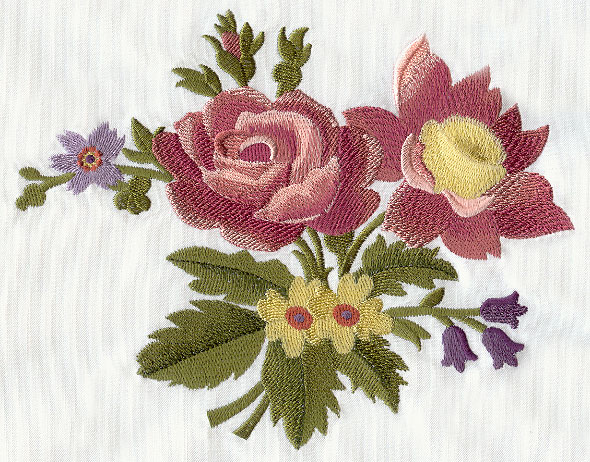
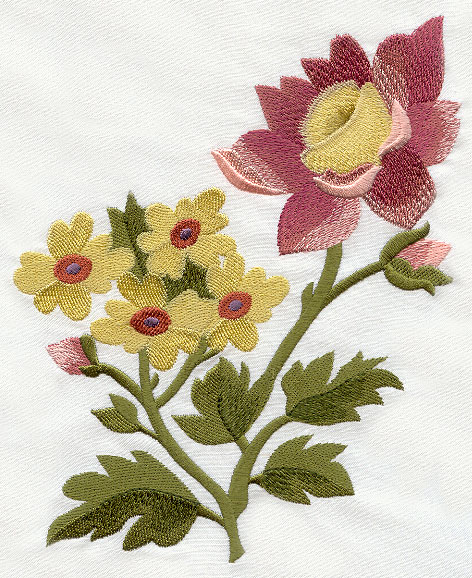
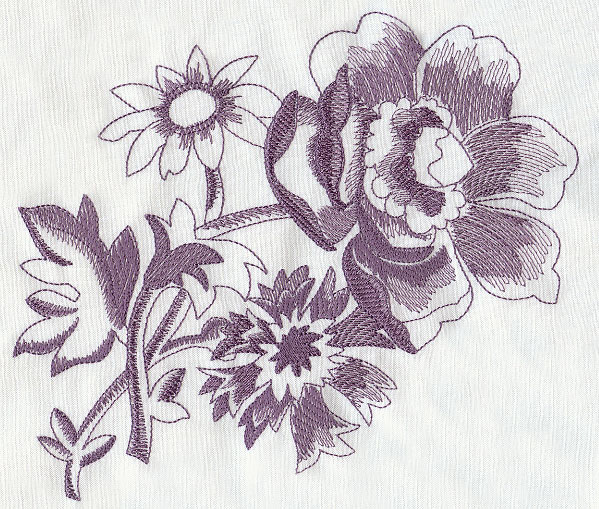
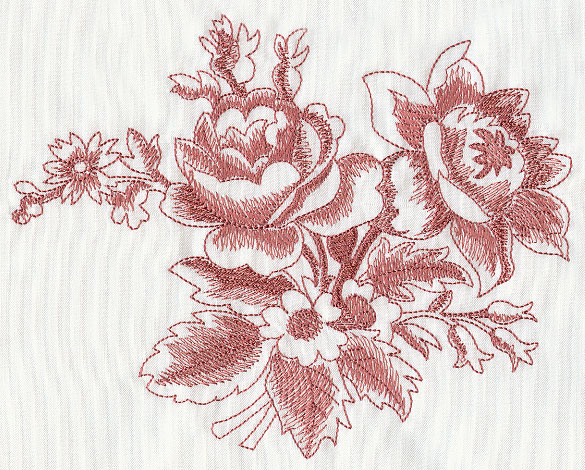
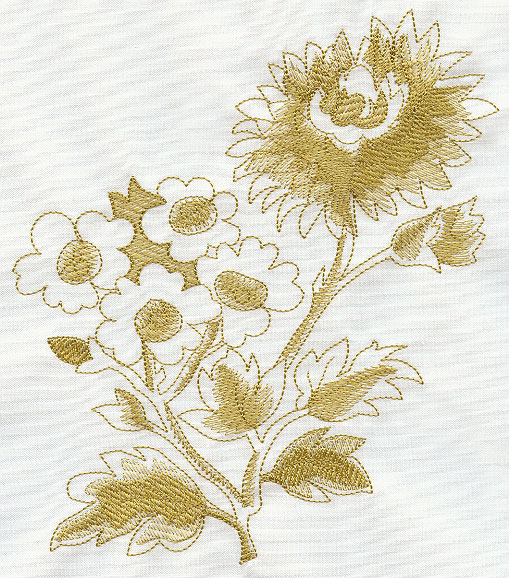
I used the 5.84"X5.84" size of the Sweet Garden Wreath and the small sizes of the following designs: Flutterby Fancy Flower 1, Flutterby Fancy Flower 2, Flutterby Fancy Flower 3, Floral Delight (Toile), Flower Array (Toile), and Petals in Bloom (Toile).
Wildflower designs from the Australia in the Wild series would be lovely, or for a holiday table topper, the Christmas Cup o' Tea designs and the Christmas in Flight designs would be fa-la-la-fabulous!
Finished Size: 22 1/2" in diameter
Designs Used
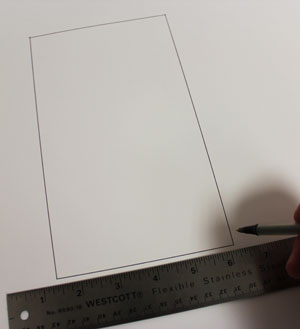
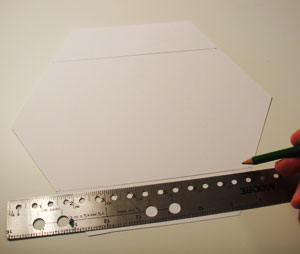
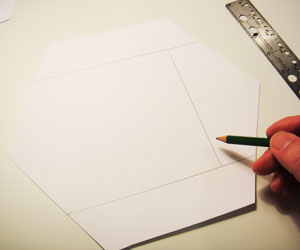
First, to prepare the pattern piece, draw a 4 3/4" wide by 8 1/4" high rectangle on the paper.

Measure and mark the center of each side of the shape by measuring and dividing by two. Draw 2 3/8" long horizontal lines out from the marks you just made.
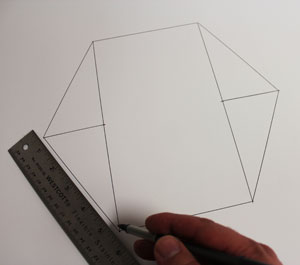
Draw lines connecting the ends of the lines you just drew with the corners of the rectangle to create the hexagon shape (all six sides of the shape should measure 4 3/4").
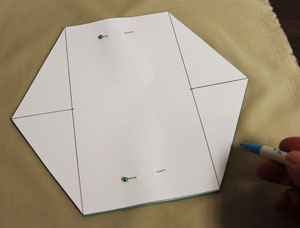
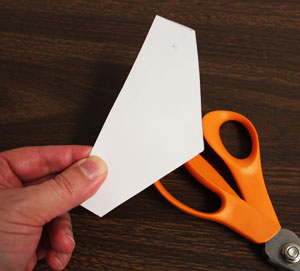
Cut out the shape. To prepare the fabric for the center piece, pin the pattern piece on the solid-colored fabric and using an air-erase pen or other marking tool, trace the pattern.

Remove the pattern and draw a line connecting the points on the right and left side. Measure and mark the center of the top and bottom edges by measuring and dividing by two. Draw a line connecting the marks.
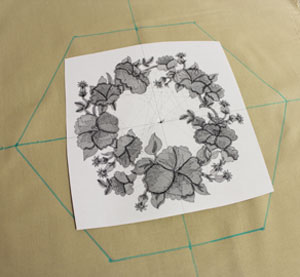
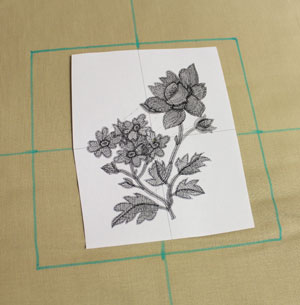
Create a paper template of the design by printing it at full size using embroidery software. Poke a hole in the center of the template and align it with the center point on the fabric. Make sure the design fits well within the shape. There should be at least about 3/4" of space between the outer edges of the design and the edges of the shape.
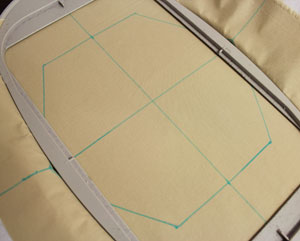
Spray a piece of medium weight cutaway stabilizer with temporary adhesive and smooth the fabric on top. Hoop the fabric and stabilizer together by aligning the marks on the hoop with the lines on the fabric. Attach the hoop to the machine and load the design. Move the hoop so that the needle is aligned directly over the center point on the fabric. Embroider the design.
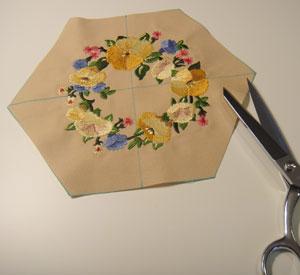
When the design has completed, trim away the excess stabilizer on the backside of the embroidery and cut out the shape.

To prepare the squares for the center of the outer pieces, draw a 5 1/4" wide by 5 1/4" high square on the fabric. Measure and mark the center of each side and then draw lines connecting the marks.
Create a paper template, align the center point with the center point on the fabric, and make sure there is at least 3/4" of space between the outer edges of the design and the edges of the shape.
Hoop the fabric with medium weight cutaway stabilizer and embroider the design as you did earlier. Trim away the excess stabilizer and cut out the shape. Repeat this process for a total of six embroidered squares.
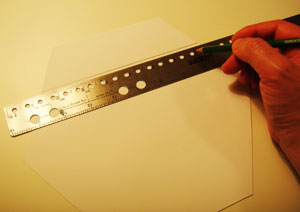
Trace the pattern piece on the paper and cut out two more pieces. To prepare the pattern piece for the sides of the outer shapes, on one of the traced pattern pieces first measure and mark 1 3/4" down from the top and bottom corners along the right and left sides of the shape along the outer edges. Draw horizontal lines connecting the marks.
Measure and mark in one inch starting at the right sides of the lines you just drew. Draw a line connecting the marks.
Cut out the shape. The long straight edge should measure 5 1/4".
To prepare the pattern piece for the tops and bottoms of the outer shapes, on the remaining traced pattern piece, measure and mark 2 3/8" down from the top corners along the right and left sides. Draw a line connecting the marks.
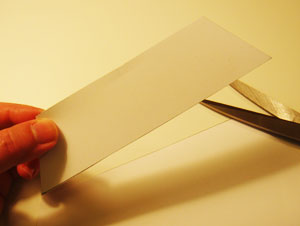
Cut out the shape. The long straight edge should measure 7 1/4".

For each outer shape, use the pattern pieces to cut a total of four pieces: two of the side shapes and two of the top/bottom shapes.
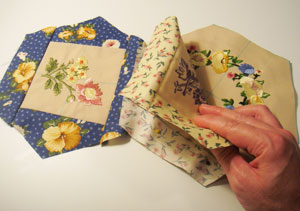
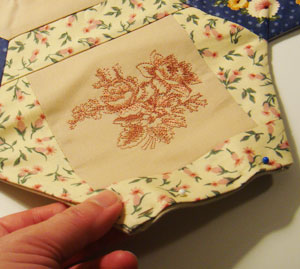
To assemble the outer shapes, lay the embroidered square flat with the right side facing up. Align the straight edges of the side pieces with the right and left sides of the square, right sides together, pin in place, and sew a 1/4" seam along the pinned edges only. Press the back seams open with an iron.
Align the long edges of the top and bottom pieces with the top and bottom edges of the square, right sides together, with about 1/2" of the ends of the top/bottom pieces extending out past the edges of the square.
Pin in place and sew a 1/4" seam along the pinned edges only; press the seams. Trim the excess fabric around the edges of the shape. Repeat this process for each outer shape (total of six shapes).
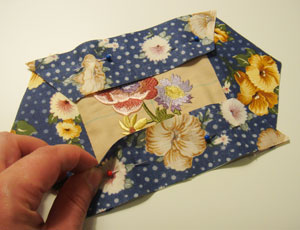
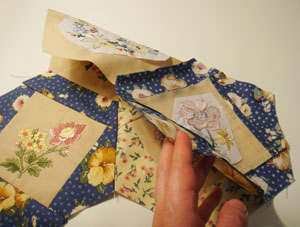
Lay the center piece flat with the right side facing up. Align one of the outer pieces on top and pin in place along the outer edge (pin at the top of the outer piece).
Sew a 1/4" seam along the pinned edge only starting and stopping 1/4" from each outer edge.
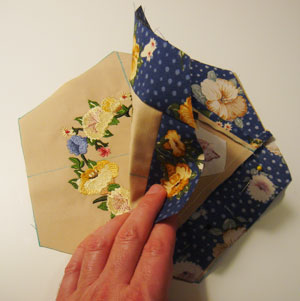
Add the next outer piece (right next to the first outer piece) by aligning it with the center piece, pin in place, and sew a 1/4" seam along the pinned edge starting and stopping 1/4" from the outer edges. Press the seams.
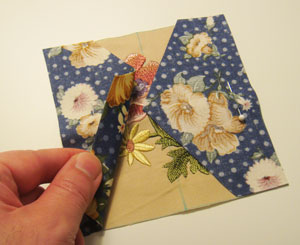
Fold the center piece in half (right sides together), and align the first and second outer pieces together at the sides, right sides together, pin in place, and sew a 1/4" seam starting at the center working your way out. This prevents the fabric from bunching along the edge of the center piece. Repeat this process for each of the outer pieces.
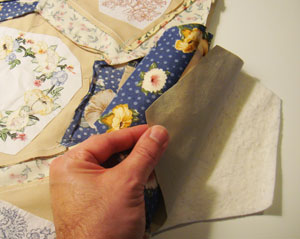
To prepare the batting and the back fabric, lay the batting flat. Lay the back fabric on top with the right side facing up. Then lay the assembled top panel on top of the back fabric, right sides together. Pin in place and cut out the shape. Sew a 1/4" seam along the outer edges of the shape leaving one of the outer edges open for turning.
Turn the topper right side out in between the fabric layers (the batting will end up in sandwiched in between), press the seams, and turn the fabric of the opening in 1/4", press, and pin in place.
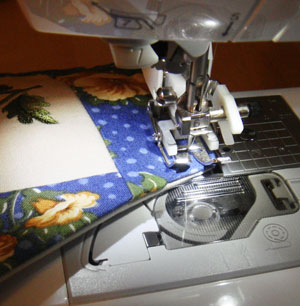
With nylon monofilament in the needle and matching thread in the bobbin (thread that matches the back fabric) quilt through all the layers by stitching along the existing seams of the top panel and also sew a 1/4" seam along the entire outer edge of the topper.

Pick your favorite fabrics and embroidery designs you love to make your own unique and lovely table topper!


