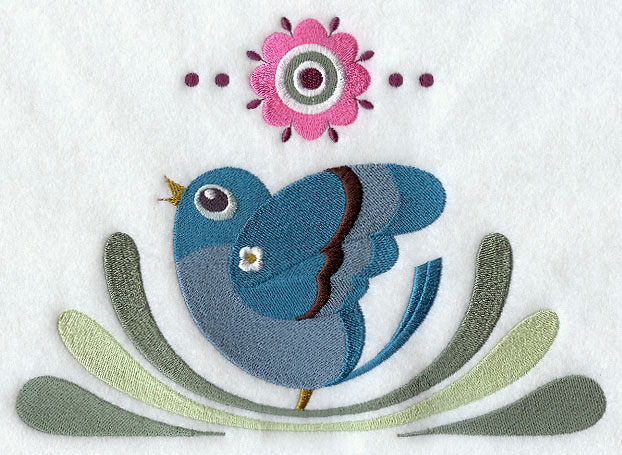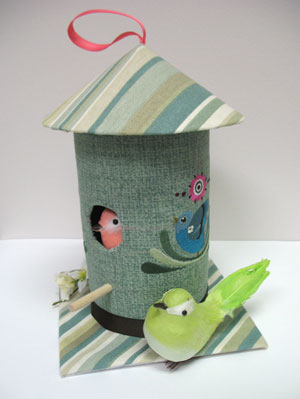
Decorate your home or porch with this fun and easy-to-make birdhouse. Cover it with your favorite fabric and embroidery to create your own unique style!
Read below for these free project instructions.
Supplies
Supplies Needed:
**Cylindrical cardboard container (we used an oatmeal container)
**Small piece of heavy cardboard
**Small piece of light cardboard (we used a cereal box)
**1/2 yard lightweight canvas (for sides of birdhouse)
Supplies Continued:
**1/4 yard lightweight canvas (for roof and base)
**Small piece of felt
**Medium weight cutaway stabilizer
**Temporary spray adhesive
**Air-erase pen or dress maker's pencil
**7 inch ring or plastic lid
**5 1/2 inch length of 1/4 inch wooden dowel
**Tape measure
**Hot glue and gun
**Craft knife
**Ribbon
**Faux flowers and decorative birds (optional)
Designs used:
Bluebird of Happiness 6 (small)
This design is also available in the following design packs:
A Bluebirds of Happiness Design Pack - Lg
A Bluebirds of Happiness Design Pack - Sm
Project tip:
If you would like to hang the birdhouse outdoors, place it in an area protected from the elements and be sure to spray it with a silicone waterproofing spray. This spray can be found in a variety of stores such as hardware, automotive, and superstores.
Finished Size:
6 inches wide by 9 inches high
Designs Used
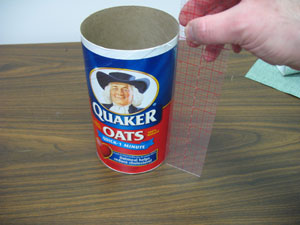
First, we will measure the container so we can cut the fabric for the sides of the birdhouse. Measure the height of the container (ours is 7 inches high).
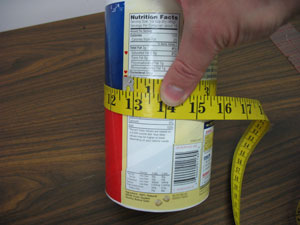
Using a tape measure, measure around the container (ours is 12 1/2 inches).
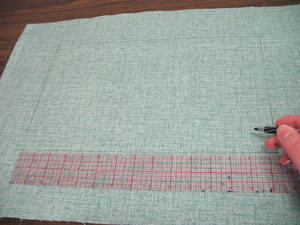
Add two inches to each dimension. Doing this allows for excess fabric to wrap around the top and bottom of the container later on. Our final measurements are 9 inches high by 14 1/2 inches around. Using these dimensions, draw a rectangle on the lightweight canvas (our rectangle is 9 inches high by 14 1/2 inches wide).
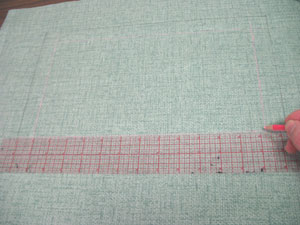
Using an air-erase pen or dress maker's pencil, measure and mark in one inch along all sides of the shape and draw lines to connect the marks. The area inside the lines you just drew is the area to be embroidered.
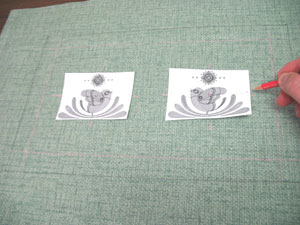
Create paper templates of the designs by printing them at full size using embroidery software. If you don't have embroidery software, you can cut a piece of paper the shape and dimensions of the design to help with placement and centering.
Place the templates within the inner shape. We placed the designs about 1 1/2 inches from the outer edges of the inner shape and then centered them to the top and bottom by measuring the distance between the top and bottom inner lines and dividing by two. Poke a hole in the center of the templates and mark the fabric. Also, mark the horizontal and vertical axis points.
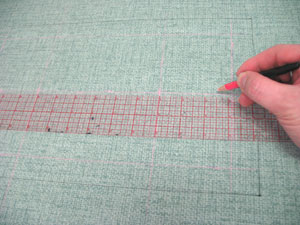
Remove the templates and draw lines connecting the marks. These lines will be used for hooping.
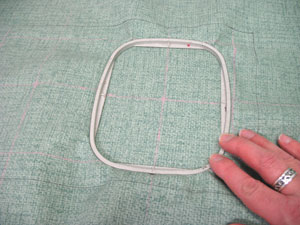
Spray a piece of cutaway stabilizer with temporary adhesive and smooth the fabric on top. Hoop the fabric and stabilizer together by aligning the marks on the hoop with the lines on the fabric. Attach the hoop to the machine and load the design. Move the hoop so that the needle is directly over the center point on the fabric. Embroider the design.
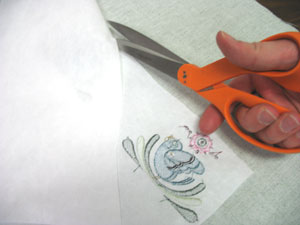
Repeat the hooping and embroidering process for both designs. When both designs have finished, trim away the excess stabilizer on the back of the embroidery.
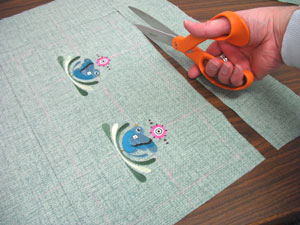
Cut out the shape along the outer lines.
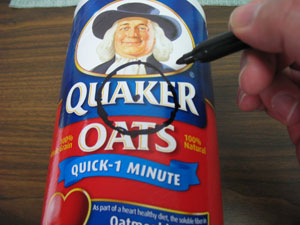
Now we will cut the hole in the container. Measure and mark the center front of the container by measuring the front side and dividing by two. Then, measure and make marks out 3/4 inch from the center points. Draw a circle by connecting the points.
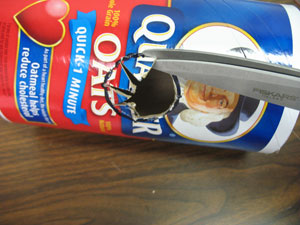
Poke a hole in the center of the circle and cut slits out to the line. Bend the points up and then trim them off.
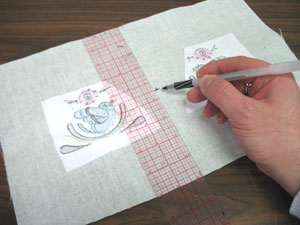
Measure and mark the center of the backside of the embroidered fabric piece by measuring the top and bottom edges and dividing by two. Draw a line to connect these points. Measure and mark the center of this line by measuring and dividing by two - this is the exact center of the backside of the fabric.
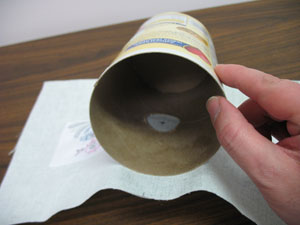
Spray the backside of the fabric with temporary adhesive. Align the center point on the fabric with the hole in the container and press in place. Make sure the container is aligned with the top and bottom edges of the fabric - there will be 1 inch excess of fabric along the top and bottom of the container.
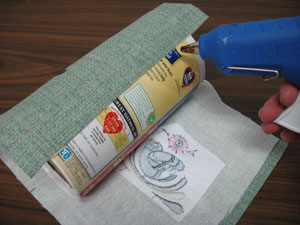
Lay a line of hot glue along the back of the container and press one end of the fabric in place.
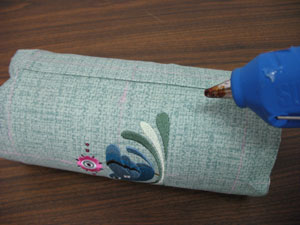
Fold the opposite end of the fabric over 1/2 inch and then glue it in place on top of the raw edge of the opposite end.

Lay a line of glue along the top and bottom edges of the container, fold the fabric over the edges, and press them in place.
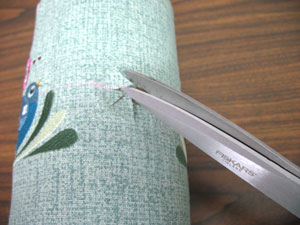
Poke a hole in the center of the fabric at the hole. Cut slits in the fabric up to about 1/8 inch from the edges of the hole. Lay a line of glue along the edges of the hole inside the container and press the points of fabric in place.
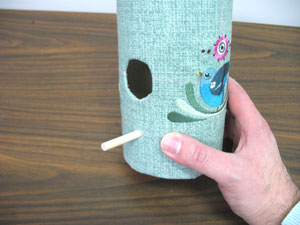
Cut a piece of 1/4 inch wooden dowel to 5 1/2 inches long. Measure and mark about 1 1/4 inch down from the bottom of the hole and use a craft knife to cut a small hole through the fabric and the container. Insert the dowel through the hole and then add a drop of glue to the end - inside the container. Glue the end of the dowel to the inside of the container to hold it in place.
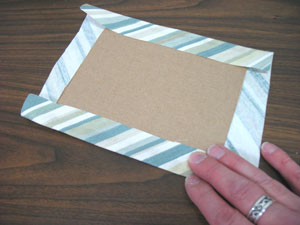
Now we will prepare the base of the birdhouse. Cut a piece of heavy cardboard 6 inches wide by 6 inches tall. Spray the cardboard with adhesive and smooth it on top of the light weight canvas. Trim the fabric leaving about 1 inch of excess around the cardboard shape.
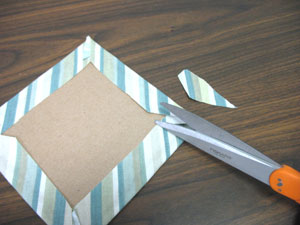
Lay lines of glue around the edges of the cardboard, fold the fabric over, and press it in place. Trim the fabric at the corners. Then, cut a piece of felt to fit the cardboard piece and glue it to the cardboard covering the folded fabric.
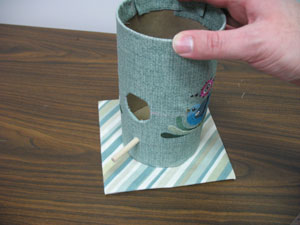
Position the completed middle section on top of the base. Measure equal distances from the bottom of the middle section to the corners of the base. Then, mark the base at the bottom of the middle section. Add glue along the bottom edge of the middle section, align it back on the base using the marks you just made, and press it in place.
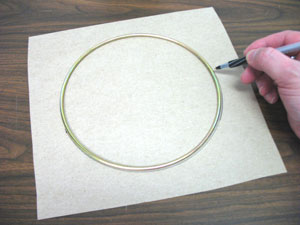
Now we will construct the roof. Trace the shape of a 7 inch ring or plastic lid onto the lightweight cardboard.
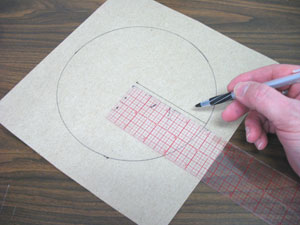
Mark the center of the shape by measuring and dividing by two. Draw a line from the center to the edge of the shape.
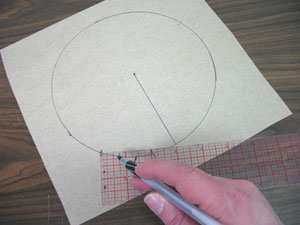
Measure out 3 inches along the shape from where the line you just drew meets the shape.
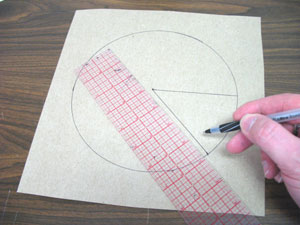
Draw a line from the mark back to the center point (this creates a pie slice shape)
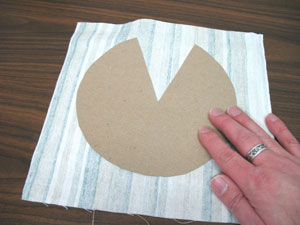
Cut out the shape including the pie slice shape. Spray the cardboard with adhesive and smooth it on top of the canvas.
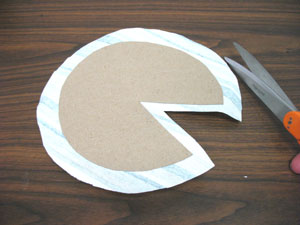
Trim the fabric leaving about 1/2 inch of excess fabric around the shape.
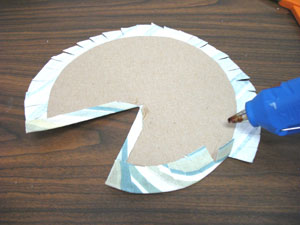
Cut slits in the excess up to about 1/8 inch from the edge of the cardboard. Glue the fabric in place by folding it up around the edges of the cardboard. Then, add a line of glue along the top edge of one side of the pie slice shape and glue the opposite side on top overlapping the two sides about one inch (this creates the cone shape of the roof).
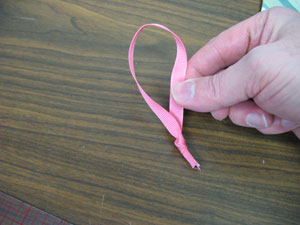
To create a hanger loop for the birdhouse, cut a length of ribbon 12 inches. Bring the ends together and tie a knot.
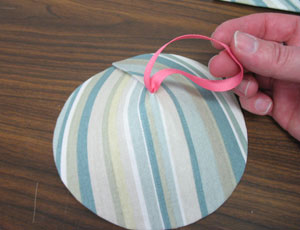
Thread the top of the loop through the top point of the roof section from underneath. Then, add the roof by adding glue to the top edge of the middle section. Align the roof on top, and press in place.
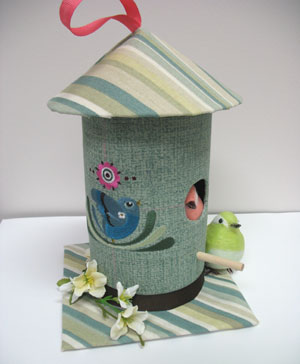
Sweet tweets now have a place to call home!
