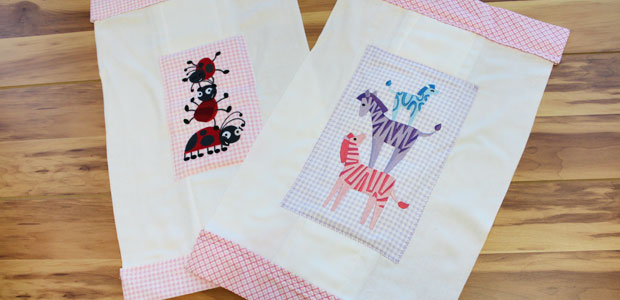
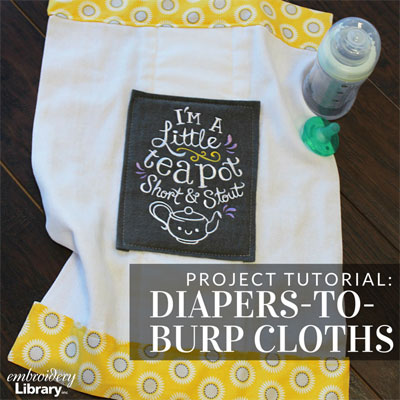
Turn a simple cloth diaper into a burp cloth with just a few simple steps! Burp cloths are a fabulous gift for new moms and dads, and these burp cloths feature fun fabric and embroidery embellishments for an extra sweet look.
Supplies
Project Needs & Notes
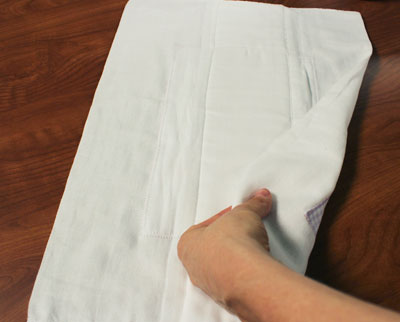
- 14" x 20" cloth diapers
(pre-folded Gerber diapers)
- 1/3 yard flannel or Kona cotton
- Medium-weight (2.5 ounce) cutaway stabilizer
- Air-erase marking pen
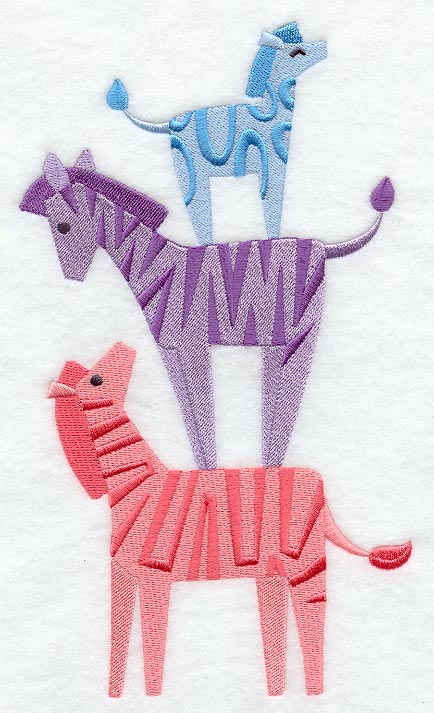
For this tutorial, we use the Zebra Stack design. Find even more children and nursery designs here.
Designs Used
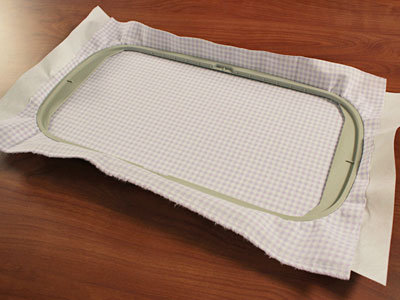
Hoop flannel or Kona cotton with a piece of cutaway stabilizer.
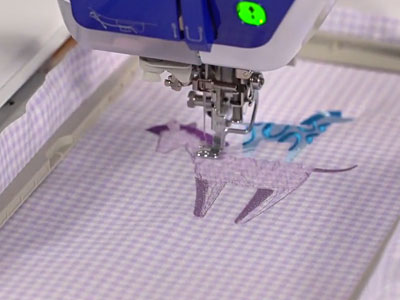
Embroider the design.
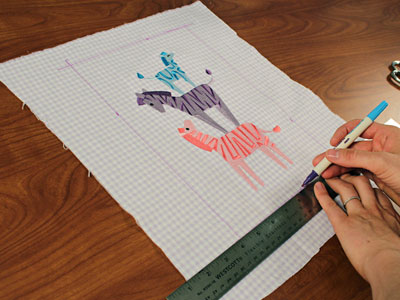
Draw a box around the design, leaving 1 1/4" of fabric on each side.
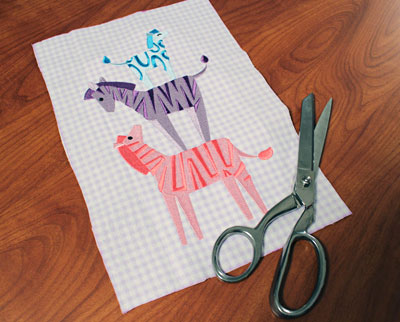
Cut out the shape. It is not necessary to cut the stabilizer away.
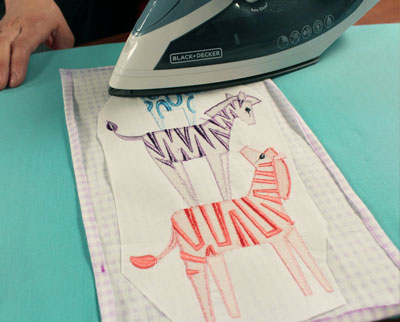
Fold the edges of the fabric under by 1/4" inch, and press.
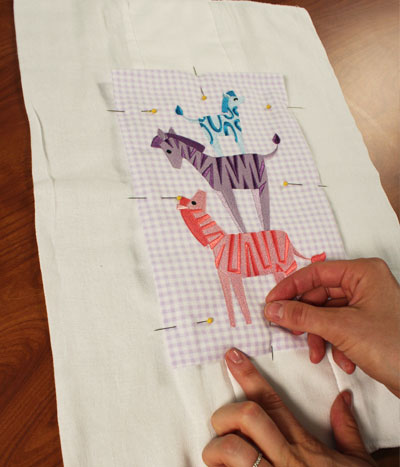
Place the embroidered fabric on the diaper, right in the center. Pin in place.

Use a zigzag stitch to sew the embroidered fabric onto the diaper.
Because the fabric is embroidered then stitched to the diaper, the back of the burp cloth is nice and neat.
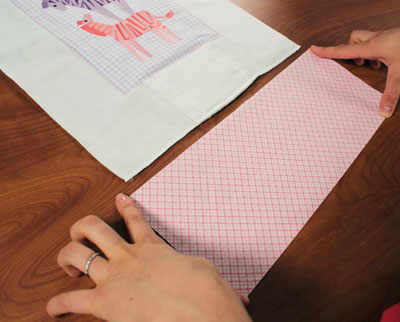
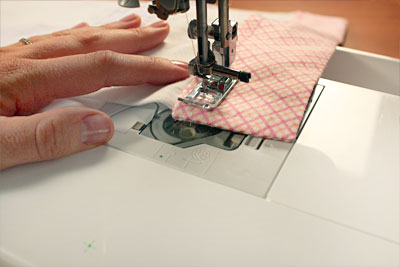
Add short borders to the ends of the diaper.
The diaper is 14" wide, so you'll want to add 1" for a seam allowance. Cut pieces of fabric that are 15" x 6".
Fold the fabric lengthwise, right sides together.

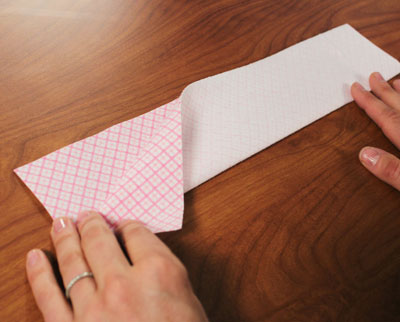
Sew a 1/2" seam along the short ends.
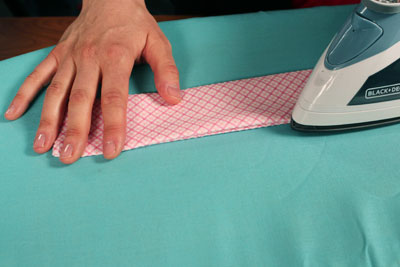
Turn the fabric right side out and press.
Turn the sides of the open edge 1/2" in to the wrong side, and press.
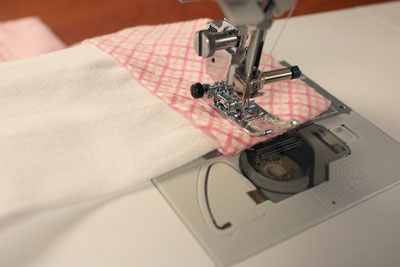
Slide an end of the diaper into the pocket, and stitch a 1/4" seam along the folded edge, and a second 1/4" down.
Repeat for the other end.
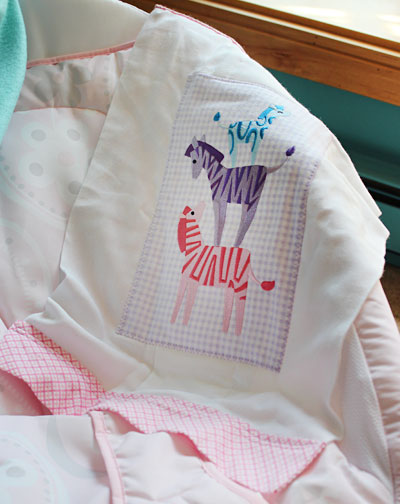
These adorable burp cloths are an essential item for parents, and the perfect gift for a baby shower! Use the embroidery to personalize each burp cloth for its new owner.
This project is featured on the Embroidery Library Pinterest page.
Pin it yourself using the "Pin It" button on this page.


