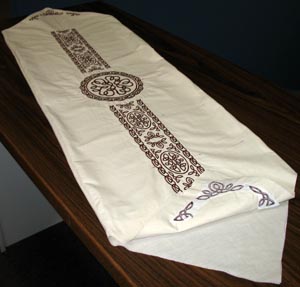
Table runners are a wonderful way to showcase your embroidery and dress up your home decor!
Stitch an embroidered table runner to add seasonal style and holiday elegance to your dining room.
These project instructions demonstrate how to size a runner to fit your table, and how to create an ornate hand-made braided trim.
Supplies
Supplies needed:
**1 yard cotton muslin fabric(amount varies depending on size of runner)
**1/4 yard cotton chamois
**Cutaway stabilizer
**Spray adhesive
**Fabric glue
**Masking tape
**Air erase pen
Designs Used:
Celtic Knotwork Circle
Celtic Knotwork Rectangle
Celtic Knotwork Corner
Designs Used
First, measure the table to find the total length of your table runner. If you have a square or rectangular table, measure the length across. If you have a circular table, measure the diameter. Each end of the runner will have nine inches of overhang on the ends of the table, so add 18 inches to your measurement. This is the total length of your runner.
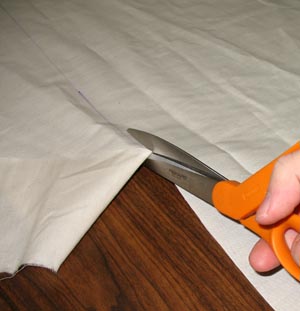
We made our runner 15 inches wide. This size accommodates the designs well. You can make the width of your runner as wide or narrow as you like--just keep in mind the size of the designs that you are embroidering. Cut the muslin fabric to size.

Once the fabric has been cut to size, measure and mark the center point. To do this measure the width of the runner, divide that measurement by two and mark that center down the length of the fabric.
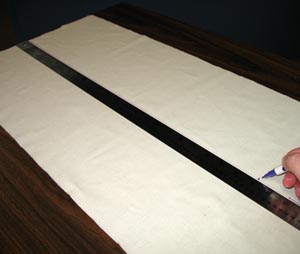
Connect those marks to make a line that extends down the length of the fabric. This line will be used to place the embroidery designs.
Design placement is easier when using templates. If you have embroidery software, print templates of the center, rectangle/border, and corner designs.
If you don't have embroidery software, then draw a template approximating the size and shape of the designs.
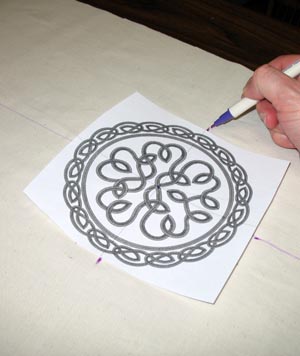
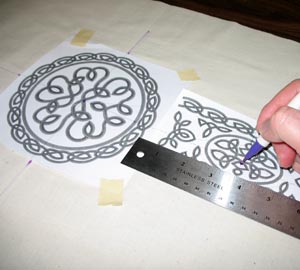
If you've printed templates from your embroidery software, then the center point and axis lines should be marked. Poke a small hole through the center point and align it with the center point on the fabric. Line up the horizontal line on the template with the horizontal line that you drew on the fabric. Then, mark the vertical axis on each side of the template.
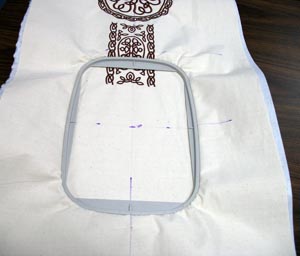
Remove the template and draw a line connecting the vertical axis lines. These lines will be used for hooping.
Next, put the circle template back in place by aligning the center point and axis lines as you did before. Tape the template in place so it will not shift around.
Add the rectangle/border template next to the circle. Align the horizontal axis line on the template with the horizontal line on the fabric. We left one inch of space between the rectangle/border and the circle.
Poke a hole through the center of the template and mark the center point. Mark the vertical axis points as well. Tape the template in place.
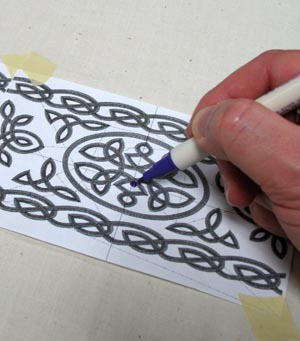
Add another rectangle template aligned exactly with the first rectangle to create a repeating border. Align the second template with the first, connecting the edges and aligning the horizontal axis lines. Tape in place. Mark the center and vertical axis points.
Repeat this for as many designs as you'd like to add.
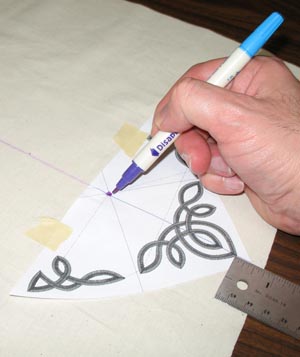
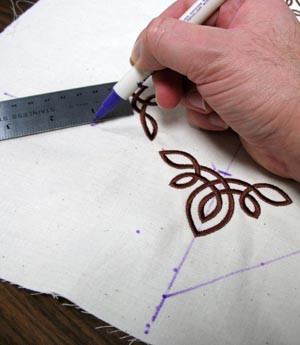
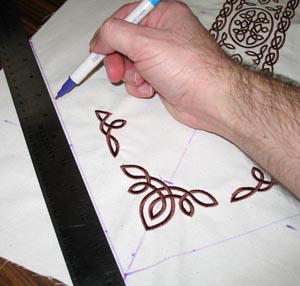
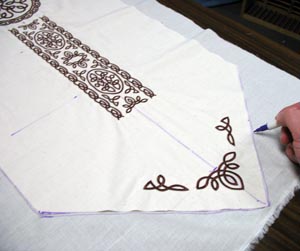
Next, add the corner design template. Arrange it 3/4 of an inch from the end of the fabric and mark the placement, lining up the center point and axis lines with the lines that you have marked on the fabric.
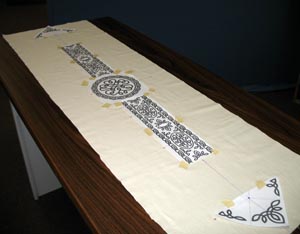
Repeat these steps for placement on the other side of the table runner. When you have made all of your marks, remove the paper templates and connect all of the vertical axis lines.
The designs will be embroidered from the center out, so we'll begin with the circle first.
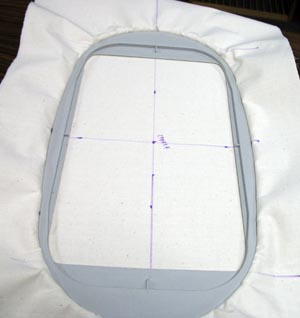
Spray a piece of cutaway stabilizer with adhesive and smooth the fabric on top. Hoop the fabric and stabilizer by aligning the lines on the fabric with the marks on the hoop.
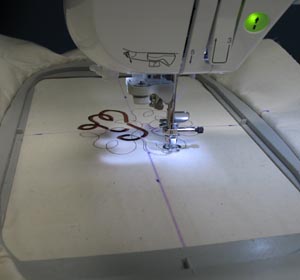
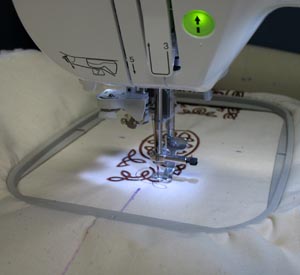
Attach the hoop to the machine, load the center circle design. Move the hoop so the needle is right over that center point, and embroider the design.
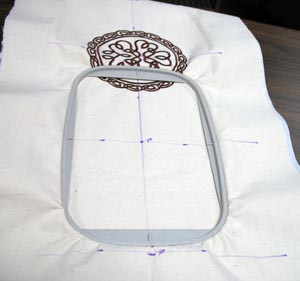
When the circle has finished sewing, unhoop the fabric. The first rectangle design will embroider next. Spray another piece of cutaway stabilizer with adhesive as you did before, and hoop it with the fabric. Align the lines on the fabric with the marks on the hoop. You may find that the embroidery that you just completed is hooped -- and that is okay, it won't distort the stitches.
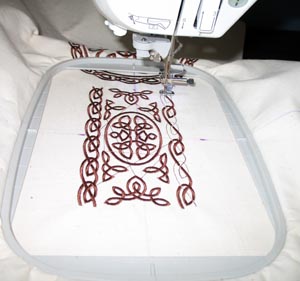
Attach the hoop to the machine, and load the design. Move the hoop so the needle is right over that center point, and embroider the design.
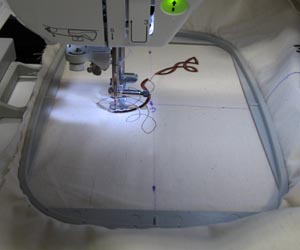
Repeat this for each rectangle design. Re-hoop the fabric and...
...continue sewing the rectangles.

When all the rectangle designs have finished sewing, unhoop the fabric and re-hoop for the corner designs at the ends of the runner.
Embroider the corner designs as you did the other designs. Repeat these steps and embroider the other end of the runner.
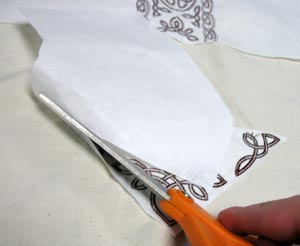
After all the designs have finished sewing, flip the fabric over and carefully cut away the excess stabilizer.
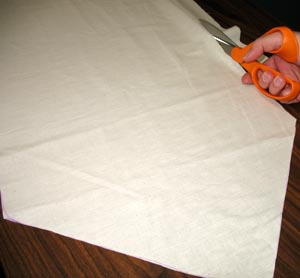
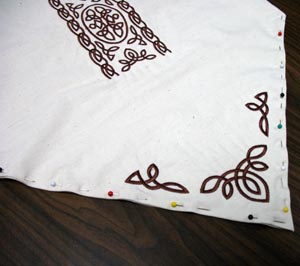
Next, cut the ends to a point. On the diagonal, measure one inch from the end design. Mark two points on each side.
Mark the two points from the center line of the runner to the outer edge of the fabric on both sides
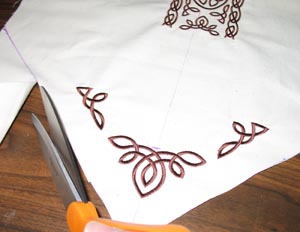
Cut along these lines to create the point
Next, cut a back for the runner from the muslin. Lay the top embroidered piece on the fabric, and trace the shape.
Cut out the shape.
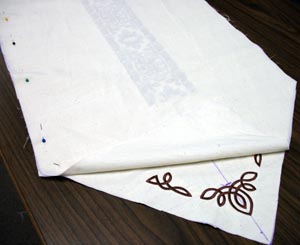
Lay the right side of the underside fabric on top of the embroidered top piece. Pin the pieces together, leaving one entire pointed end open for turning.
Sew a 1/4 inch seam on both layers of the open end.
Turn the runner right-side out
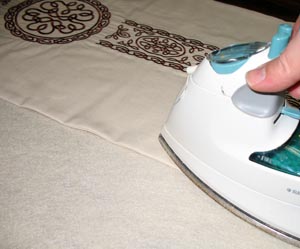
Press the seams flat.
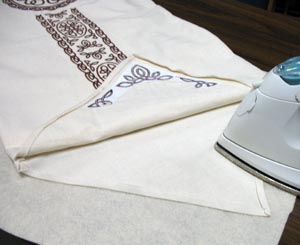
Also, fold and press 1/4 inch seams on both layers of the open end.
Line up the layers of the open end and secure with pins.
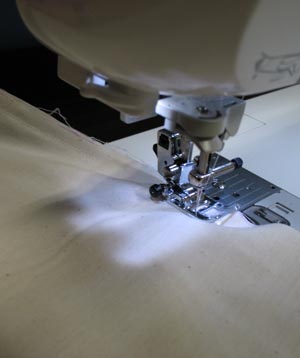
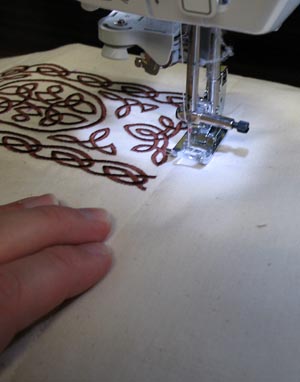
With a straight stitch, sew the open end shut by sewing right along the edge.
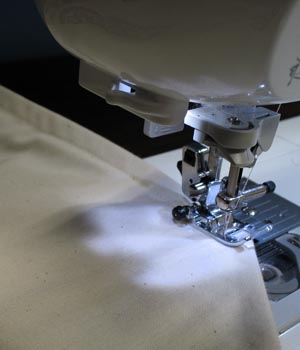
Top stitch around the entire edge of the runner by sewing a 1/4 inch seam.
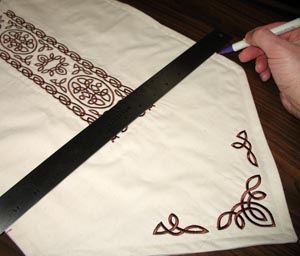
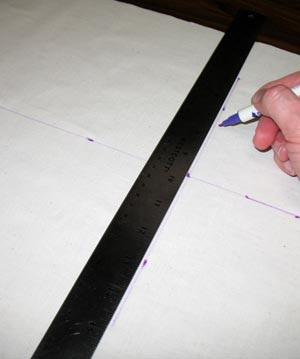
Add a seam on both ends to help the runner fold neatly over the edge of the table. Lay a ruler along the edge of the last rectangle and mark the edges of the runner.
Sew a seam from one edge to the other following the marks.
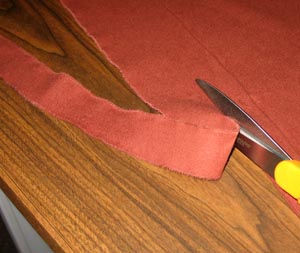
Lastly, finish the end seams by adding braided trim. Cut three 1 inch strips from the cotton chamois fabric.
Fold the strips into thirds, and press them flat.
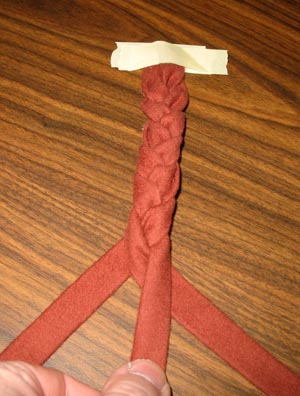
Tape one end of each strip to a flat surface. Braid them together by alternating one over the next.
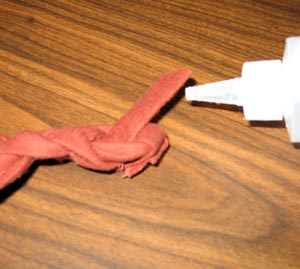
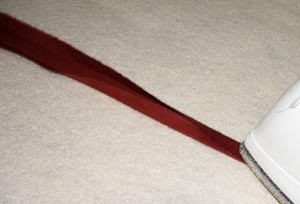
Braid two pieces of trim so they are as long as the width of the runner. Use fabric glue to fold and glue the ends to the braid closed.
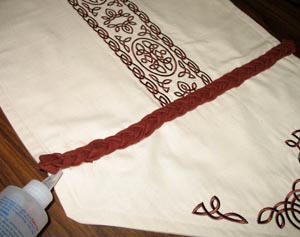
Finally, glue the braids along the end seam on both ends of the runner.
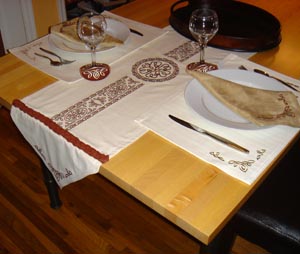
And you have a one-of-a-kind table runner sure to add charm and beauty to any dining room!


