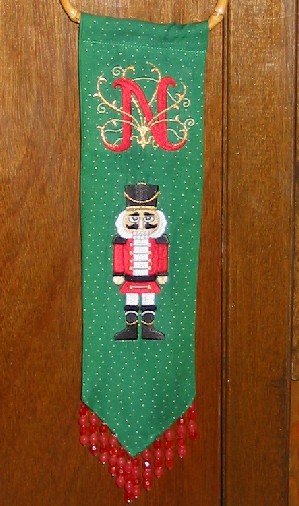
Decorate your doorstep!
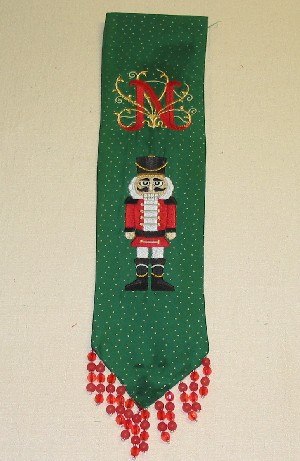
This hanging banner is just the right size to bring a bright spot to any door or wall. The Nutcracker and initial embroidery designs create a long, narrow shape perfect for adding bright splashes of color to your holiday preparations.
This project uses these designs:
Both are from Embroidery Library
Supplies
Supplies needed:
1/4 yard of green Christmas print
12" of red beaded trim
Set of small, flat-bottomed purse handles
Designs Used

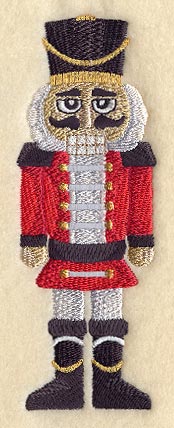
Calculate the dimensions of your hanger, first by finding the height of the designs. Add the heights together, and add 1" of space for a gap between the designs. Add 4" to the top, and 4" to the bottom.
The initial in the example is 3" and the Nutcracker is 5.5 inches. Here is how I calculated the dimensions:
3" + 5.5" +4" (top) +4" (bottom) + 1" =
17.5"
For the width, I used the width of the purse handle, plus 1/2" on both sides for seam allowance.
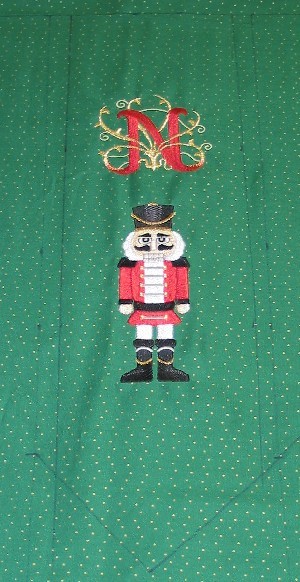
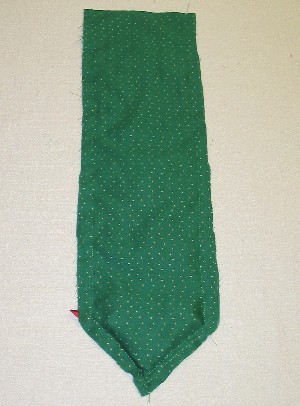
Mark the shape of the hanger on the fabric, and embroider the designs
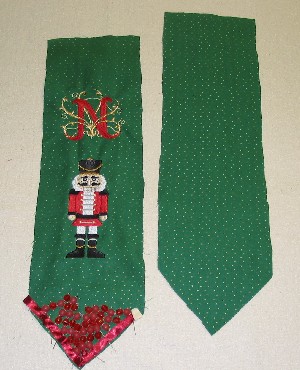
Cut out the front, and then a matching back piece for the hanger.
Place the beaded fringe at the bottom of the hanger going around the bottom point. Point the dangles inward toward the embroidery.

Use masking tape to secure the beads - a neat way to keep them out of the seam allowances, and out of your way while sewing.
Place the back piece over the front piece, with right sides together.
Using a zipper foot, stitch the back piece to the front along the sides and bottom. The zipper foot enables you to get very close to the beads without running into them.
Turn the door hanger right side out, and press.
Press the top 1/2" to the back of the hanger.
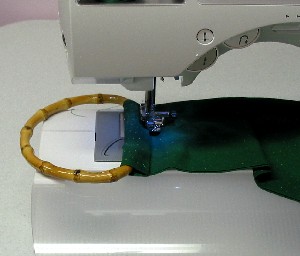
Bring the top of the hanger through the purse handle, and stitch over the pressed edge to create a casing over the handle. Use a zipper foot to get as close as possible to the hanger.

Hang from any doorknob, or on any wall, to greet visitors to your home


