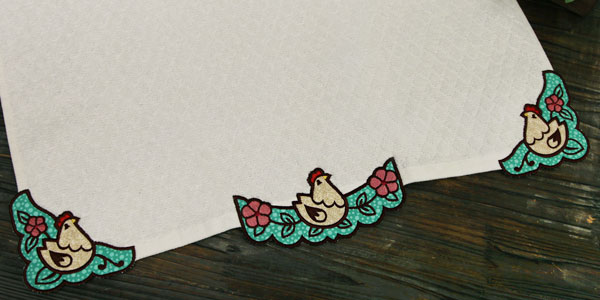
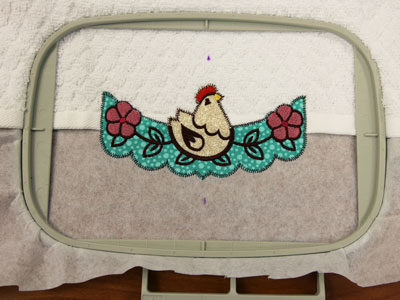
This fabulous type of applique will have you on the "edge" of your seat! Fun patterned fabrics and beautiful embroidery give these edgy applique designs a captivating look. The scalloped border of the applique designs hang off the edge of the towel, creating beautiful dimension and eye-catching interest. Simply choose your favorite fabrics and follow these instructions to stitch these edgy applique designs!
Supplies
- Kitchen towels (the towels used in this tutorial are from Target; other sources include Bed Bath & Beyond, Home Goods, TJ Maxx, and Amazon)
- Applique fabric (good-quality and tightly-woven quilter's cotton, denim, felt, canvas, twill, etc.)
- Medium-weight (2.5 ounce) cutaway stabilizer
- Tear-away stabilizer
- Temporary spray adhesive (like Gunold KK100)
Designs Used
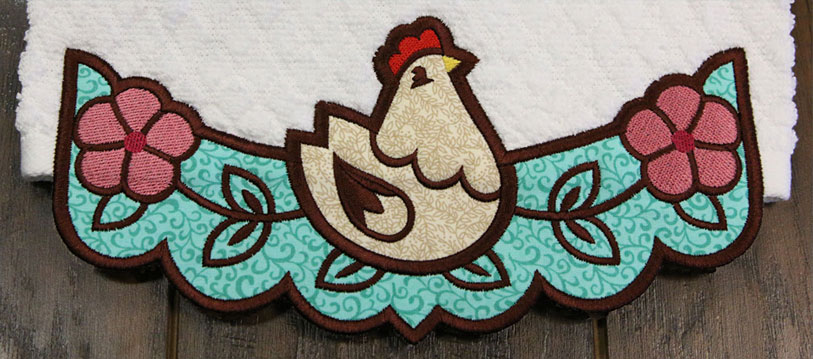


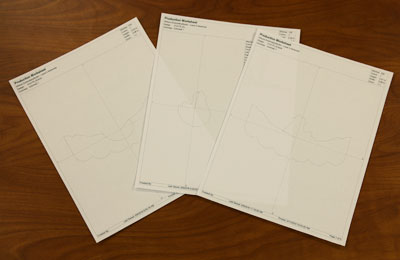
When you download an edgy applique design, you will find multiple files. Some are the embroidery files, and the others are dieline files marked with the letters "DL". Dielines are used to cut the fabric to the correct shape and size. Open and print each dieline file using an embroidery software. If you do not have an embroidery software, take a look at our helpful video on using dielines.
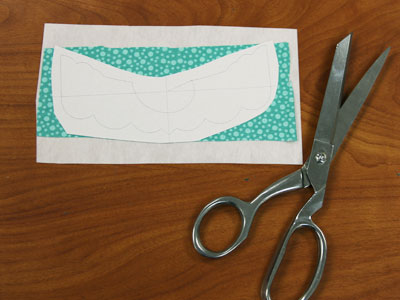
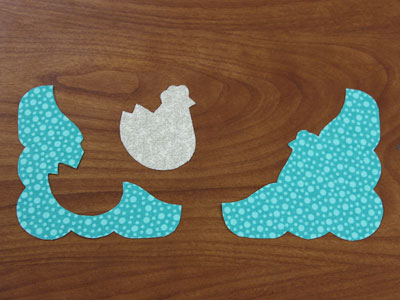
Spray a piece of cutaway stabilizer with temporary adhesive and smooth the fabric on top. Spray the backside of the front piece dieline with temporary spray adhesive and smooth onto the fabric. Repeat this process for the second applique piece, and the back piece.
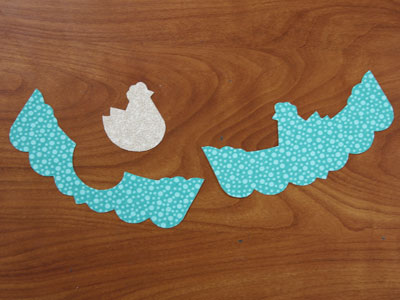
Cut out the shapes and remove the paper.
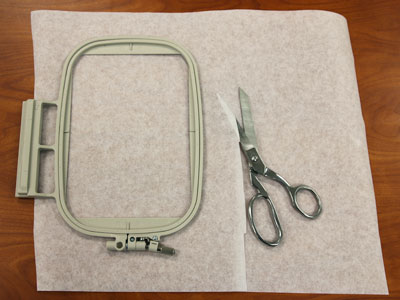
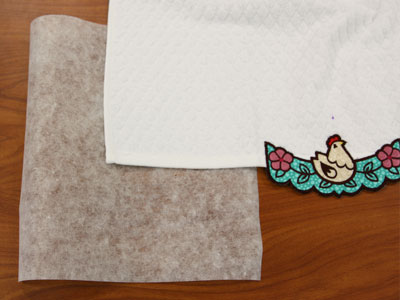
Cut a piece of tear-away stabilizer slightly larger than your hoop. (Note: Fibrous tear-away stabilizers give better-quality results for in-the-hoop projects. Stay away from tear-away stabilizers that feel too much like paper).
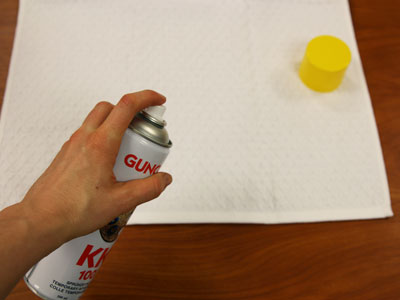
Spray the back side of your kitchen towel with temporary spray adhesive.
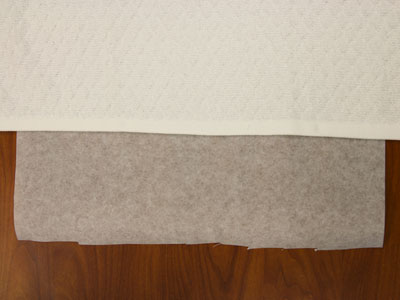
Arrange the towel so the edge lines up near the center of the piece of tear-away stabilizer.
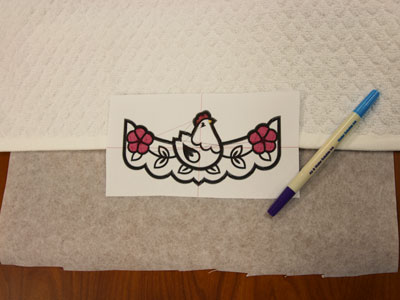
A template, or printout of a design, is an excellent tool to help with placement. Print a template of the design from your embroidery software. Arrange the template so the edge of the towel runs through the center of the design along the horizontal axis line. Mark the center point and the vertical and horizontal axis lines on your towel and stabilizer.
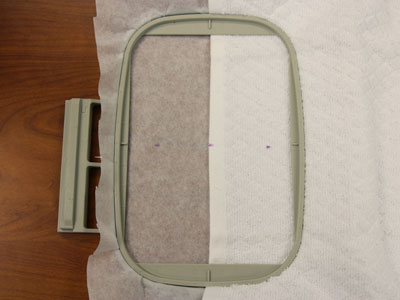
Hoop the towel and the tearaway stabilizer together, aligning the towel edge close to the center of your embroidery hoop.

Attach the hoop to the machine and load the design. Move the hoop so that the needle is directly aligned with the center point on the fabric. Embroider the design.
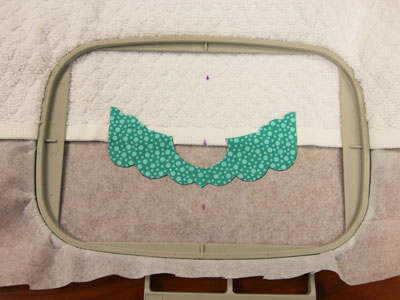
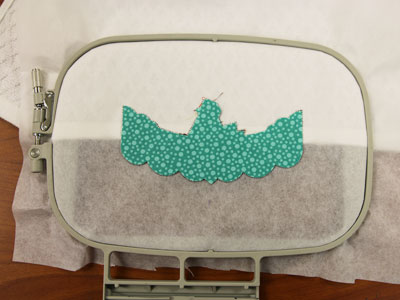
The first thing to embroider will be a dieline, or outline stitch. This marks the area on the towel and stabilizer for the first front fabric piece. Spray the back of the front fabric piece with adhesive. Remove the hoop from the machine, but do not unhoop the towel and stabilizer. Place the fabric right inside the sewn dieline.
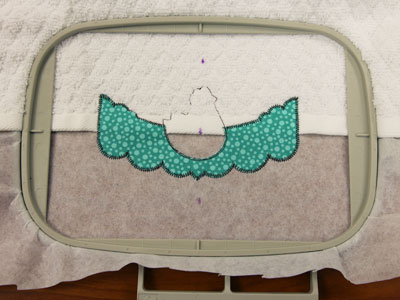
Reattach the hoop onto the machine and continue with the design -- a zigzag stitch tackdown will sew next. This holds the front fabric in place for the remainder of the design. The dieline for the second applique piece will stitch next.
Place the second fabric piece directly in the dieline shape. Another zigzag tackdown stitch will sew, fixing the second fabric piece in place.
All of the inner elements will sew next. On the color change sheet, look for the note that says "back piece tackdown". When you get to this section, stop the machine and remove the hoop from the machine. Do not unhoop the towel and stabilizer.
Turn the hoop over. Spray the backside of the back fabric piece with temporary adhesive. Place the back piece right inside the shape of the embroidery.
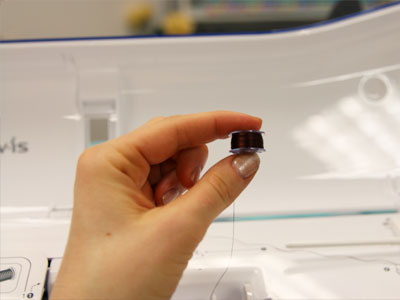
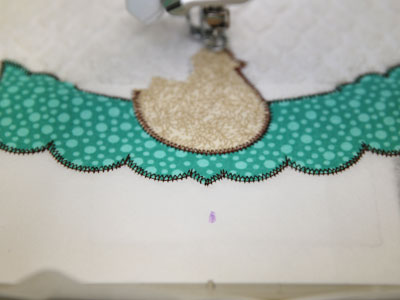
Since both sides of the towel will be seen, wind a bobbin with the same thread being used in the needle. Attach the hoop back onto the machine and continue with the design. A zigzag stitch tackdown will sew next, followed by a satin stitch border to finish off the design.
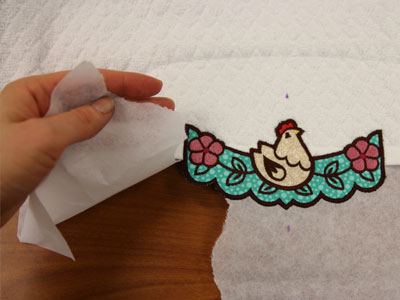
When the design has finished, unhoop the towel and stabilizer and gently tear the stabilizer away.
Instructions for Embroidering an Edgy Applique Corner:
Following the instructions above, cut out the fabric shapes for the corner design.
Cut a piece of tear-away stabilizer slightly larger than your hoop. Spray the backside of your towel with temporary spray adhesive. Arrange the towel on the stabilizer, aligning the corner of the towel with the center of the stabilizer.
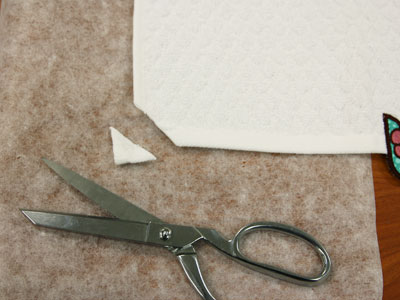
Clip the corner hem of your towel, to reduce fabric layers under your applique piece.
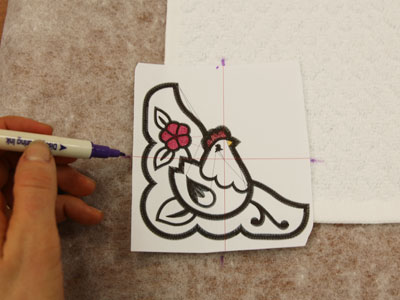
Arrange a template of the design as shown. Mark the center point and vertical and horizontal axis lines.
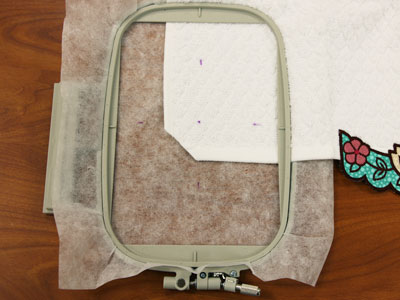
Hoop your towel and the tearaway stabilizer, aligning the towel edge in the center of your embroidery hoop. Attach the hoop to the machine and embroider the design following the instructions above.

When the design has finished, unhoop the towel and stabilizer and gently tear the stabilizer away.

Use a ruler to align the center points of each corner design, using a template as your guide for the second corner. Mark the center point, horizontal and vertical axis lines of the template.
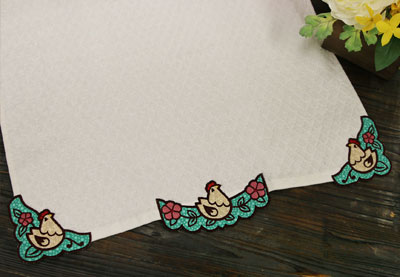
Repeat the above steps to embroider the second corner design.
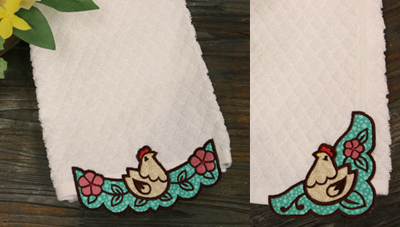
These edgy applique towels are a fabulous way to showcase embroidery in your kitchen. Whip up several for your own home, or give as gifts to friends and family.


