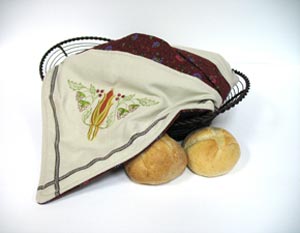
This elegant cloth is seasonally perfect for lining your bread basket. Not only does it keep your basket clean, your rolls or biscuits will stay warm and fresh. Simply place your bread inside and fold up the ends.
Add a custom flair to any holiday by choosing designs and fabric for any season.
Read below for these free, project instructions!
Supplies
Supplies Needed:
**Shallow bread basket (ours is 15 inches wide by 9 inches high)
**3/4 yard linen
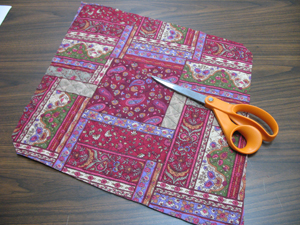
**3/4 yard quilted cotton fabric (double-sided)
**Insul-bright insulated lining
**Medium weight cutaway stabilizer
**Temporary spray adhesive
**Air-erase pen (or other marking tool)
**Ruler
**1/4 inch ribbon
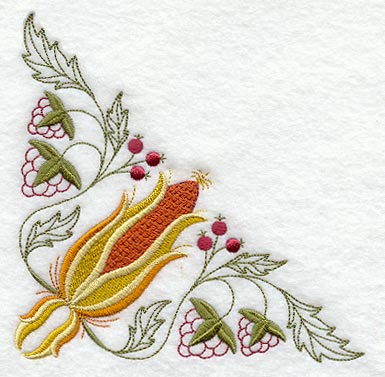
Design used:
Autumn Harvest Corner - Lg
This design is also available in the following design pack:
Designs Used
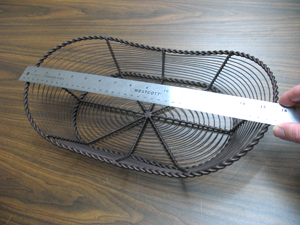
To begin, measure the bread basket to determine the size of the blanket.
Measure the width of the basket from end to end (along the top edge).
Now, measure the height of the basket from side to side (along the top edge).
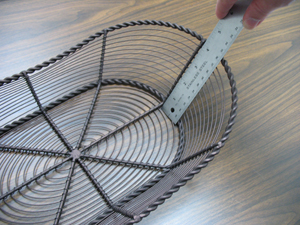
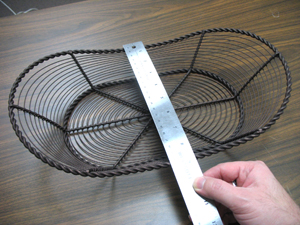
Measure the depth of the basket on one end (from the inside top edge of the basket to the bottom).

Finally, measure the depth of the basket on one side (from the top edge to the bottom of the basket).
Now we will calculate the size of the blanket.
To get the width, take the depth of the end of the basket and multiply it by two (ours is 4 inches deep, so 4 inches times 2 equals 8 inches). Take that number and add it to the width of the basket (ours is 8 inches plus 15 inches which equals 23 inches). Add one inch for seam allowance (our final width measurement is 24 inches).
To calculate the height of the blanket, take the depth of the side of the basket and multiply it by 2 (ours is 2 inches deep, so 2 inches times 2 equals 4 inches). Take that number and add it to the height of the basket (ours is 4 inches plus 9 inches which equals 13 inches).
We want the blanket to overlap over the sides of the basket so we are adding a total of 6 inches to our height measurement (3 inch overlap for each side) and we added one inch for seam allowance - 13 inches, plus 6 inches, plus one inch, equals 20 inches - our final height measurement.
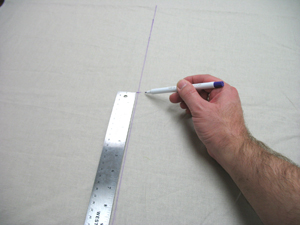
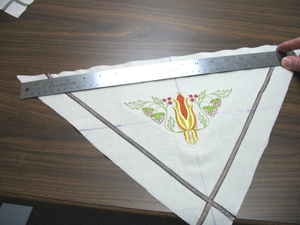
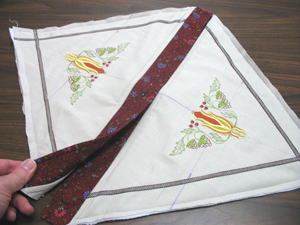
Using an air-erase pen (or other marking tool), mark a vertical line on the linen fabric using the height measurement. Mark the center of the line by measuring and dividing by two.
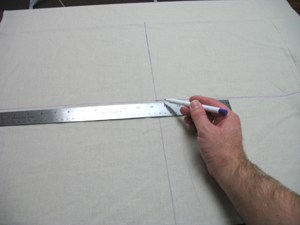
Divide the width measurement in half to get the center point. Starting at this mark on the vertical line, draw lines perpendicular from the vertical line (creating a large crosshair on the fabric).
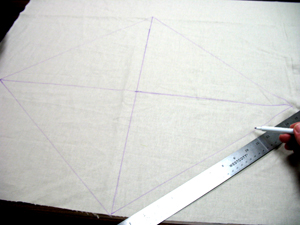
Draw lines connecting the outer points of the existing lines forming a large diamond shape.
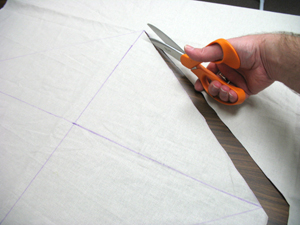
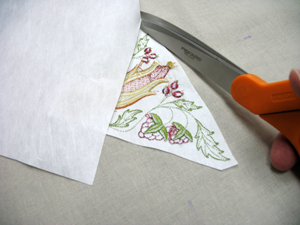
Cut out the shape from the fabric.
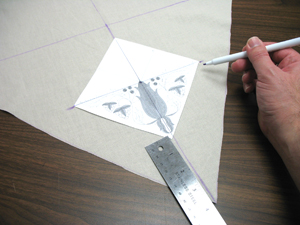
If you have embroidery software, print a template of the design to use for placement. If you don't have embroidery software, you can cut a piece of paper the shape and dimensions of the design to help with placement and centering. We placed this corner design so that the point of the design is about 5 1/2 inches from the outer points of the fabric along the height measurement line.
To place the template, poke a hole in the center point of the design and align it with the height measurement line.
Mark the horizontal axis points as well.
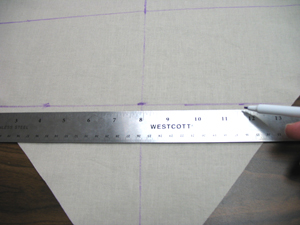
Remove the template and draw lines connecting the horizontal axis points. These lines will be used for hooping.
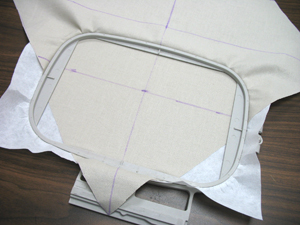
Spray a piece of cutaway stabilizer with temporary adhesive and smooth the fabric on top.
Hoop the fabric and stabilizer together by aligning the marks on the hoop with the lines on the fabric. If the hoop does not quite fit over the fabric at the bottom corners this is ok. The adhesive on the stabilizer will hold the fabric in place. Attach the hoop to the machine and load the design. Move the needle so that it is directly over the center point on the fabric.
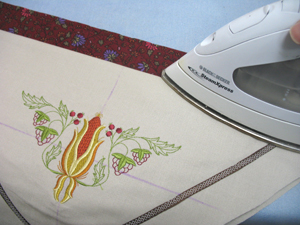
Embroider the design.
After the first design sews, carefully trim away the excess stabilizer on the back of the embroidery.
Repeat the hooping and embroidering process for the other side of the fabric.
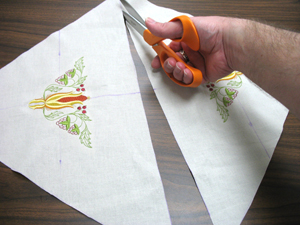
After both designs have sewn, cut the fabric in half by cutting along the width measurement line.
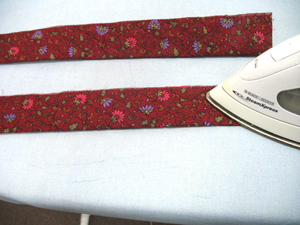
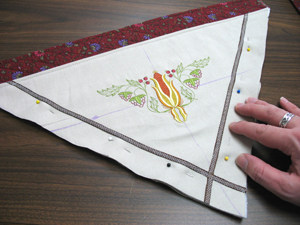
Now, lets add the ribbon accents to the embroidered fabric.
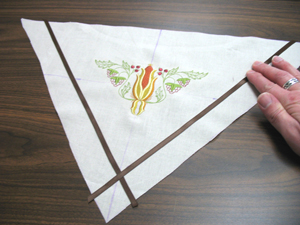
Make marks 1 1/2 inches in from the side edges of both pieces of fabric. Then, cut lengths of ribbon a bit longer than the side edges. Spray the backside of the ribbon with a bit of adhesive and smooth it in place along the marks.
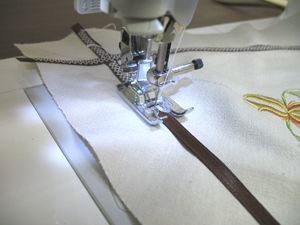
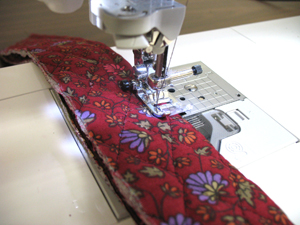
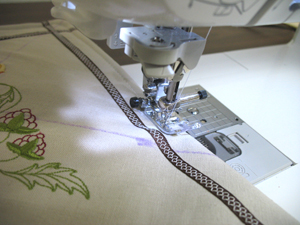
Use a decorative stitch to sew the ribbon in place. Set the stitch a bit narrower than the width of the ribbon.
Prepare the fabric for the center opening of the blanket.
This fabric will be attached to the top edges of the embroidered fabric.
Measure the top edge of one of the embroidered pieces.
Cut two pieces of the quilted cotton to the measurement you just took (ours is 19 inches wide by 4 inches high). Fold the pieces of fabric lengthwise and press the fold with an iron.
Sew a 1/4 inch seam along the folded edges only.
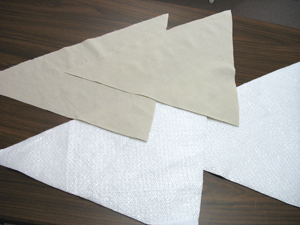
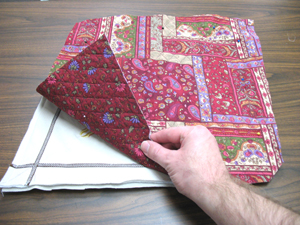
To prepare the lining fabric, cut out two pieces each of the Insul-bright and the linen by pinning the embroidered fabric in place and cutting out the shapes.

Layer the fabric as follows for both pieces of the embroidered fabric: Insul-bright first, embroidered fabric right side up next, and the center opening fabric next with the unfolded edge aligned with the top edge of the embroidered fabric (folded edge facing towards the bottom point).
Lay the linen fabric on top and pin all the layers in place along the top edge.
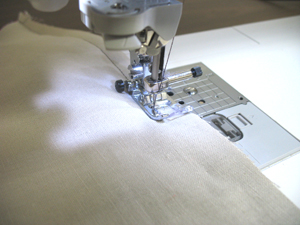
Sew a 1/2 inch seam along the top edge only.
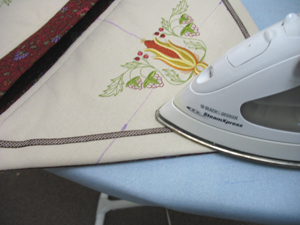
Flip the top linen layer over to meet the Insul-bright layer and press the seam along the bottom edge of the center opening fabric. Then, top stitch a 1/4 inch seam along the bottom edge of the center opening fabric.
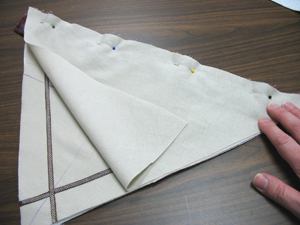
Pin the layers together along the side edges. Then, sew a 1/4 inch seam along the pinned edges only.
Align the assembled pieces together with one of the center opening pieces aligned on top of the other. Pin in place a couple of inches from the ends and in the center.
To prepare the bottom of the blanket, lay the pinned top embroidered pieces on top of the quilted cotton, pin in place, and cut out the shape.
Lay the embroidered top piece with the right side up. Align the bottom piece on top with the right sides together and pin in place. Sew a 1/2 inch seam along the entire outer edge.
Remove the pins from the center opening fabric and turn the blanket right side out and press the seams.
Top stitch a 1/4 inch seam along the side edges only - do not stitch over the ends of the center opening (the fabric is too thick to stitch over in these areas).
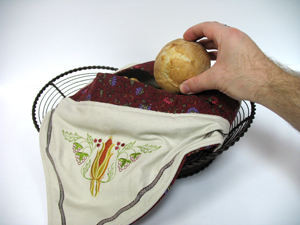
Now the blanket is complete! Lay it inside the basket with the embroidered points lying over the sides. Tuck the ends of the center opening fabric under, add the bread, and serve!


