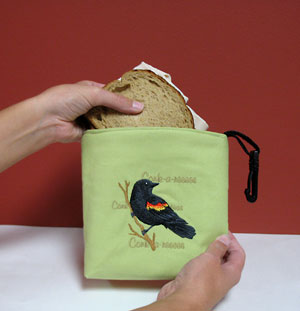
Snacks and sandwiches will be kept fresh with this insulated snack bag. A great alternative to disposable plastic bags, this snack bag is both convenient and earth-friendly!
Read below for these free project instructions.
Supplies
Supplies Needed:
**1 yard lightweight canvas (1/2 yard solid colored canvas and 1/2 yard print canvas)
**1/2 yard Insul-Bright (thermal lining)
**1/2 yard rip-stop nylon (for lining)
**Cutaway stabilizer
**Air-erase pen or other marking tool
**Sew-on Velcro
**5 1/2 inch length of 1 inch wide nylon strap
**Swivel hook
Designs used:
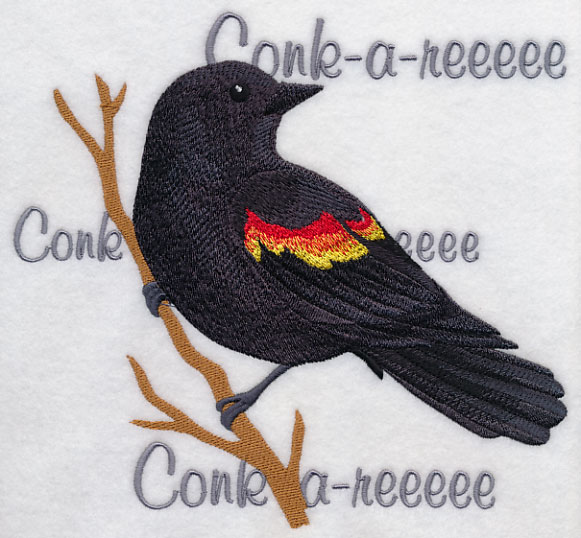
Red-winged Blackbird Song (Small)
These designs are available in the following design packs:
A Sing a Little Song Design Pack - Lg
A Sing a Little Song Design Pack - Sm
Designs Used
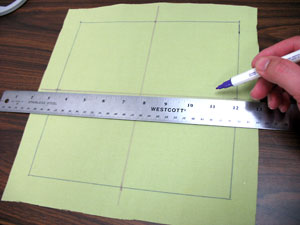
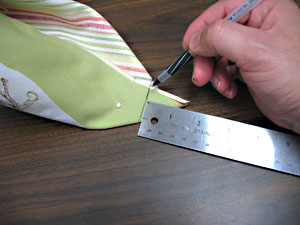
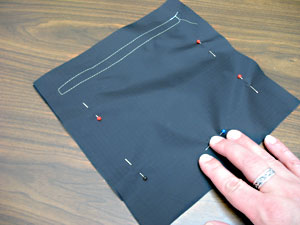
First we will prepare the fabric for the front of the outer shell. Draw a 9 inch by 9 inch square on the solid colored canvas. Leave a couple of inches of excess fabric around the shape. Then, using an air-erase pen or other marking tool, measure and mark the center of each side of the shape by measuring and dividing by two. Then, draw lines connecting the marks - these lines will be used for hooping.
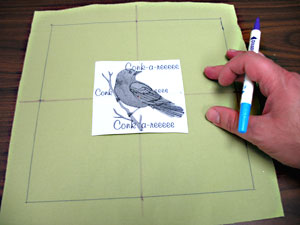
Create a paper template of the design by printing it at full size using embroidery software. If you don't have embroidery software, you can cut a piece of paper the shape and dimensions of the designs to help with placement and centering.
Poke a hole in the center of the template and align it with the center point on the fabric. Make sure the design fits well within the shape. There should be about 2 inches of space between the edges of the design and the edges of the shape.
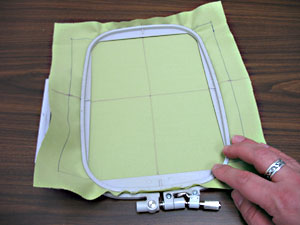
Spray a piece of cutaway stabilizer with temporary adhesive and smooth the fabric on top. Hoop the fabric and stabilizer together by aligning the marks on the hoop with the lines on the fabric. Attach the hoop to the machine and load the design. Move the hoop so that the needle is directly over the center point on the fabric. Embroider the design
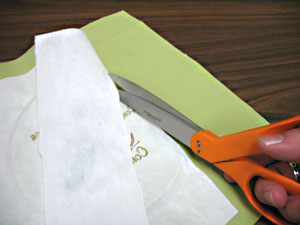
After the design has sewn, trim away the excess stabilizer on the back of the embroidery.
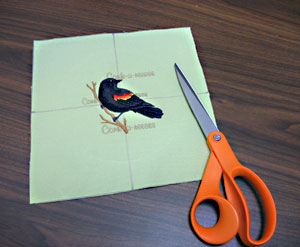
Cut out the shape.
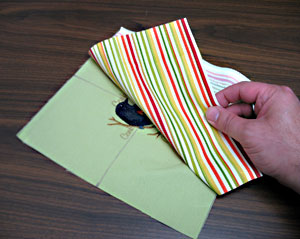
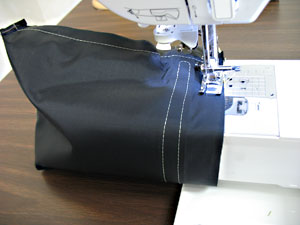
To prepare the fabric for the backside of the outer shell, cut a piece of the print canvas 9 inches wide by 9 inches tall. Lay the embroidered front piece right side up and align the back piece on top with the right sides together and pin in place. Sew a 1/2 inch seam around the side and bottom edges only - leave the top edge open.
Now we will square off the bottom corners of the outer shell. With the outer shell turned wrong side out, pinch the corners together by aligning the side and bottom seams. Then, measure and mark in 1 inch from each corner and draw a line perpendicular to the seam at that mark. Pin in place and sew a seam along each line.
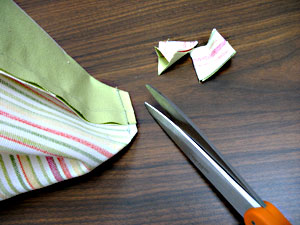
Trim off the corners about 1/2 inch out from the seam you just sewed.
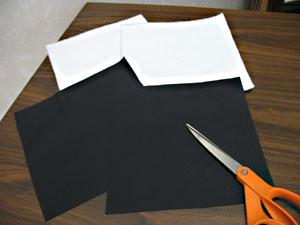
To prepare the fabric for the thermal lining and the inner lining, cut two pieces each of the Insul-Bright and the rip-stop nylon. Then, assemble the thermal lining exactly as you did the outer shell (the shiny side of the Insul-Bright should face in).
Turn the outer shell right side out. Insert the thermal lining inside the outer shell with the wrong sides together. Then, trim away the excess thermal lining to align it with the top of the outer shell.
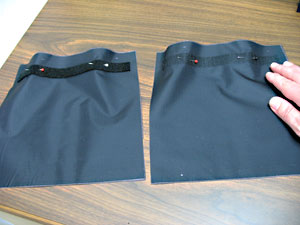
To assemble the inner lining, cut each side of the Velcro to 8 inches long. Pin the Velcro to the top edges of each inner lining piece with 1 inch of space on each side and 1 1/2 inches on the top. Sew a 1/8 inch seam around the entire edge of each piece of Velcro.
To assemble the inner lining, align the fabric pieces together, right sides together, pin in place, and sew together just as you did the outer shell and the thermal lining.
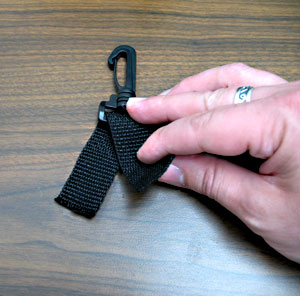
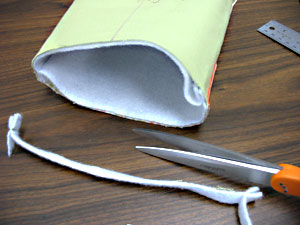
To create the hook loop, cut a piece of nylon strap to 5 1/2 inches long. Then, wrap the strap around the end of the hook and pin in place.
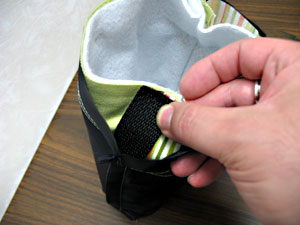
Insert the assembled outer shell/thermal lining portion inside the inner lining with the right sides together and with the side seams aligned. Then, insert the hook loop, with the hook facing down, in between the layers at one of the side seams. Align the raw edges of the loop with the top edges of the fabric. Pin in place.
Sew a 1/2 inch seam around only half of the top of the bag. Then, turn the inner lining right side out and insert it inside the bag.

Turn the opening of the outer shell over 1/2 inch and press with an iron (do not press the inner lining). Turn the opening of the inner lining in 1/2 inch and align it with the outer shell. Pin in place and sew a 1/4 inch seam around the entire top edge of the bag.
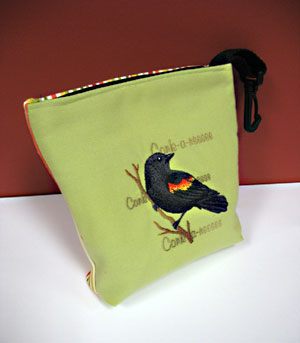
Pair your insulated snack bag with an insulated water bottle carrier for easy on-the-go refreshment!


