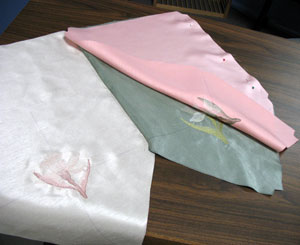
Treat your windows, and yourself, to something fresh and new with an ascot valance. It's constructed with separate panel pieces, which allows you to mix and match color schemes.
Named after the ascot necktie's pointed bottom, this neutral, yet elegant, piece can be made to coordinate with any decor!
Supplies
Supplies needed:
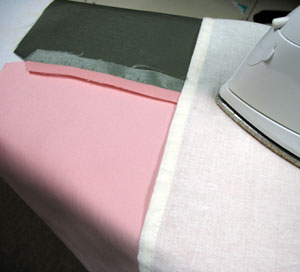
** 1 1/2 yards fabric (We used 3 colors -- 1/2 yard each.)
** 14 x 18 inch sheet of doubled-sided, heavy-duty fusible interfacing
** Cut-away stabilizer
** Spray adhesive
** Air-erase pen
** Large sheet of paper or tag board
Designs Used:
** Soft Shadow Daffodil -- large or small
We are making a valance for a 36 inch rod, so each finished panel will be 12 inches wide and 20 inches long (36 inches divided by 3 panels equals a 12 inch width per panel).
Measure the width of your curtain rod. If it is 48 inches long, just add a fourth panel. If you have a curtain rod of an unusual length, determine the number of panels that you'll want for your valance and divide that into the length. For example, if your curtain rod is 44 inches, and you want 4 panels, then each panel's width will be 11 inches. If you want 3 panels, each panel's width will be 14.66 inches.
Designs Used
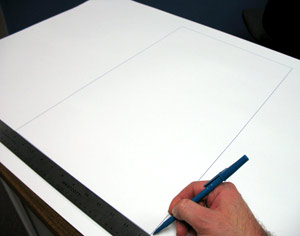
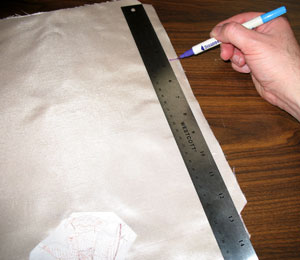
The first step is to make a pattern. For a 36 inch curtain rod, draw a 12 x 20 inch rectangle on tag board.
Find the center by measuring the short ends and dividing by two. Mark each center. Draw a line through the center of the rectangle.
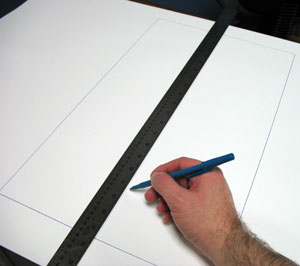
The "V" shape point on each panel will start two-thirds from the top. Take the length measurement (ours is 20 inches) and multiply by 0.66.
For example, on a 12 x 20 inch panel, the point would start 13 inches down from the top.
Mark this point and draw lines connecting these two-thirds marks to the bottom center point.
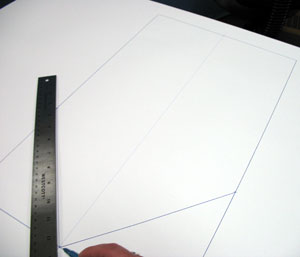
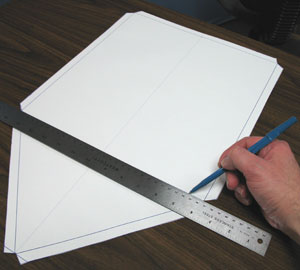
Draw the seam allowances by measuring outward 1/2 inch on all five sides of the shape.
Draw lines connecting these marks. Angle the ends as shown.
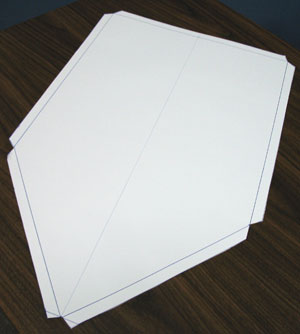
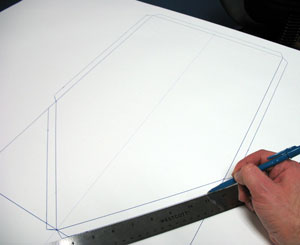
Following the outer lines, cut out the shape.
Draw a line across the pattern at the top of the "V". This line and the center line will be used for aligning the embroidery designs.
Now the pattern is complete.
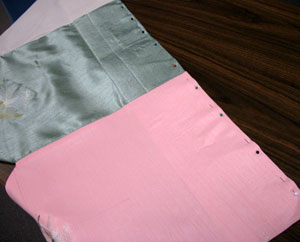
Cut a piece of fabric a bit larger than the pattern. We chose a shantung fabric for our valance. Many other fabrics, such as denim, jacquard or linen, will work well for this project.
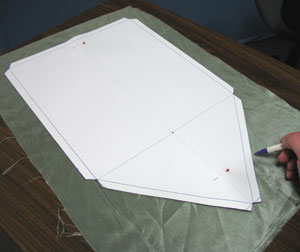
Lay the fabric right side up and lay the pattern on top. Pin the pattern in place and trace it onto the fabric using an air erase pen. Poke a hole at the center point, and mark the fabric as well.
Remove the pattern.
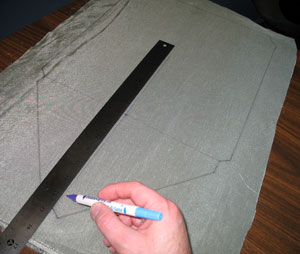
Draw a line across the fabric at the top of the "V". Then find the center of the line by measuring and dividing by two.
Draw a vertical line between the top center point and the bottom center point. These lines will be used for hooping.
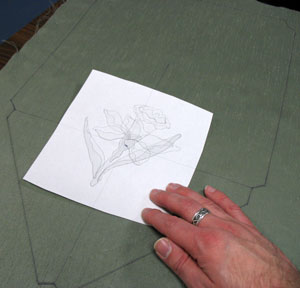
Print a full-size paper template of the design. Poke a hole in the center of the template and align it with the center point on the fabric. Make sure the design fits well within the shape.
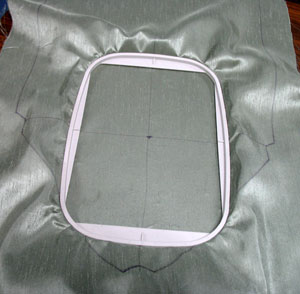
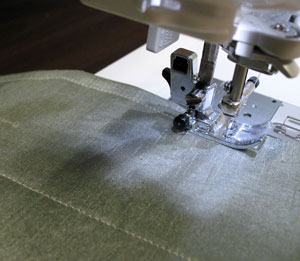
Spray a piece of cut-away stabilizer with adhesive. Hoop it with the fabric by aligning the marks on the hoop with the lines on the fabric.
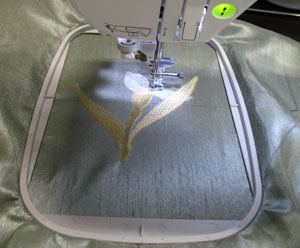
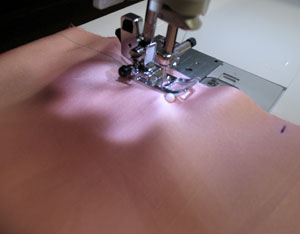
Attach the hoop to the machine, load the design, align the needle directly over the center point and embroider the design.
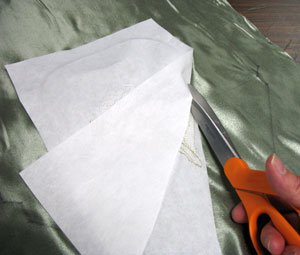
After the design has finished sewing, carefully trim away the excess stabilizer.
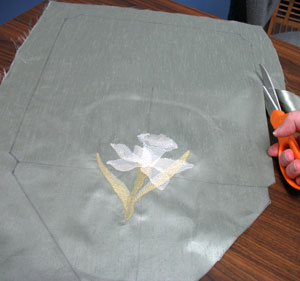
Cut out the shape.
We embroidered a design in the center of each of the three panels. Repeat the same marking, hooping, embroidering, and cutting process for the other two panels.
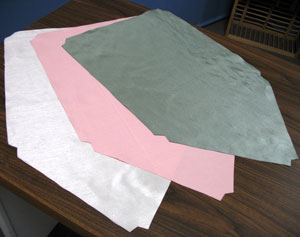
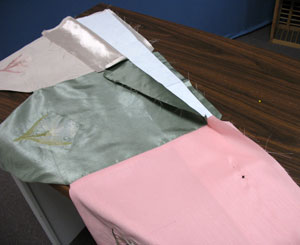
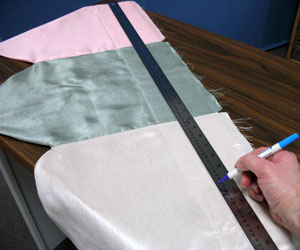
Each panel has a coordinating back. Use the pattern to measure, mark, and cut the back pieces from each color.
Decide the order of the front panels. With the bottoms pointed toward you, the first panel will be on the left, the second panel in the middle, and the third panel on the right.
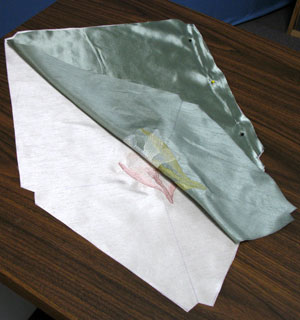
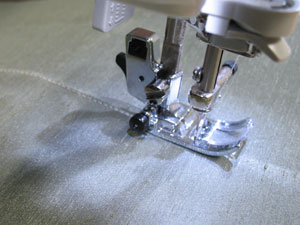
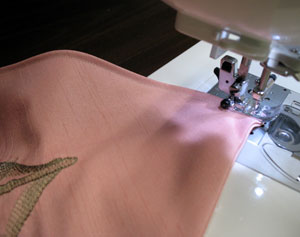
Lay the first panel right-side up. Align the second panel on top of the first panel, right sides together. Pin in place along the right edge only.
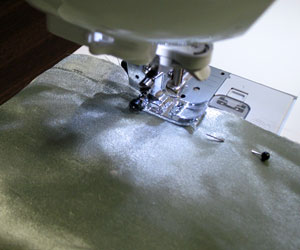
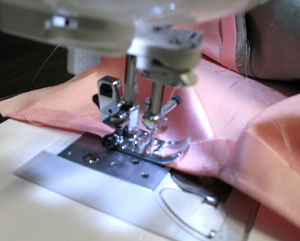
Sew a 1/2 seam along the pinned edge.
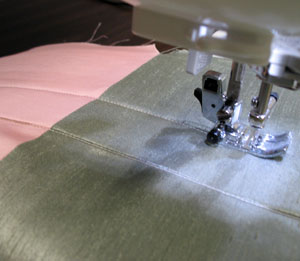
Lay the assembled panels flat, right-sides up. Align the third panel on top, right-sides together. Pin along the right edge only. Sew a 1/2 inch seam along the pinned edge.
If your valance has more panels, continue this process until all the front panels are sewn together.
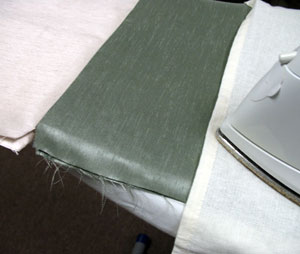
Lay the assembled panels wrong-side up. Open the seams and press them flat.
Repeat the aligning, sewing and pressing process to assemble the back panels. Be sure to arrange the back panels to match the colors of the front panels.
Align the assembled front and back panels, right-sides together, and pin in place.
Measure and mark 4 1/2 inches down from the upper left and upper right corners. The seam along the edge of the valance will start and end at each of these marks.
Sew a 1/2 inch seam starting at the first mark. Sew along the first edge, around the bottom points, and up the opposite edge. Stop at the second mark. Do not sew above each of the marks you made or along the top just yet.
Turn the valance right-side out and press the seams.
Finish both the right and left sides of both layers above the mark by folding each layer in 1/2 inch and sewing a 1/4 inch seam.
The lining is made of two strips of fusible interfacing. Each strip will be 3 inches tall.
For the length of each strip, take the measurement of the curtain rod, subtract one inch for a 1/2 inch seam allowance on each side, and divide by two.
For a 36 inch curtain rod, each strip will be 17 1/2 inches wide. For a 40 inch rod, each strip will be 19 1/2 inches wide.
Place the strips, short ends together, and zigzag stitch them in place.
Place the interfacing at the top of the valance, between the two layers. The top edge of the interfacing should be 1/2 inch from the top edges of the valance layers. Pin in place.
Sew along the bottom edge of the interfacing from side to side of the valance.
Mark the left and right side of the valance 1 1/2 inch up from the seam just sewn. Draw a line connecting the marks.
Sew a seam across the valance, following the line, to create a "pocket" for the curtain rod.
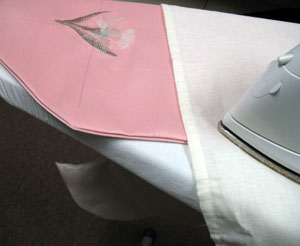
Press above the pocket only to adhere the interfacing to the fabric - do not press the pocket area!
If the pocket area is pressed, the fabric will adhere to the interfacing and the curtain rod will not insert.
Fold the front layer over the interfacing. Then fold the back layer over 1/2 inch and pin it to the back side of the interfacing.
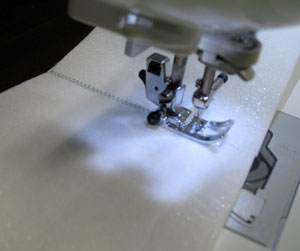
Sew a 1/4 inch seam along the entire top edge. Sew another seam as close to the edge as possible to finish it.
Below the pocket area, top stitch a 1/4 inch seam along the side and bottom edges of each panel. Be careful not to stitch inside the pocket area.
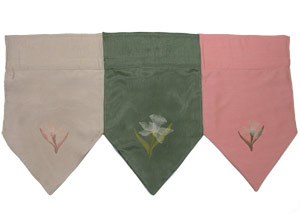
And there you have it! A smart looking window treatment sure to bring a subtle, dainty touch to any room.
