FREE Snowman with $5 order PLUS Double Reward Points! Click the deals tab for details.❄️
 FREE Snowman with $5 order PLUS Double Reward Points! Click the deals tab for details.
This Beach Hat is the perfect accessory for your day in the summer sun!
Look great and protect your eyes and face while at the beach, in the garden, running errands, out for a walk, or every time you want to look great!
Sunny designs and darling buttons make this cute hat fashionable to wear all summer long!
The finished size for this project varies according to individual measurements.
Supplies
Supplies needed:
** 1/4 yard light-colored twill or denim
** 1/2 yard denim fabric
** 1/4 yard terry trim
** Medium weight cut-away stabilizer
** Air-erase pen
** Temporary spray adhesive
** One 14x18 inch sheet of double-sided, stiff, fusible interfacing
** Buttons (optional)
Designs Used:
** Sunshine - Small also available in Large
** Palm Tree - Small also available in Large
** Flip-Flops with Polka Dots - Small also available in Large
Determining Hat Size:
Measure the circumference around the head above the eyebrows and ears. Find the hat size below and refer to it while following the project instructions.
The large size will work for 23 1/2 inches, the medium size will work for 22 1/2 inches, and the small size will work for 21 1/2 inches.
Designs Used
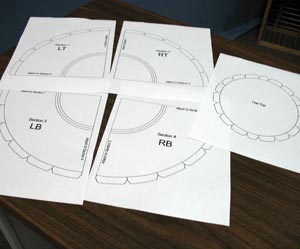
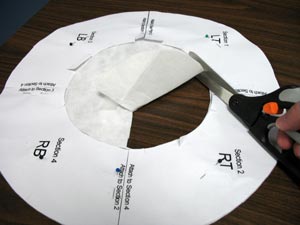
Click here to download the hat pattern. The pattern is split in five pieces and will print on five pieces of paper.
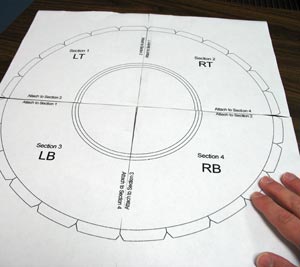
The brim section of the pattern has four sections. Cut around the straight edges of the pattern and tape them together.
Set the patterns aside for now.
Create full-size paper templates of the designs. Cut the designs down to size to make them manageable.
Measure and mark the side piece on the light twill fabric, based on the size of the hat:
Large = 26 3/4 x 5 1/2 inches
Medium = 25 3/4 x 5 1/2 inches
Small = 24 1/2 x 5 1/2 inches
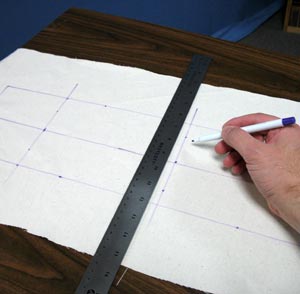
Find the center of the rectangle by measuring the ends and dividing by two. Make marks on the ends, and then draw a line across the fabric connecting the marks. This line will be used for placing the designs.
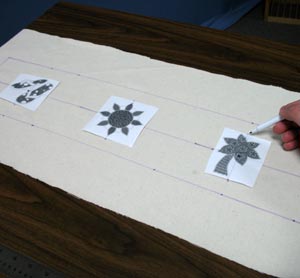
Mark the center by measuring the line and dividing by two. Poke a hole in the center of the first design and align it with the center mark. Place the other two designs on the line about 3 1/2 inches from the center design (from edge to edge). Mark the vertical axis points of all the designs onto the fabric.
Remove the templates and draw lines connecting the vertical axis marks. These lines will be used for hooping.
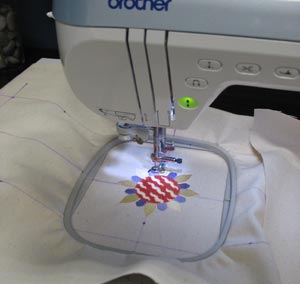
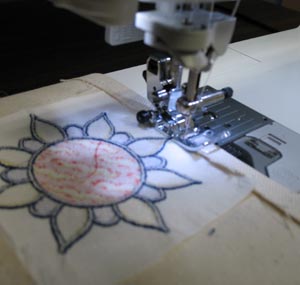
Lightly spray the fabric with temporary adhesive. Hoop the fabric and stabilizer together for the first design, aligning the lines on the hoop with the lines on the fabric. Align the needle directly over the center point on the fabric, and embroider the first design.
Repeat hooping and embroidering the two other designs.
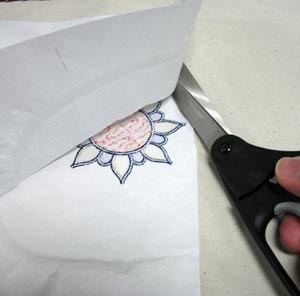
Once the designs are embroidered, carefully cut away the excess stabilizer.

Cut out the shape of the side piece.

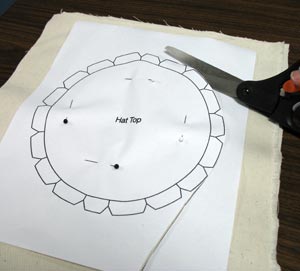
Cut two pieces of the brim fabric. Place the brim pattern on one piece of the denim fabric, pin in place, and cut the pattern, including the notches, and then...
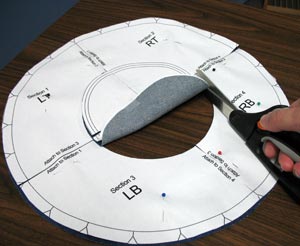
...cut out the hole in the center.
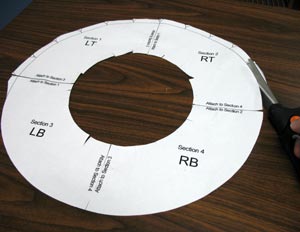
Cut along the outer line for the large size, cut along the middle line for the medium size, and cut along the inner line for the smallest size.
Cut 1/4 inch long slits along the inner edge at about every inch.
Remove the pins and use the same pattern to cut out the other piece of denim fabric.
Remove the pins from the second piece of denim fabric.
Trim the pattern to use for the interfacing. Cut 1/8 inch in from the outer edge and 5/8 inch in from the inner circle.
Lay the pattern on the interfacing, pin in place, and cut out the pattern.
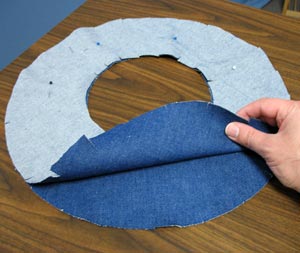
Lay the two pieces of denim, right sides together, and pin in place.
Sew a 1/2 inch seam around the outer edge only.

Turn the fabric right side out and press the seams.
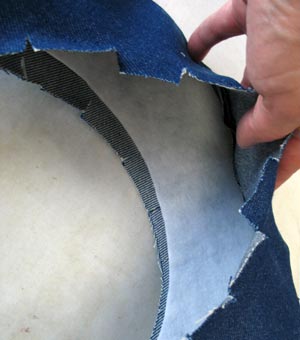
Add the interfacing between the two layers of denim fabric.
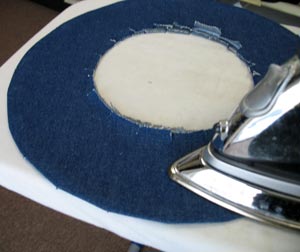
Press the brim on both sides to activate the fusible interfacing.
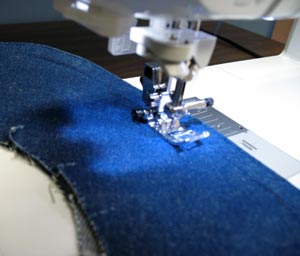
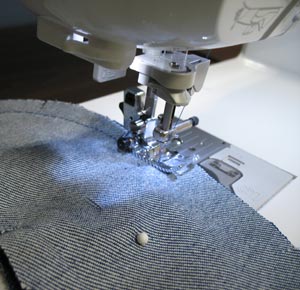
Sew a 1/8 inch seam along the outer edge of the brim. Sew four more seams every 1/4 inch towards the center creating concentric circle seams.
Pin the top section pattern to the light-colored fabric and cut out the shape, including the notches. Take out the pins and reuse the pattern to cut out another piece of the same fabric with the same pattern.
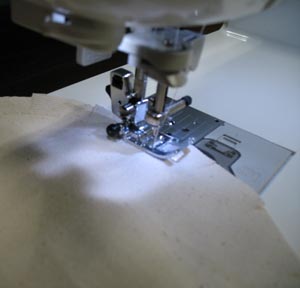
Lay the pieces wrong side together and sew a 1/2 inch seam along the outside edge of the fabric.
Cut a piece of terry cloth the same size as the size of your embroidered side fabric.
Large = 26 3/4 x 5 1/2 inches
Medium = 25 3/4 x 5 1/2 inches
Small = 24 1/2 x 5 1/2 inches
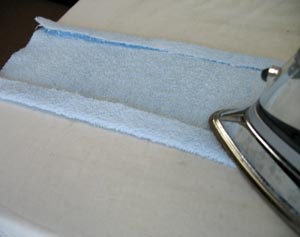
Fold over the long sides 1/4 inch and press in place.

Fold the long sides of the embroidered fabric together over to the wrong side 1/2 inch and press in place.
Sew a 1/4 inch seam along the long sides of the fabric and then the terry cloth lining.
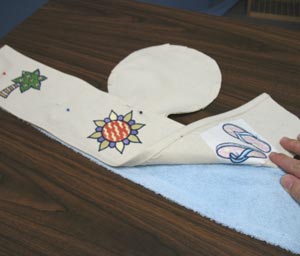
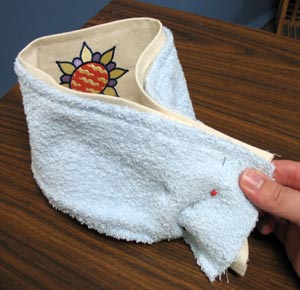
Lay the embroidered side fabric with the terry cloth liner wrong sides together.
Insert 1/2 inch of the top sections allowance between the embroidered fabric and the terry cloth liner. Pin in place.
Be sure to align the top section with a narrow side of the oval facing the side pieces.
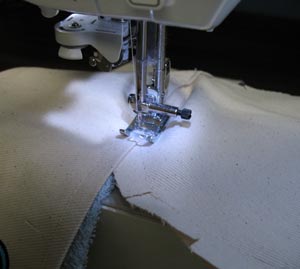
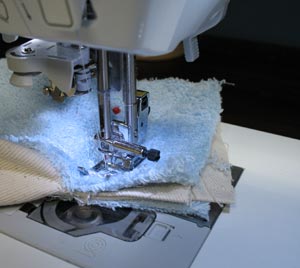
Sew a 1/4 inch seam along the top edge of the side piece, inserting the allowance of the top section in between the side sections as you sew.
Sew the side, top, and lining together, sewing out from the center and stopping about 2 inches from the end of the side pieces. Then sew from the center out on the opposite side, also stopping 2 inches from the end of that side.
Align the bottom ends of the sides together, right sides facing each other. Pin in place.
Sew a seam starting 1/2 inch in from the bottom edge and angle the seam up to meet at the top.
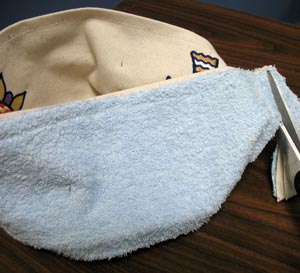
Trim off the excess fabric leaving about a 1/2 inch allowance.
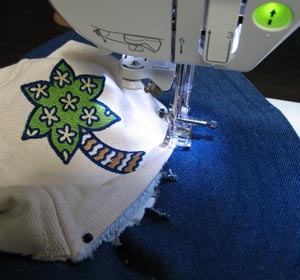
Align the top portion with the opening in the center of the brim. Insert the allowance of the brim in between the layers of the side section and pin in the front and back only.
Then sew a seam right along the edge of the side section all the way around, inserting the allowance of the brim as you sew.

Add buttons for extra pizzazz to complete your new sunny beach hat!


