For an eye-catching addition to any loveseat, bed, or sofa, turn an ordinary blazer or jacket into a unique pillow!
Check your closets for old jackets or keep your eyes peeled for great deals at consignment shops or rummage sales. Then choose a pillow form that fits nicely inside the jacket.
Our jacket is a size 16W, which fits well with a 20 x 20-inch pillow form.
Save the sleeves -- you can turn them into hand bags! For those instructions, click here.
Supplies
Supplies needed:
- Blazer or jacket
- Pillow form (20 x 20 inches)
- Fabric for pillow cover (1 yard for a 20 x 20-inch pillow)
- All purpose zipper (20 inch for use with a 20 x 20-inch pillow)
- Sticky-back, tear-away stabilizer
- Water-soluble topping
- Air-erase pen or dress maker's pencil
- Masking tape
- Buttons (optional)
- Needle and thread for hand sewing.
Designs Used:
** Hungarian Napkin Ring
** Hungarian Flower and Buds small or large
Designs Used
Choose a jacket. We found a velvet blazer on a clearance rack for only $8.74.
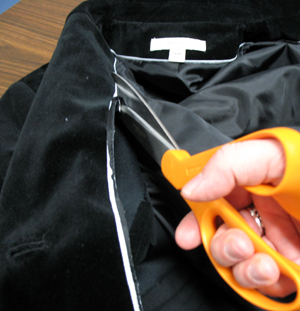
Embroider the jacket first. If the jacket has an inner lining, carefully cut it out.
The inner lining of jackets is often a satin-like fabric that is very slippery. Removing the lining will make for easier hooping and embroidering.
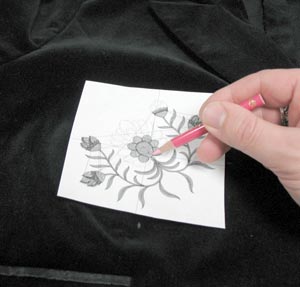
Print full-size paper templates of the designs using your embroidery software. Trim around the design for easier placement.
We are embroidering a design on the left and right side of the jacket, and on each lapel.
Position the template on the jacket. Poke a hole in the center of the template and mark the fabric. Also, mark the horizontal and vertical axis lines.
Because we are embroidering on velvet, we are marking with a dressmaker's pencil - on velvet, the marks are easily brushed away. You can also use an air-erase pen or masking tape for marking.

Remove the template and draw lines by connecting the horizontal and vertical axis marks on the fabric. These lines will be used for hooping.
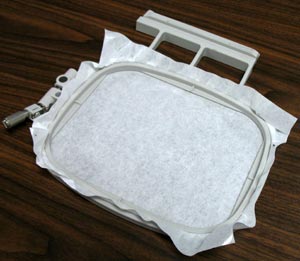
With the sticky side up, hoop a piece of sticky-back, tear-away stabilizer.
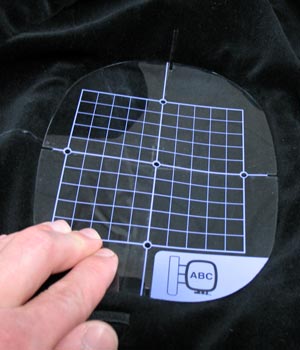
Use the hoop's grid template to place the fabric on the sticky stabilizer. Place the hoop grid template on top of the fabric and align the template with the lines on the fabric. You may need to pull the fabric up and reposition to get it just right.

Because we are embroidering on velvet, we are using a topping to prevent the stitches from sinking into the fabric.
Lay a piece of water-soluble topping on top of the fabric and use two small pieces of masking tape to secure the edges.
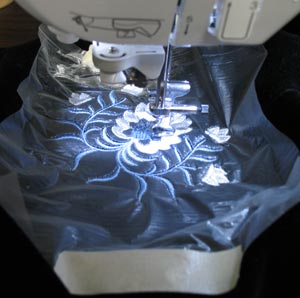
Attach the hoop to the machine, load the design, align the needle directly over the center point, and embroider the design.
When the design has finished sewing, trim away the excess stabilizer and peel away the excess water-soluble topping. Any small bits of topping can be easily removed by lightly wetting your fingertips and brushing the topping away.
To position the second design, measure from the center of the first design to the center of the buttons.
Use that measurement to position and embroider the second design the same distance from the center buttons.
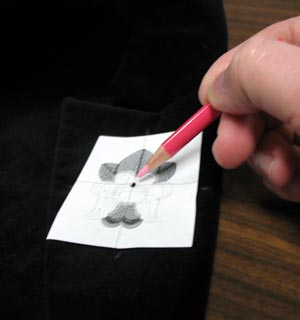
Position the paper template on the lapel. Mark the center point and the horizontal and vertical axis points.
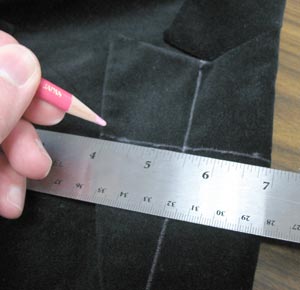
Remove the template and draw lines connecting the horizontal and vertical axis points.
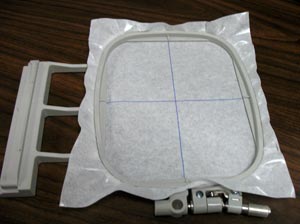
Hoop a piece of sticky back stabilizer sticky side up. Draw center lines on the stabilizer connecting the marks on your hoop.
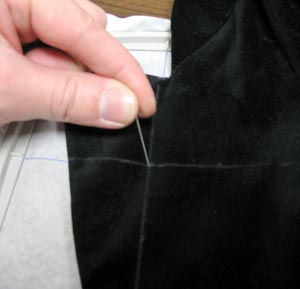
Poke a pin through the center point on the lapel and align it with the center point on the stabilizer. Align the horizontal and vertical lines on the fabric with the lines on the stabilizer. Smooth the lapel onto the stabilizer.
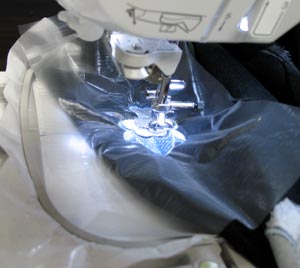
Attach the hoop to the machine and lay a piece of water-soluble topping over the fabric. Load the design, align the needle directly over the center point, and embroider the design.
After the design has finished sewing, remove the excess topping and stabilizer.

Turn the jacket inside out. Cut off both sleeves leaving 1 inch of fabric for a seam allowance.
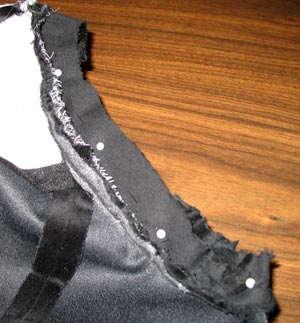
Lay the jacket flat. Align the front and back seam allowances together, and secure with pins.
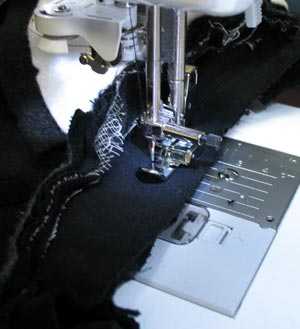
Stitch the arm holes closed with a zipper foot. Stitch as close as you can to the shoulder seam.
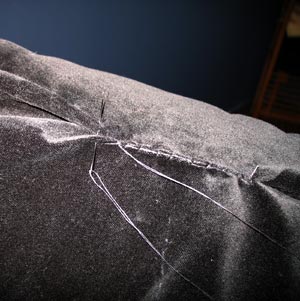
Turn the jacket right side out. Add the pillow and button it closed.
You may need to take in the sides to make them fit the sides of the pillow. To do this, fold in the sides so they are snug with the pillow. Hand stitch the seams in place.
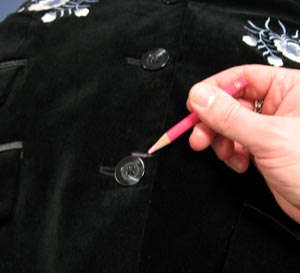
Bring the front and back of the jacket together and mark where they meet at the bottom of the pillow.
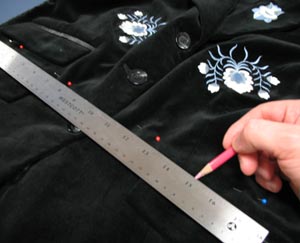
Remove the pillow and lay the jacket flat. Pin the front and back layers of the jacket together, and draw a line across the bottom where you made the mark.
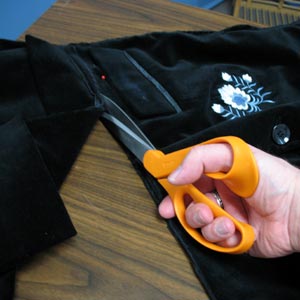
Cut off the bottom of the jacket along the line.
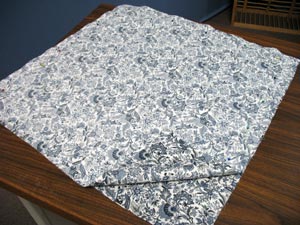
Cut two pieces of fabric to the size of the pillow, and include a half-inch seam allowance around all four sides.
For example, for a 20-inch pillow, cut two 21 x 21-inch pieces of fabric. Lay the fabric right sides together and pin together on three sides.
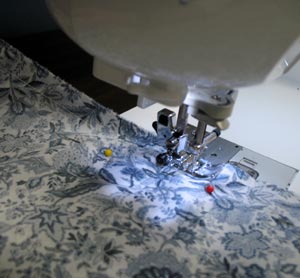
Sew a half-inch seam only along the three pinned sides. Leave one side open for turning.
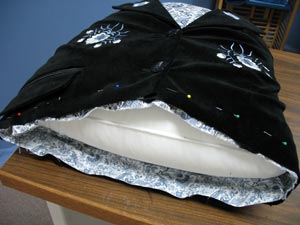
Turn the inner lining right side out, and slip it over the pillow. Slip the jacket onto the pillow over the inner lining. Align the open ends of the inner lining and the jacket and pin in place.
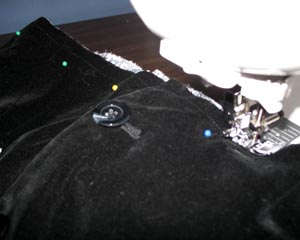
Remove the pillow. Sew the jacket and the pillow cover layers together with a half- inch seam all the way around, leaving the bottom edge open so the zipper can be added.
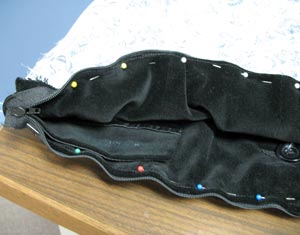
Turn the jacket and lining inside out. Unzip the zipper. Turn the edges of the cover over 1/4 inch to the wrong side, exposing the right side, and pin it to the right side of the zipper. Pin in place all along both sides of the open end.
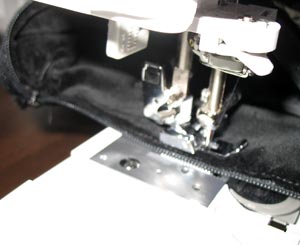
Sew the zipper in place with a zipper foot.

Add the pillow and zip it up. You can add fun new buttons for some extra pizzazz. Sew a quick pocket square by hemming a 7 x 7-inch square of the lining fabric.
It's fun, and bound to be the topic of conversation at your next gathering!


