Itsy bitsy border bracelets are perfect little gifts for everyone this holiday season, and all year round! These bracelets are the same size and shape as the in-the-hoop bracelet designs, but this project is especially for those embroiderers who use 4 x 4 inch hoops, as the in-the-hoop bracelet designs don't fit that hoop.
Each bracelet has a finished back, which gives it both a finished look and soft touch. Several options for creating closures will fit every wrist!
The finished size for this project is 1 x 7 inches. The overall length of the bracelet can be adjusted to longer or shorter, depending on the closure you choose.
Supplies
Supplies needed:
** 6 x 10 inch piece of fabric
** Tear-away stabilizer
** Medium weight, cut-away stabilizer
** Temporary spray adhesive
** Air-Erase pen
Closures:
** Self-adhesive Velcro or sew-on Velcro, a button, snaps, grommets and leather cord, or grommets and metal clasps
Designs used:
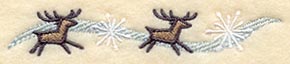
** Reindeer Itsy Bitsy Border
Designs Used
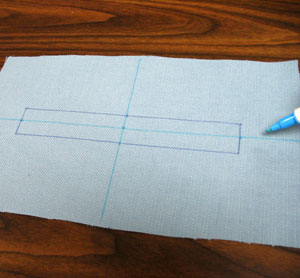
Cut a piece of fabric to 6 x 10 inches. You can use any fabric to make this bracelet, but Kenny used twill.
Use a pen and ruler to draw a 1 inch wide x 6 3/4 inches long rectangle in the middle of the square. Use an air-erase pen to mark the center of the rectangle by measuring each side and dividing by two.
Draw lines by connecting these marks. These marks will be used for hooping.
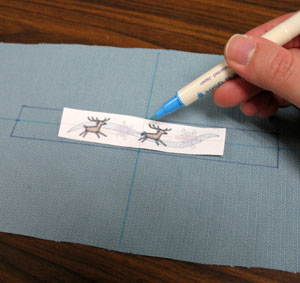
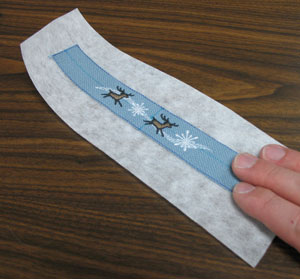
Create a template of the design by printing it at full size using embroidery software. Cut around the template to make it easy to position. Poke a hole in the center of the template and align it with the center point on the rectangle. Make sure that the design fits well within the shape. There should be 1/2 inch between the edge of the design and the edge of the rectangle.
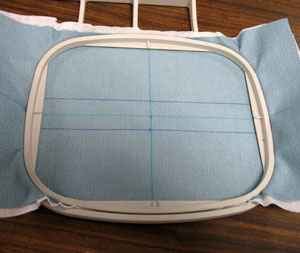
Hoop the fabric with cut-away stabilizer that has been sprayed with adhesive. Hoop the fabric and stabilizer by aligning the marks on the hoop with the lines on the fabric.
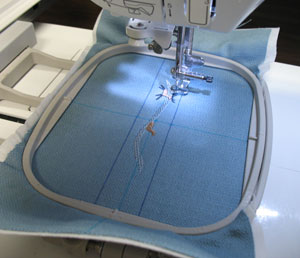
Attach the hoop to the machine, load the design, and align the needle over the center point. Embroider the design.
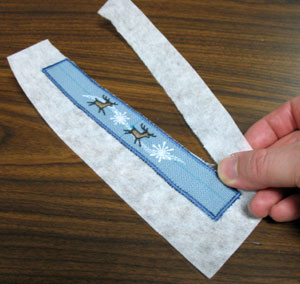
After the design has been embroidered, unhoop the fabric and cut out the shape.
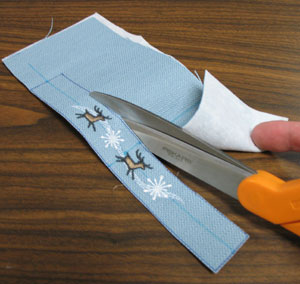
Place the embroidered piece on top of a scrap piece, and trace the shape.
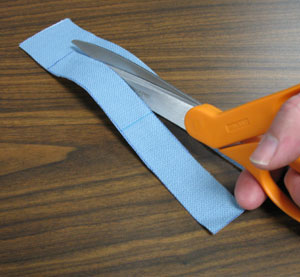
Cut out the shape.
Cut a piece of tear-away stabilizer a bit larger than the embroidered piece. Spray the back of the embroidered piece with adhesive and smooth it on the tear-away.
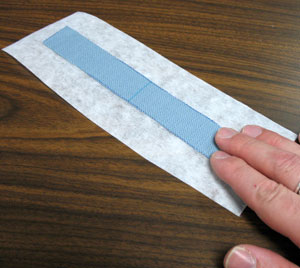
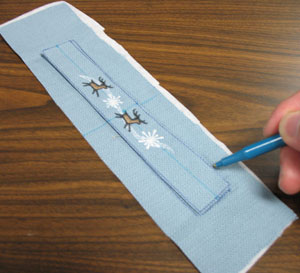
Spray the backside of the back piece with adhesive, and place it on the backside of the tear-away, aligning it with front piece.
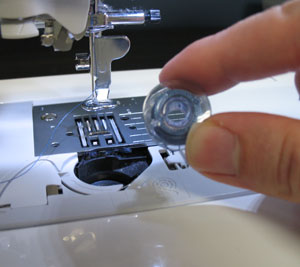
Both sides of the bracelet will be seen when we sew the two sides together, so change the bobbin thread to the same color as the top thread.
Kenny used 40-weight rayon embroidery thread for this step.
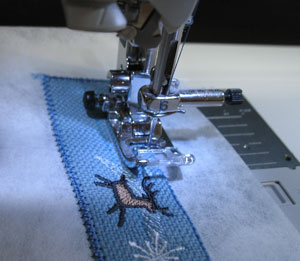
Use a zigzag stitch to tack the layers together.
We set the zigzag at 2.5 mm width and a 1.4 mm length.
Before you start sewing, drop the needle down so that the first stitch is just to the outside edge of the fabric. Sew all the way around the edge of the fabric.
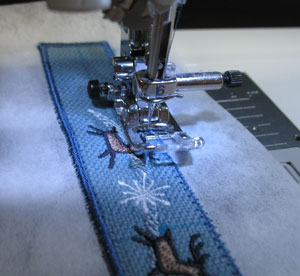
Set the zigzag stitch to a 3.0 mm width and .30 mm length to stitch all the way around the edge of the fabric. This finishes the edge of the bracelet.
Gently tear away the stabilizer.

Closures:
For folks with small wrists, Velcro, snaps, and buttons make great closures.
One method is to sew a buttonhole on one end of the bracelet.
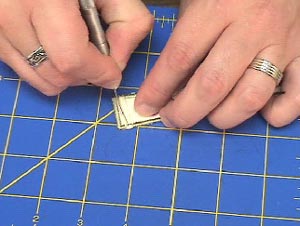
Cut the buttonhole open with a craft knife or seam ripper.
Sew a button to the other end of the bracelet.
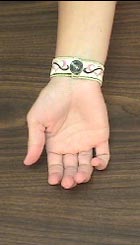
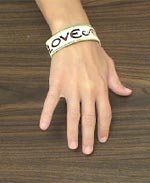
This is how the bracelet looks with a button closure.
You can also use Velcro as a closure. Sew strips of Velcro to each end of the bracelet, or use the self-adhesive Velcro.

Velcro gives the bracelet a nice, close fit.
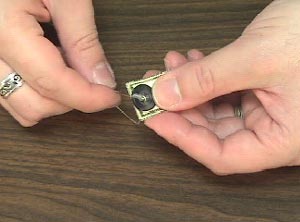
Use a snap tool and snaps to make a closure for the bracelet.

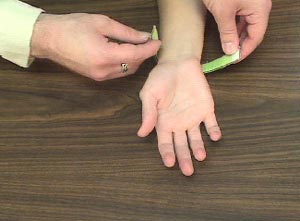
For people with larger wrists, the following methods work well.
Place grommets on each end of the bracelet. Loop cord through the grommets, and tie the bracelet in place.
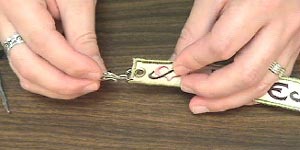
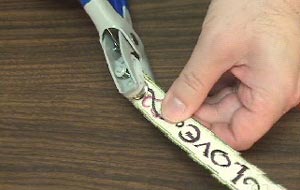
Or, use jewelry clasps (available at craft stores) to thread through the grommets.
Here is an example of a bracelet with a clasp closure.

It's a wrap! These light and lovely bracelets make fantastic accessories and delightful gifts.


