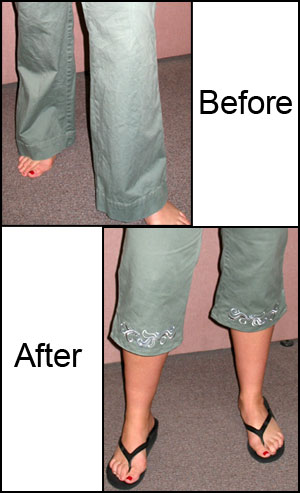
Get ready for spring and summer by converting full-length pants into sassy Capri pants!
Adding embroidery and raising the hemline on an old pair of pants will be the start of a whole new summer wardrobe.
Update pants from your closet or buy them new.
The pants featured in these project pictures were embroidered on both the front and the back. A side slit was added to the outer hem for one more darling detail.
Supplies
Supplies needed:
** Pair of pants (If the pants have never been washed, wash them before beginning this project.)
** Spray adhesive
** Cut-away stabilizer
** Seam ripper
** Ruler
** Air-erase pen
** Dressmaker's pencil or colored pencil
Designs Used:
** Butterfly Placket - Lg
** Or Small
Designs Used
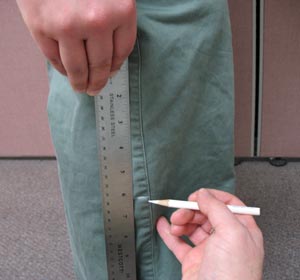
We used a pair of cotton twill pants, but almost any fabric and pant style will work for this transformation.
The first step is to determine the location of the new hemline. Try on the pants, and have someone measure about 6 inches down from the back of the knee to mid-calf.
Mark the new hemline on the side seam with a dressmaker's pencil.
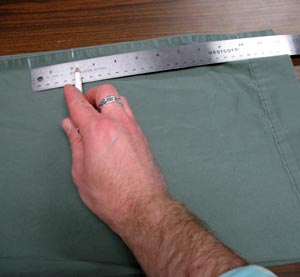
Lay the pants flat. Measure and mark a 2 inch hem allowance from the new hemline mark.
This allowance will be used for hooping the fabric and sewing the hem.
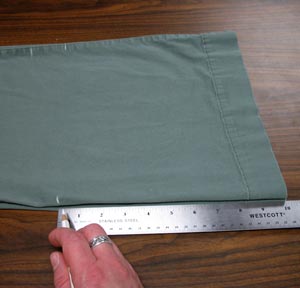
Measure the distance from the new hemline mark to the bottom of the pants. Use this measurement to mark the opposite side of the pants. Once again mark 2 inches below the new hemline.
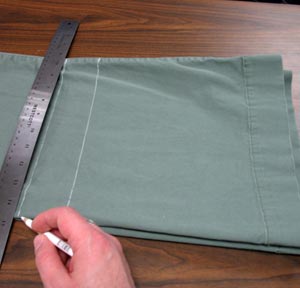
Using a straight edge, draw a line across the pant leg, connecting the hemline and allowance marks.
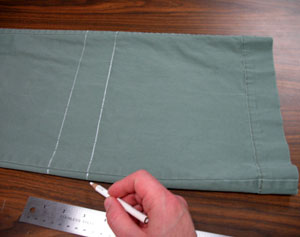
Extend the marks on the seams so they can be seen on the other side of the pant leg.
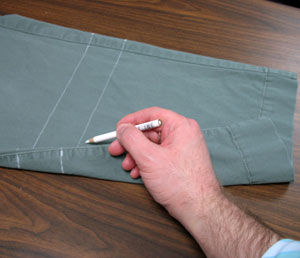
Flip the pant leg over and draw the hemline and allowance lines across on the other side of the pant leg.
Using the same measurements, mark the other pant leg as you did the first one.
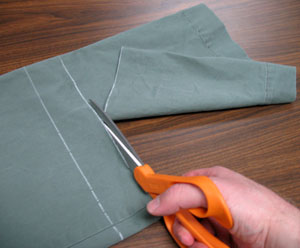
Lay one pant leg completely flat and cut along the allowance line to remove the bottom of the the pant leg.
Repeat on the other pant leg.
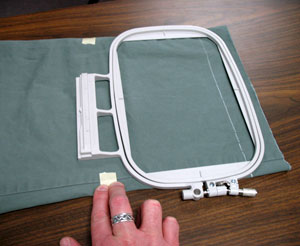
Determine how far up you will need to split each leg seam by laying the hoop over the end of the leg. Leave about 1 inch of excess fabric at the bottom. Use masking tape to mark about 1 inch from the top edge of the hoop.
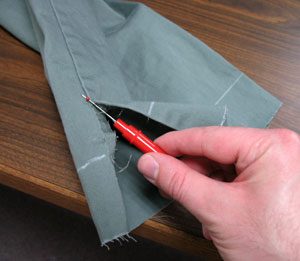
Carefully use a seam ripper to split the inner and outer side seams all the way up to the tape markers.
Note: Pay close attention to how the seam is constructed because it will need to be re-sewn later.
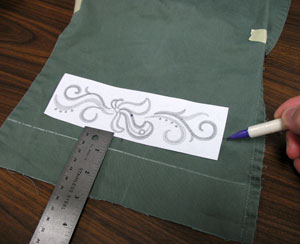
Make a paper template of the design by printing it at full size from machine embroidery software. (Or approximate the shape and size of the design on paper.) Lay the template at the bottom of the pant leg and position the design about 3/4 inch from the hemline and equal distances from the side seams. Find the center point of the design and poke a hole in the design. Mark the center, horizontal and vertical axis points on the design and pant leg using an air-erase marker.
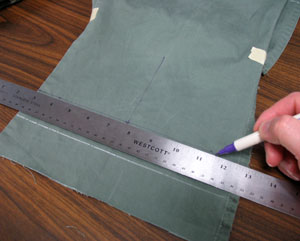
Remove the template and draw connecting lines for the horizontal and vertical axis points. These lines will be used for hooping.
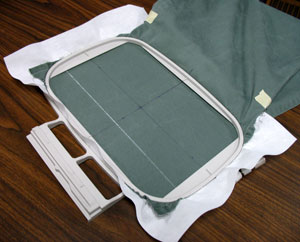
Cut a piece of cutaway stabilizer about 1/2 inch larger than the hoop and spray it with a little adhesive. Smooth the fabric on top and hoop the fabric and stabilizer together by aligning the marks on the hoop with the air-erase lines on the fabric. Remove the tape markers.
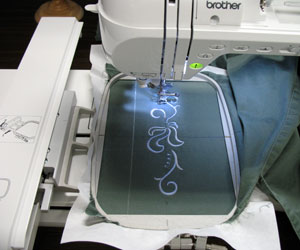
Attach the hoop to the machine, load the design into the embroidery machine, align the needle directly over the center point on the fabric, and embroider the design.
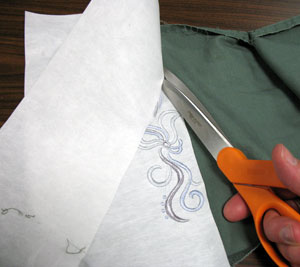
Once the design is complete, carefully trim away the excess stabilizer, leaving about 1/2 inch excess around the design.
Repeat embroidering steps on the three remaining sides of the pant legs.
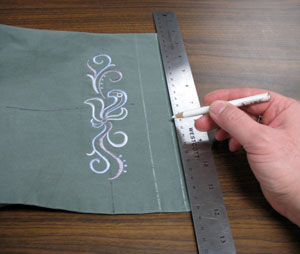
After embroidering all sides of the pant legs, prepare the pants for hemming by marking 1 inch below the hemline on the front and back of the pant legs.
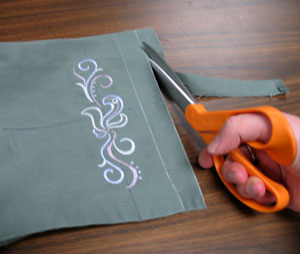
Trim the excess fabric from the bottom of the pant by cutting along the newly drawn line.
Repeat on the remaining pant legs.
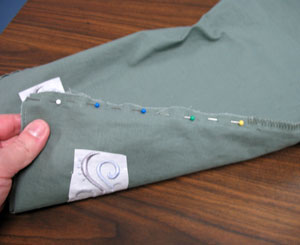
Turn the pants inside out and align the inner seams back together. Pin in place.
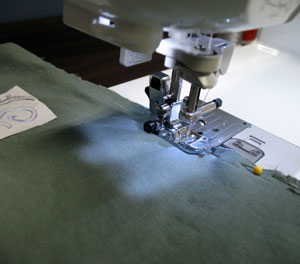
Matching the original construction, close the inner seam along the entire open side.
Repeat on the other pant leg.
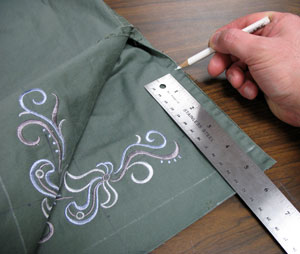
To create a 2 1/2 inch side slit on the outer seam of the pants, measure and mark the pant leg 3 inches up from the hemline.
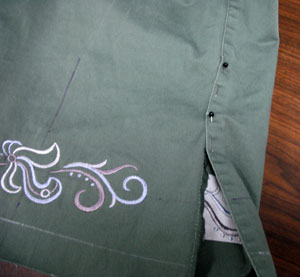
Turn the pants right side out and align the side seams together, following the original construction. Mark the top of the new slit. Pin in place.
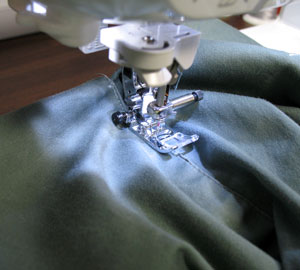
Sew the side seams together from the top of the separation to the slit mark.

To finish the edges of the slits, fold the edges over twice and sew in place by sewing directly down the center of the folded fabric.
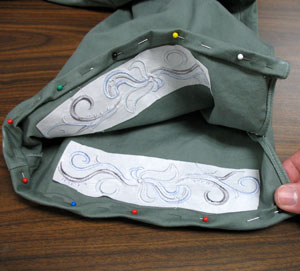
To finish the bottom hems, fold the bottom edge over twice to the inside of the pant leg. To do this, fold the fabric up 1/2 inch and again another 1/2 inch. Press the fold in place with an iron. Pin in place.
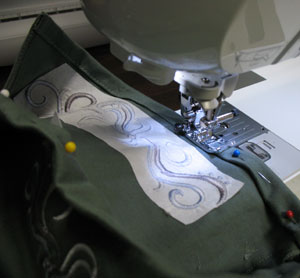
Sew the hem in place by sewing a straight stitch as close to the inner edge as possible.
Repeat on the other pant leg.
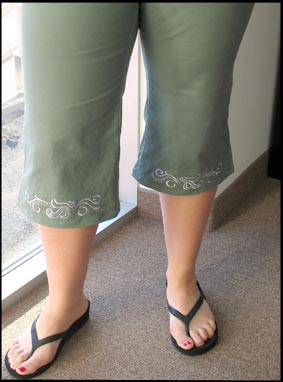
There you are! New Capri pants to wear for many seasons to come. Create a complete outfit by using the same design on a jacket or top. Combine with summery sandals and wear to all your upcoming summer gatherings.


