
Keep your car neat and organized with this fashionable visor caddy!
Stitch your own complete with pockets for pens, sunglasses, CDs, and anything else you need to store on the go -- and personalize it with a favorite embroidery design.
Read below for these free project instructions!
Supplies
Supplies Needed:
**1/4 yard solid colored lightweight canvas
**1/4 yard print lightweight canvas
**Medium-weight cutaway stabilizer
**Temporary spray adhesive
**Air-erase pen (or other marking tool)
**22 inch length of extra-wide double fold bias tape
**16 inch length of 1/2 inch wide elastic
**Nylon monofilament thread
Design used:
Hair Stylist's Equipment
This design is also available in the following design pack:
A Simple Treasures Sequel Design Pack
Finished size:
11 1/4 inches wide by 6 1/4 inches high
Designs Used
To begin, we measured our visor to ensure a perfect fit. If you do not have access to the visor the organizer is intended for, the size demonstrated here should fit most visors.
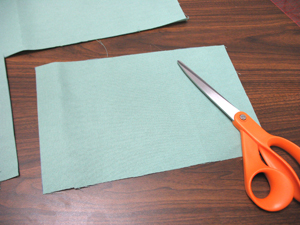
On the front side of the visor, measure the rectangular section in the center (do not include any angled areas in your measurement). Our visor measured 10 inches wide by 6 inches high. Take the measurement and add two inches to the width and one inch to the height. Our final measurements are 12 inches wide by 7 inches high. Cut a piece of the solid colored canvas to these dimensions; this will be the front of the organizer where the pockets will be attached.
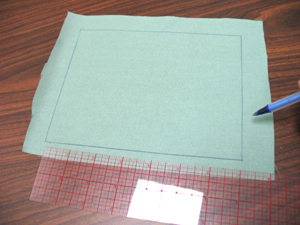
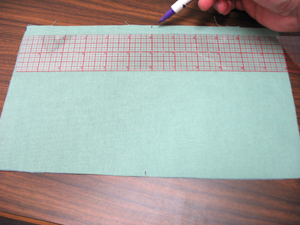
Now let's prepare the fabric for the right pocket. The right and left pockets will cover most of the front organizer fabric. Take the width measurement of the front fabric, subtract one inch, and divide by two - this is the width of the right pocket. Use the same height measurement as the front fabric. Our right pocket dimensions are 5 1/2 inches wide by 7 inches high. Cut a piece of canvas a bit larger than your hoop, then draw a rectangle on the fabric to the pocket dimensions.
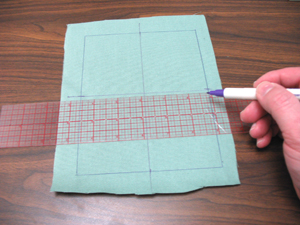
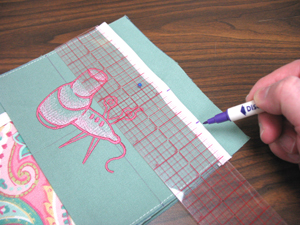
Using an air-erase pen (or other marking tool), measure and mark the center of each side of the rectangle by measuring each side and dividing by two. Then, draw lines to connect the marks. Where the lines meet is the exact center of the shape.
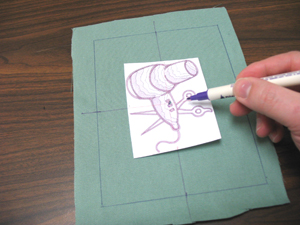
If you have embroidery software, print a template of the design to use for placement. If you don't have embroidery software, you can cut a piece of paper the shape and dimensions of the design to help with placement and centering.
Poke a hole in the center of the template and align it with the center point on the fabric. Make sure the design fits well within the shape - there should be at least one inch of space between the edges of the design and the edges of the shape.
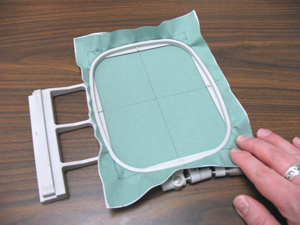
Spray a piece of cutaway stabilizer with temporary adhesive and smooth the fabric on top. Then, hoop the fabric and stabilizer together by aligning the marks on the hoop with the lines on the fabric.
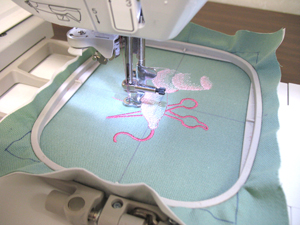
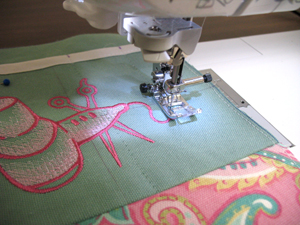
Attach the hoop to the machine and load the design. Move the hoop so that the needle is directly over the center point on the fabric. Embroider the design.
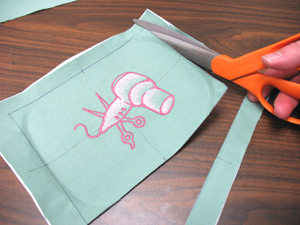
After the design has finished, cut out the shape. We left the stabilizer on the back of the embroidery to give the pocket more support.
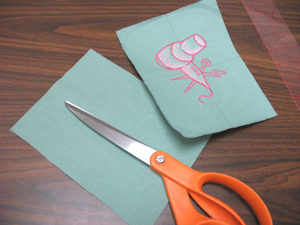
To prepare the backside of the right pocket, cut a piece of canvas to the same size as the embroidered fabric piece.
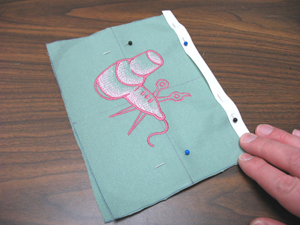
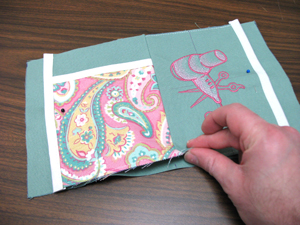
Align the front (embroidered) pocket piece on top of the back piece, wrong sides facing, and add a piece of bias tape along the right side. Pin all layers in place then sew a seam along the inner edge of the bias tape. Sew a 1/8 inch seam around the other three edges of the pocket.
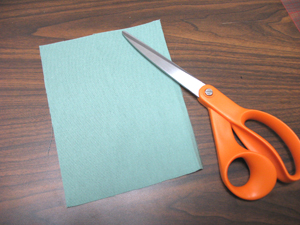
For the left pocket fabric, cut a piece of canvas to the same size as the right pocket (ours is 5 1/2 inches wide by 7 inches high).
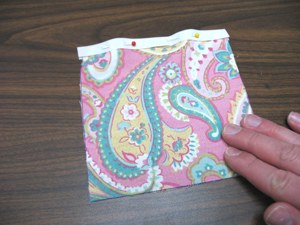
Now, to prepare the fabric for the top left pocket (the top pocket will lay on top of the left pocket fabric), cut a piece of print canvas and solid colored canvas to 5 1/2 inches wide by 5 1/2 inches high (the width of the left pocket fabric by the same measurement for the height). Align the pieces of canvas together, wrong sides facing, and add bias tape to the top edge. Pin all layers in place and sew a seam along the inner edge of the bias tape. Then, sew a 1/8 inch seam around the other three edges of the pocket.
Align the bottom edge of the top left pocket with the bottom edge of the left pocket fabric and pin in place. Then, add bias tape to the left edge and pin in place. Sew a seam along the inner edge of the bias tape.
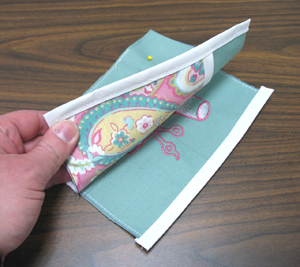
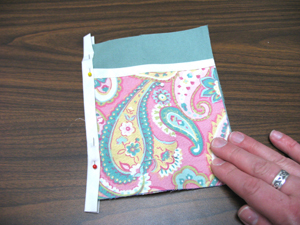
We will now attach the right and left pockets together. Align the right and left pockets together, right sides facing and pin along the raw inner edge.
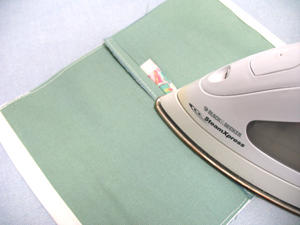
Sew a 1/2 inch seam along the raw edge, then lay the pockets flat and press the back seam with an iron.
Take the first piece of fabric you cut (the front fabric piece) with the right side up and measure and mark the center of the top and bottom edges by measuring and dividing by two.
Align the pockets on top, right side up, with the center seam of the pockets aligned with the center marks on the top and bottom edge of the front fabric piece. Pin in place.
To create pen pockets on the right pocket, measure down about four inches on the right side of the pocket and make a mark. Then, measure down another 1 1/2 inches from the first mark and make a second mark.
Using nylon monofilament thread as top thread, sew a line (parallel to the bottom of the pocket) starting from the marks and ending at the center seam of the pockets.
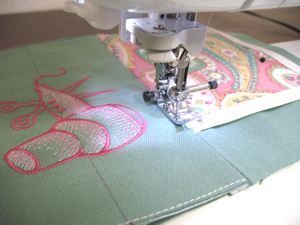
"Stitch in the ditch" and sew along the center seam.
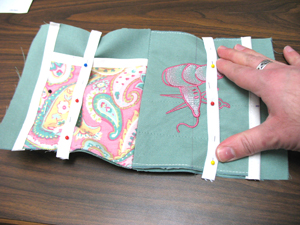
Add the elastic straps by cutting two 8 inch pieces of 1/2 inch wide elastic. Lay them on top of the pockets parallel to the outer edges and about 3 inches in from the outer edges. Pin in place with the ends of the elastic extending out about 1/4 inch past the top and bottom edges of the pockets. Doing this should cause the fabric to bunch up just slightly - this is OK.

Prepare the back of the organizer by cutting another piece of canvas to the same size as the front piece (ours is 12 inches wide by 7 inches high). Align the back fabric piece on top of the pockets, right sides facing and pin in place. Leave the elastic pinned in place for now. Sew a 1/4 inch seam along the top edge, one of the sides, and the bottom edge. Be sure to leave one side open for turning.
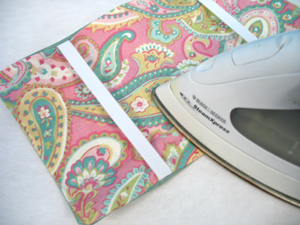
Turn the organizer right side out and remove the pins from the elastic. Flip the elastic bands to the backside of the organizer and press the seams.
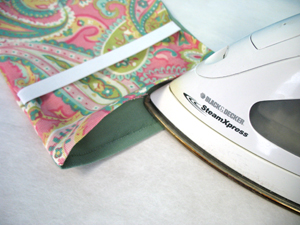
Turn the open end in 1/4 inch and press in place.
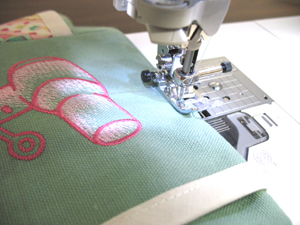
To complete the caddy, top stitch a 1/8 inch seam around the entire outer edge of the organizer.


