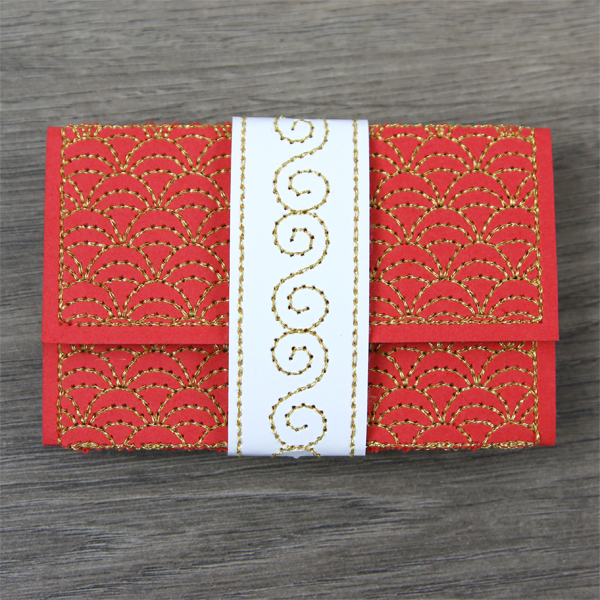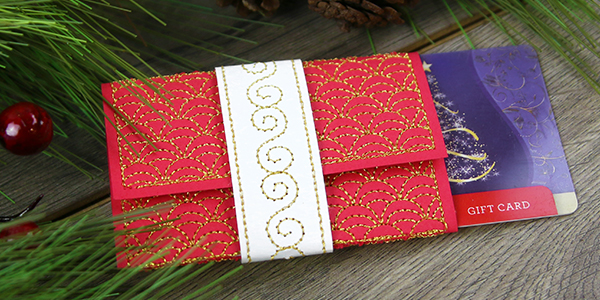
Give gift cards a personal touch with a beautifully decorated holder! This embroidery design is specially digitized for cardstock, with light and open stitching. Sparkling metallic thread and a sleek closure band add the perfect finishing touch. We'll show you how to craft this unique gift card holder!
Supplies
Project Needs & Notes:
- 1 sheet of cardstock (for main envelope)
- 1 sheet of cardstock (for strap closure)
- Tear-away stabilizer
- Temporary spay adhesive (such as Gunold's KK100)
- White paper glue (such as Elmer's Glue-All or Elmer's School Glue)
Designs featured in this tutorial include:
- M14411, Cardstock Gift Card Holder
Designs Used
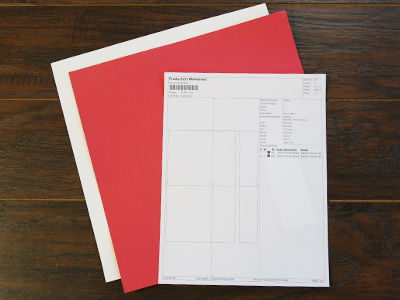
This in-the-hoop design has three files. Two are full embroidery files. The other file is a dieline file marked with the letters DL. Dielines are used to cut the fabric to the right shape and size. Open the dieline files with an embroidery software to print them.
Open the dieline files with embroidery software and print them. If you do not have embroidery software, Wilcom TrueSizer is a free program to use.
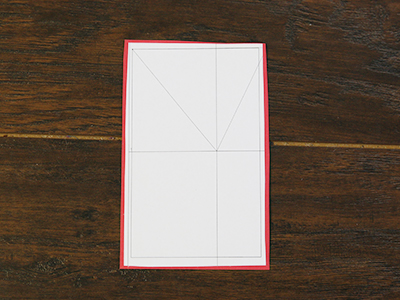
Spray the back side of the paper dieline for the main envelope piece with temporary adhesive. Then smooth it onto the wrong side of the cardstock.
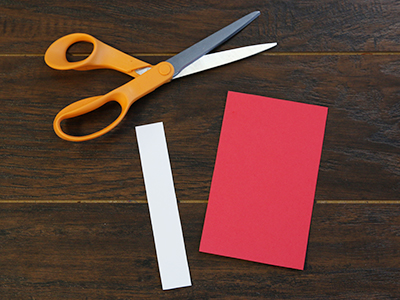
Cut out the shape, and remove the dieline paper. Then repeat to cut out the paper piece for the strap.
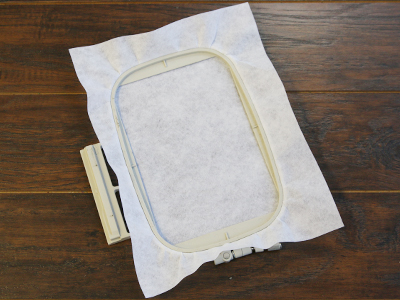
Now that the fabric pieces are ready, it's time to embroider the design.
Hoop a piece of tear-away stabilizer. Madeira E-Zee Tear 1.5 oz or Floriani Tear-away Medium are good choices. Those brands are more fibrous, less like paper, and will tear more cleanly.
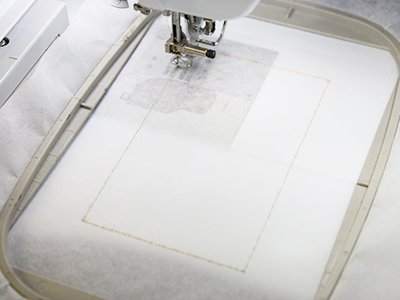
Attach the hoop onto the machine and load the full embroidery file for the envelope labeled with an "a" (not the dieline). Use a 75/11 sharp sewing needle rather than an embroidery needle. The sharp sewing needle has a finer point and will make smaller perforations in the stabilizer and cardstock.
Embroider the design. The first thing to embroider will be the "front dieline". This will mark the area on the stabilizer where the cardstock piece is to be placed.
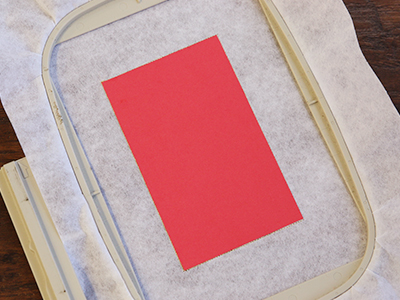
Remove the hoop from the machine, but do not unhoop the stabilizer. Spray the back of the envelope cardstock piece with temporary adhesive, and smooth it into place inside of the sewn dieline.
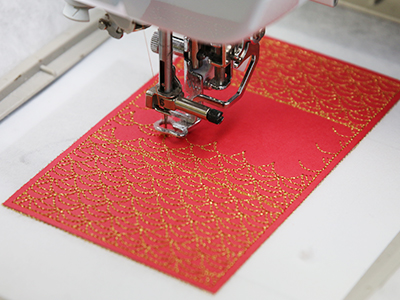
Then attach the hoop back onto the machine, and sew the rest of the design.
First a tackdown will sew which will hold that cardstock piece in place. Then embroider all the inner details.
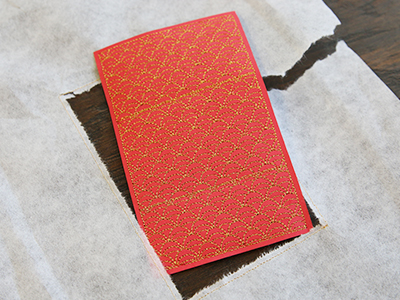
Once the embroidery is finished, tear away the excess stabilizer from around the envelope. The sewn dieline will get torn away with the stabilizer.
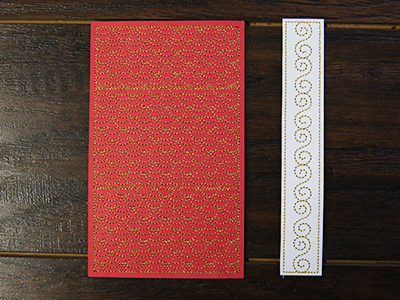
Repeat the previous step to embroider the strap closure as well, and then tear away the excess stabilizer.
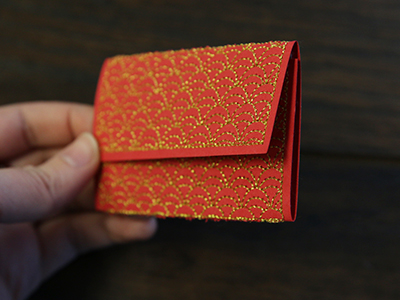
The envelope has two fold lines sewn into the design that show exactly where to fold the envelop closed. Fold the envelope closed along the sewn lines, making sure the stabilizer side ends up on the inside, and the shorter folded end ends up on top.
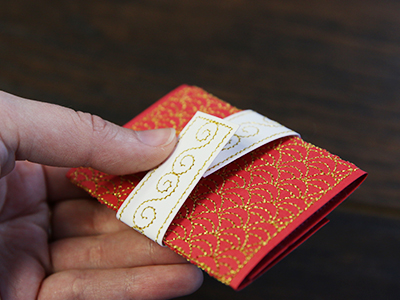
Then fold the closure strap around the folded envelope.
Make sure the strap overlaps on the back side of the envelope and that it is not too tight around it. The strap should be tight enough to hold the envelope closed and not fall off, but loose enough that it can slide on and off without too much effort.
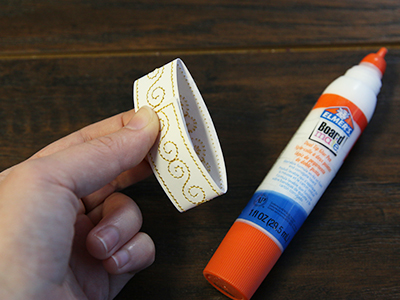
Using white paper glue, glue the strap ends together where they overlap. For best results, use a thin layer of white paper glue, and hold the ends together until the glue completely dries.
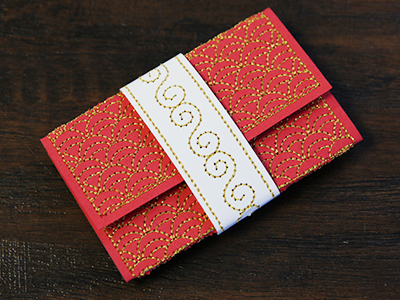
Place a gift card inside the envelope and slide the strap back around it to hold it closed.
