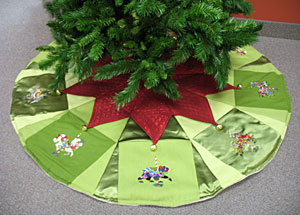
Dress up your tree this season with this carousel tree skirt! Embellish it with your favorite embroidery designs and fun accessories like jingle bells.
This unique tree skirt is sure to be enjoyed for many years to come!
Read below for these free project instructions.
Supplies
- 1 yard quilted fabric - for top of panels
- 2 yards fabric - for bottom of panels (1/2 yard each of four different colors, prints, and textures)
- 1 1/2 yards print quilted cotton
- 1 3/4 yard - 56 inch wide felt - for back of skirt
- 7/8 inch wide double fold quilt binding
- 52 inch by 52 inch piece of high-loft batting
- Medium-weight cutaway stabilizer
- Temporary spray adhesive
- Air-erase pen or dress maker's pencil
- Scotch tape
- Jingle bells (we added nine)
- We chose linen, canvas, and satin fabric for the bottom sections of the panels.
Finished size: 52 inches in diameter
Designs Used
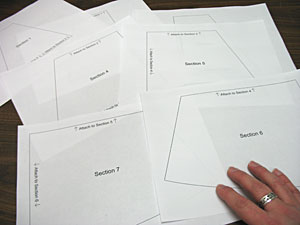
First, print the pattern using the link to download above. There are seven pieces that will print on seven different pieces of paper.
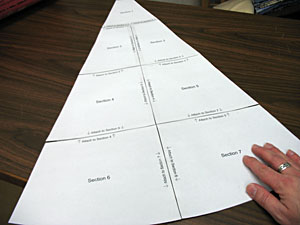
Cut out the pattern pieces and tape them together according to the instructions printed on the pieces. The pattern represents one panel - the skirt is made up of nine panels total.
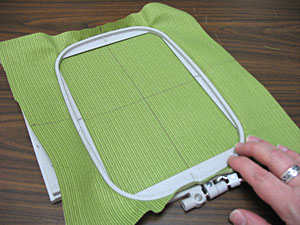
To prepare the fabric for the embroidery, cut nine pieces of fabric 12 inches by 12 inches. We used a combination of linen, satin, and canvas fabric. Using an air-erase pen, measure and mark the centers of each side of each square. Then, draw lines connecting the marks - where the lines meet is the exact center of the square. Spray a piece of medium-weight cutaway stabilizer with temporary adhesive and smooth the fabric on top. Hoop the fabric and stabilizer together by aligning the marks on the hoop with the lines on the fabric. Attach the hoop to the machine and load the first design. Move the hoop so that the needle is directly over the center point on the fabric and embroider the design.
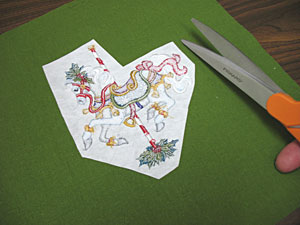
When the design has finished, carefully trim away the excess stabilizer on the backside of the embroidery. Embroider the remaining squares just as you did the first.
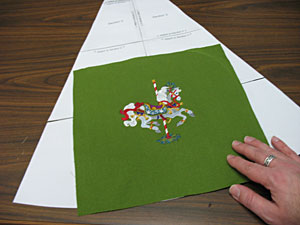
Now we will piece together the bottom sections of the panels. Place one of the embroidered squares on top of the pattern piece with the bottom of the square aligned with the bottom of the pattern.
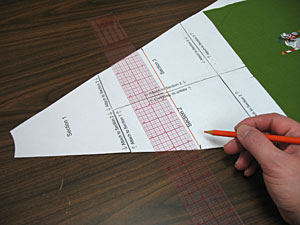
Then, measure down 9 1/2 inches from each top corner of the pattern piece. Draw a line connecting the two marks. This line represents the top of the bottom panel section.
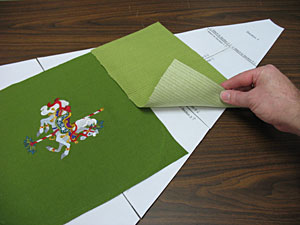
Cut a piece of fabric large enough to cover the area above the embroidered square and the line you just drew - cut the fabric with about 1/2 inch of the fabric overlapping over the top of the embroidered square and about 1 inch above the line. Next, lay the fabric you just cut with the bottom of the fabric aligned with the top of the embroidered square, right sides together, and pin in place. Sew a 1/2 inch seam along the pinned edge and then press the back seam open with an iron.
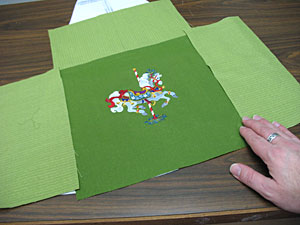
Align the fabric piece back on the pattern. Cut two pieces of fabric large enough to cover the areas on the right and left of the embroidered square.
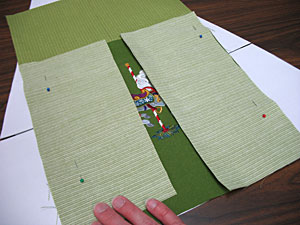
Align the inner sides of the fabric with the sides of the embroidered square, right sides together, pin in place, and sew a 1/2 inch seam along the pinned edges. Then, fold the back seams outward and press.
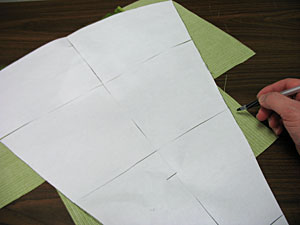
Return the fabric back to the pattern and pin it in place. Then, turn the fabric and pattern over and trace the edges of the pattern onto the fabric.
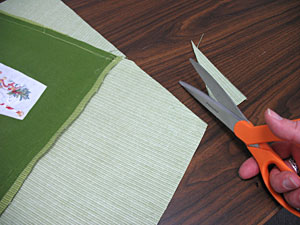
Trim the fabric along the lines you just drew.
Repeat the piecing process for the remaining embroidered squares.
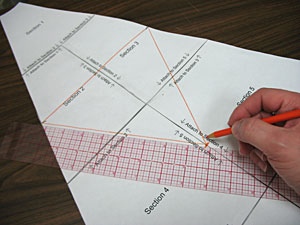
Now we will prepare the pattern piece for the top sections of the panels. Measure 7 inches down from the center of the first line you drew. Then, draw lines connecting the mark you just made to the ends of the first line. Cut the pattern along the lines you just drew.
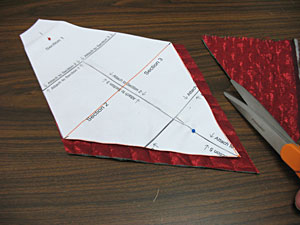
Lay the diamond shaped piece you just cut on top of the quilted cotton fabric. Pin in place and cut along the upper right and left sides. Then, cut 1/2 inch out from the edges of the pattern piece along the lower right and left sides. Cut out a total of nine pieces.
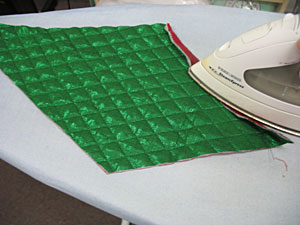
Fold one of the lower sides in 1/2 inch to the wrong side and press. Then, sew a seam just inside of the raw edge.
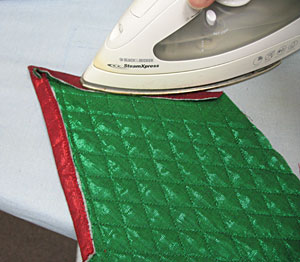
Fold the remaining lower side in 1/2 inch to the wrong side and press. Tuck the upper point under the fold, and sew a seam along the inside of the raw edge. Repeat this process for each upper panel section.
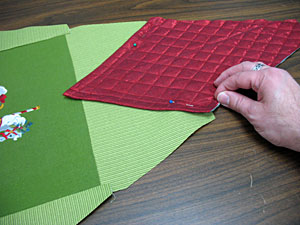
Align the side corners of the upper panel sections with the top corners of the bottom panel sections and pin in place.
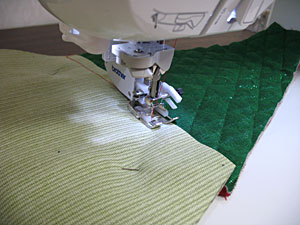
Sew a 1/2 inch seam along the top of the bottom panel section on the back side.
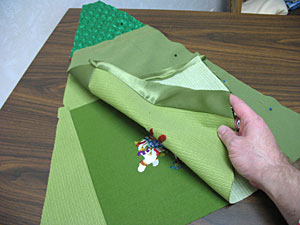
Now the panels are complete and it is time to assemble the skirt! Lay the first panel flat and align the second panel on top with the right sides together. Pin in place along the right side and sew a 1/2 inch seam along the right side only.
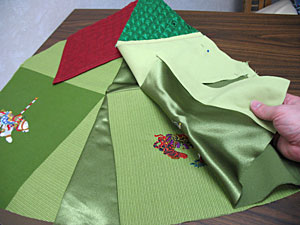
Lay the first two panels flat and align the third panel on top of the second panel, right sides together. Pin along the right side and sew a 1/2 inch seam along the right side only. Repeat this process with the remaining panels - do not sew the last panel to the first panel.
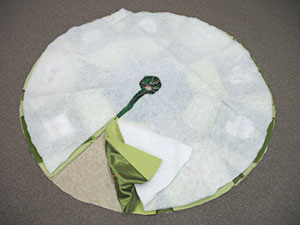
To prepare the back and the batting, lay the panels on top of the felt, right sides together. Then, lay the batting on top of the panels. Trim the batting about 1/2 inch inside the edges of the panels. Also, cut a slit in the batting where the first and last panel meet. Trim the felt along the edges of the panels. Cut a slit in the felt where the first and last panels meet and cut out the inner circle in the center of the panels. Pin the layers together and sew a 1/2 inch seam along the entire outer edge and the inner center circle � leave the slit areas open.
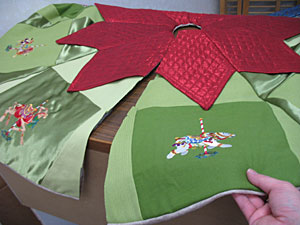
Turn the skirt right side out and press the seams. Top stitch a 1/2 inch seam along the entire outer edge.
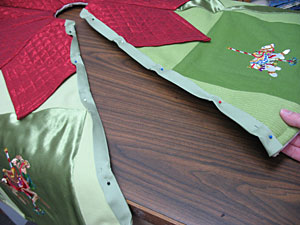
Cut two strips of quilt binding, fold the ends in 1/2 inch and wrap the strips around the raw edges. Pin in place and sew a seam along the inner edges of the binding. You may add strips of Velcro or ribbon to create closures.
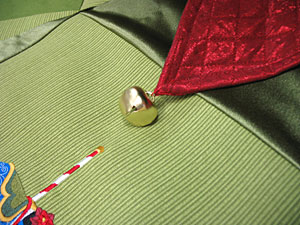
Add embellishments like these jingle bells for some added interest and fun!
