Make a beautiful Christmas stocking with a free pattern and easy-to-follow instructions.
The stocking is lined with cotton and bells add a note of holiday magic to the cuff.
Let your imagination run wild and create personalized stockings for all your friends and family.
Supplies
Supplies needed:
** 1/2 yard outer fabric
** 1/2 yard lining fabric
** 1 quarter flat for outer cuff
** 1 1/2 yards double-wide bias tape (1/2 inch wide)
** Cut-away stabilizer
** Temporary spray adhesive
** Jingle Bells
** Masking tape
** Needle and thread for some hand-sewing
Designs Used:
Jingle Bell Band - Lg
Designs Used
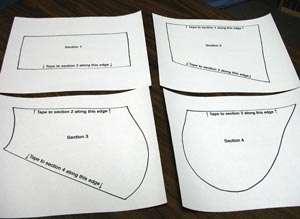
Click here for the pattern piece. You'll need Adobe to open the file.
The stocking pattern is split into four sections, which will print on four pieces of paper.
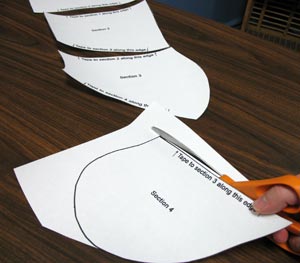
Cut out the four sections
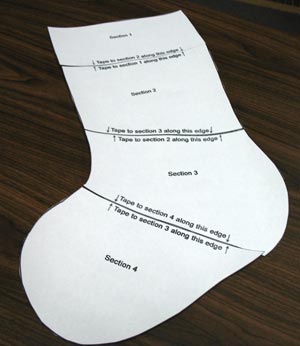
Align the four sections of the pattern as instructed on the printouts, and tape them together.
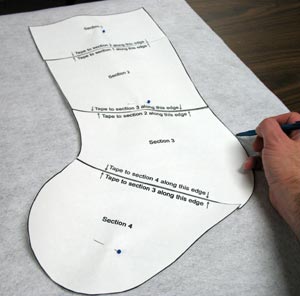
We chose glitter craft felt for the front and back of our stocking. You can use whatever kind of fabric you'd like to use, but we recommend something hearty that will last for years.
While tracing patterns throughout this project, pin them in place so they do not slide around. Lay the fabric right side up and place the pattern on top. Leave a few inches of excess around the stocking -- this will help when hooping the fabric.
Trace the shape and set it aside. Do not cut out the shape for the front of the stocking yet.
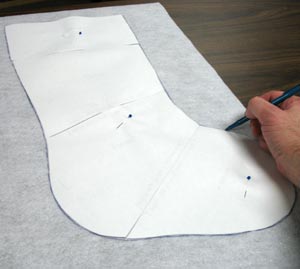
Lay the fabric for the back of the stocking right side up. Flip the pattern over, and trace it.
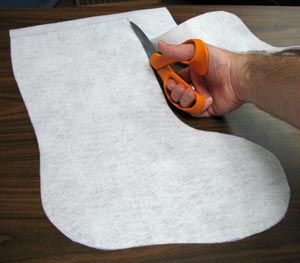
Cut out the shape for the back of the stocking.
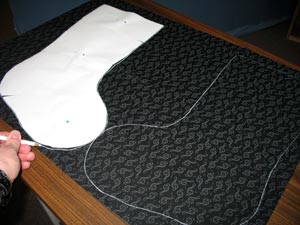
Next, trace both the front and the back of the pattern onto the right side of the fabric for the lining of the stocking.
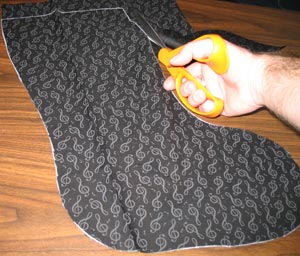
Cut out the shapes.

Next, prepare the cuff fabric. Cut Section 1 from the pattern or reprint it from the PDF file.
(If you are making more than one stocking, Section 1 can be easily taped back onto the pattern later.)
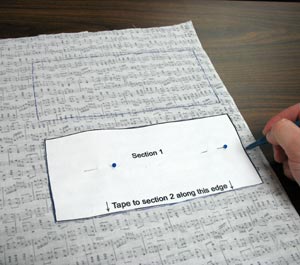
Trace Section 1 twice on the quarter flat
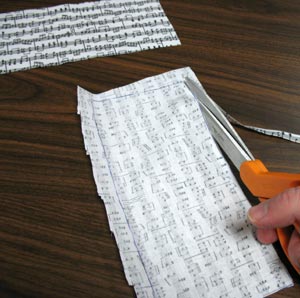
Cut out the shapes.
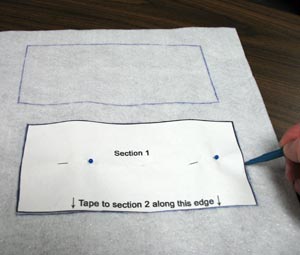
Trace section 1 twice on the inner cuff fabric. We used the same felt fabric as the body of the stocking.
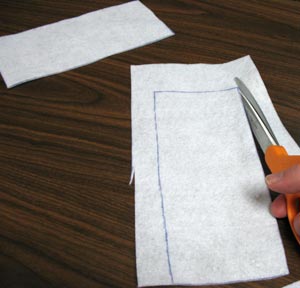
Cut out the shapes.
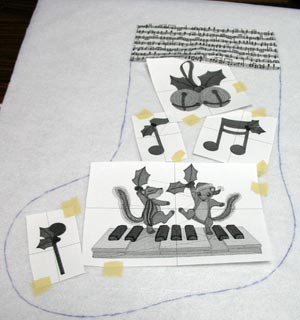
Now, prepare the front of the stocking for the embroidery. Cut a piece of cut-away stabilizer that covers the entire back of the fabric. Spray the stabilizer with adhesive and smooth the fabric on top.
Align one of the front cuff pieces on the top of the front fabric piece as a guide. You will embroider within the area below the cuff and about 1/2 inch away from the edges.
Print paper templates of the designs and trim them down so you can see to place them. Position and tape the templates on the fabric, then remove the cuff fabric.
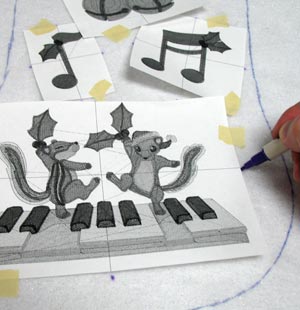
Mark the vertical and horizontal axis points of all the designs.
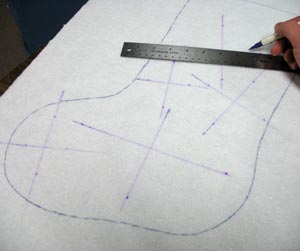
One at a time, remove the paper templates and draw lines by connecting the axis points. The lines will be used for hooping, so draw them out far enough to reach the edge of your hoop.
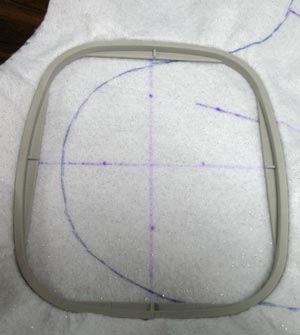
Hoop the fabric by aligning the lines on the fabric with the marks on the hoop.
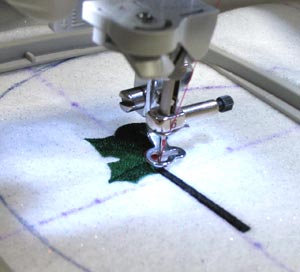
Attach the hoop to the machine, load the design, align the needle directly over the center point, and embroider the design.
After each design finishes sewing, unhoop the fabric, and rehoop for the next design.
Reattach the hoop on the axis points, load the next design, align the needle, and embroider the design.
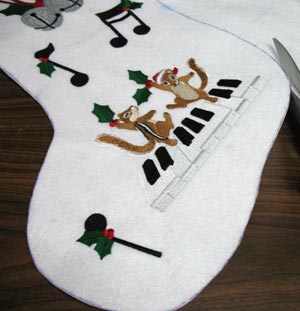
When all the designs have finished sewing, cut out the shape.
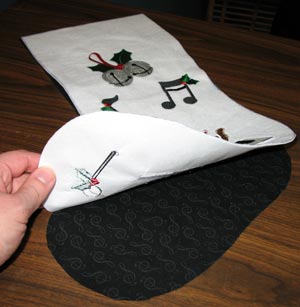
Now assemble the stocking.
Start by laying out one piece of the liner fabric wrong side up. Lay the embroidered front fabric right side up on top of the liner fabric.
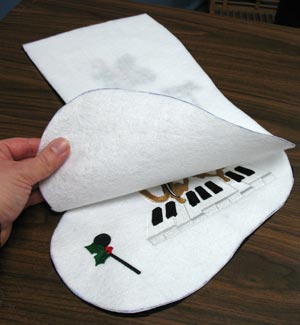
Then lay the back fabric, wrong side up, on top of the embroidered front fabric.
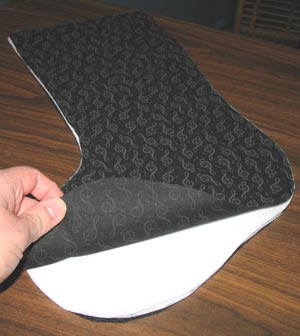
Then, lay the second piece of liner fabric right side up on top of the back fabric.
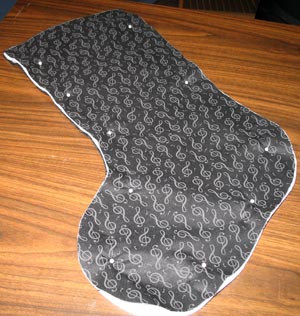
Pin the layers together.
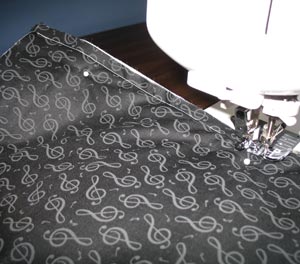
Sew a 3/8 inch seam around the sides and bottom of the stocking.
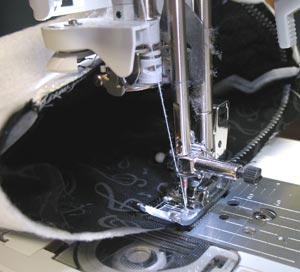
Turn the stocking right side out.
Sew the outer layers and the liner layers together by sewing a zigzag stitch along the top edge of the stocking.
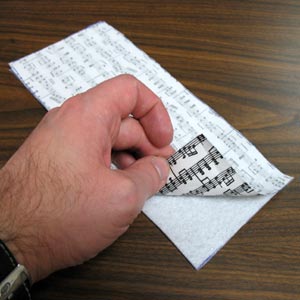
To assemble the cuff, start with two separate cuffs, which will later be sewn together. Lay one piece of the inner cuff fabric and one piece of the outer cuff fabric right sides together. Do the same with the other two pieces of cuff fabric.
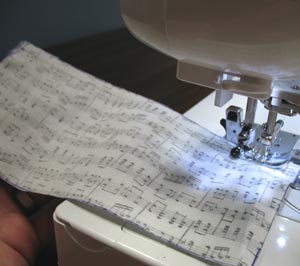
Sew a 1/4 inch seam along one edge of each cuff.

Fold each cuff wrong sides together and press.
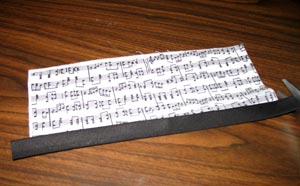
Cut a piece of bias tape the width of each cuff piece and pin in place along the folded edge. Leave about 1/4 inch excess on each end.

Sew the bias tape to each cuff piece by following the inner edge of the bias tape.
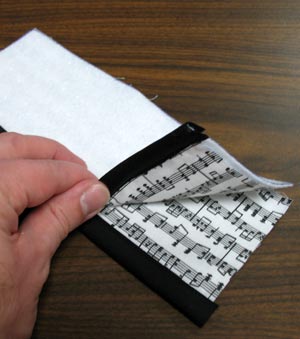
Lay the cuff pieces right sides together.
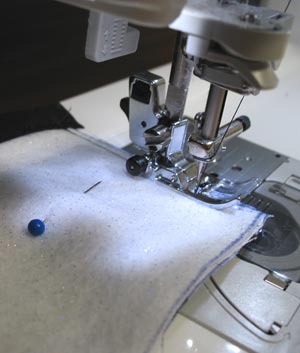
Sew a 1/4 inch seam on each end.
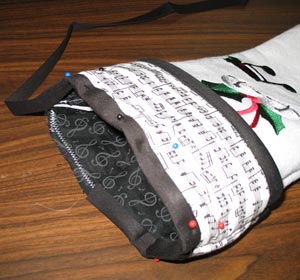
Turn the cuff right side out and slide it over the top of the stocking. Align the top edge of the stocking with the top edge of the cuff.
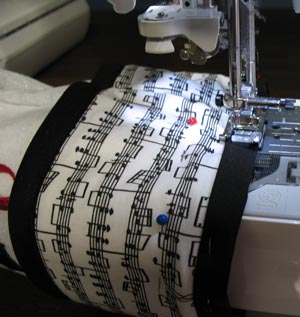
Sew the bias tape, cuff and stocking together by sewing on the inside edge of the bias tape.
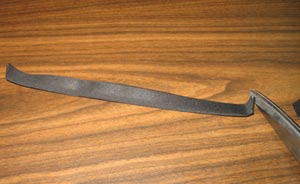
Now make a loop for hanging the stocking. Cut a 6-inch length of bias tape.
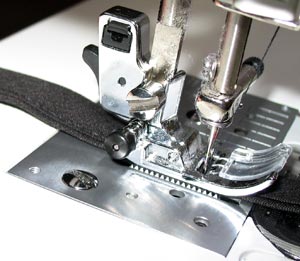
Sew a straight stitch along the open edge of the tape.
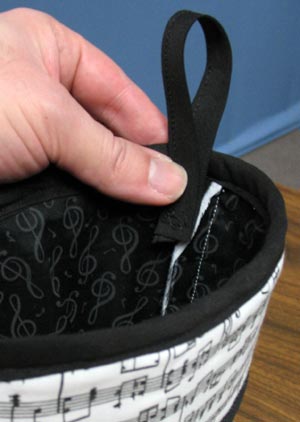
Make a loop and position it on the inside, back edge of the stocking -- right on the seam.
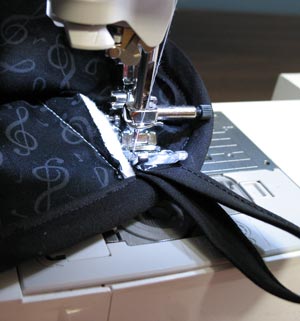
Sew the loop to the stocking by sewing a box with an "X" through it.
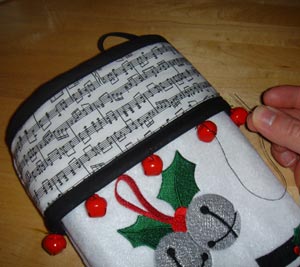
Now, you can add jingle bells to the bottom edge of the cuff by sewing them on with a few hand stitches.


