FREE Snowman with $5 order PLUS Double Reward Points! Click the deals tab for details.❄️
 FREE Snowman with $5 order PLUS Double Reward Points! Click the deals tab for details.
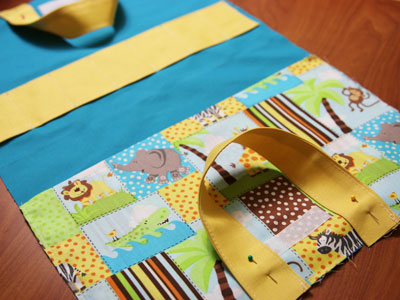
Corral all coloring supplies with this too-cute coloring caddy! Spaces for markers, crayons, coloring books, and more make it a must-have for any family. Bright fabric and embroidery designs add a fun look.
Supplies
Project Needs & Notes
- 1/2 yard lightweight canvas (for outer shell and inner lining)
- 1/2 yard print quilter's cotton (for large pad pocket)
- 1/4 yard lightweight canvas (for straps and crayon pocket)
- Medium-weight (2.5 ounce) cutaway stabilizer
- Air-erase pen for marking
- 14" x 22" piece of stiff double-sided fusible interfacing
- Sew-on 3/4" wide Velcro (for closures)
Designs used in this tutorial are from X12426, A Safari Adventure Train Design Pack.
Finished Size: 13" x 10" (the pad pocket is sized to fit a 9" x 12" pad or coloring book)
Designs Used
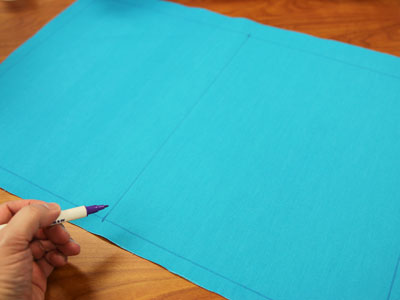
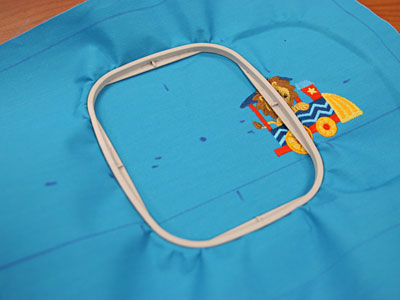
Using an air-erase pen, draw a 14" x 22" rectangle on the lightweight canvas. Leave 1" excess fabric around the shape.
Draw a down the center of the rectangle as shown; this line will be used for folding the caddy.
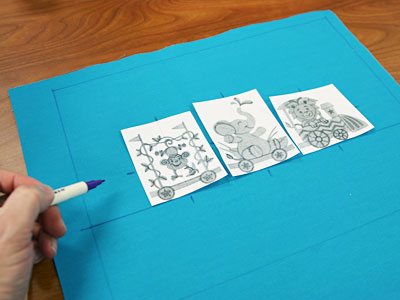
A template, or printout of a design, is an excellent tool to help with placement.
Print a template of the design from your embroidery software. If you do not have embroidery software, Wilcom's TrueSizer is
a free program to use.
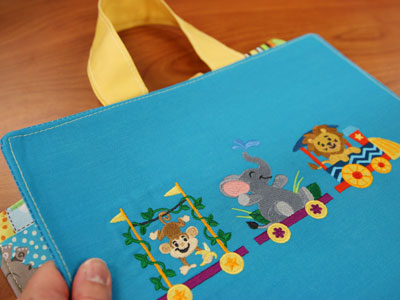
Place the template in the center of the top half of the rectangle.
In this example three designs are used. I draw a horizon line to align the bottoms of the designs.
Leave a space of 3/8" between the designs.
Mark the center points and vertical and horizontal axis lines of each template.
Remove the templates and draw lines connecting the marks.
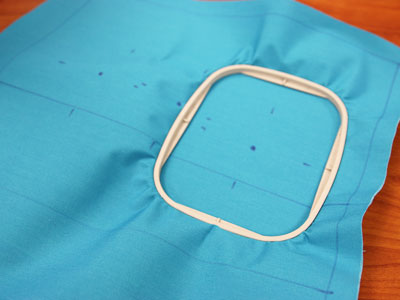
Hoop the fabric and one piece of cutaway stabilizer together, aligning the marks on the hoop with the lines on the fabric.
Attach the hoop to the machine and load the first design.
Move the hoop so that the needle is directly aligned with the center point on the fabric.
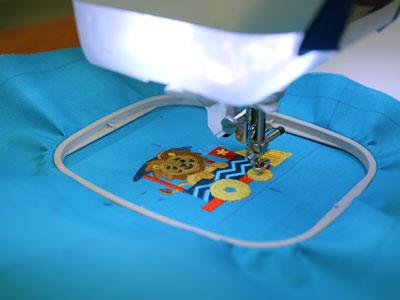
Embroider the design.
When the design has finished, hoop the fabric for the next design. It is okay if the first design is hooped -- the design will not be damaged.
Attach the hoop to the machine and load the design.
Move the hoop so that the needle is directly aligned with the center point on the fabric.
Embroider the design. Repeat for the remaining design.
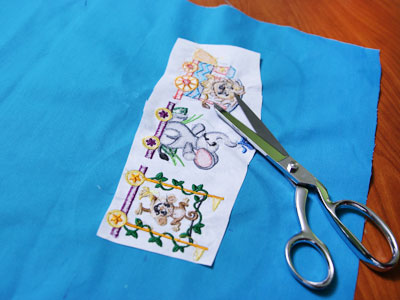
When all the designs have finished, trim away the excess stabilizer on the backside of the embroidery.
Cut out the shape.

Lay the embroidered outer shell on top of the stiff double-sided fusible interfacing.
Use an iron and pressing cloth to activate the interfacing (refer to the interfacing packaging directions). Trim the interfacing by following the shape of the outer shell fabric.
To prepare the inner lining, lay the outer shell on top of the sturdy lightweight canvas, wrong sides together. Pin in place, and cut around the shape of the outer shell fabric. Unpin the fabric and set the inner lining aside for now.
To prepare the pad pocket, cut a piece of print quilter's cotton to 14" x 17".
Fold the fabric together lengthwise, wrong sides together and press the fold. Top-stitch a 1/8" seam along the folded edge only.
Center a 3" piece of Velcro (the hook side) 1" up from the bottom edge of the pocket. Pin in place and sew a seam along the outer edges of the Velcro.
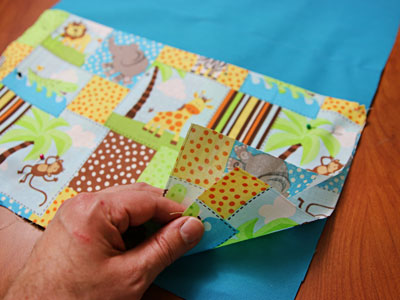
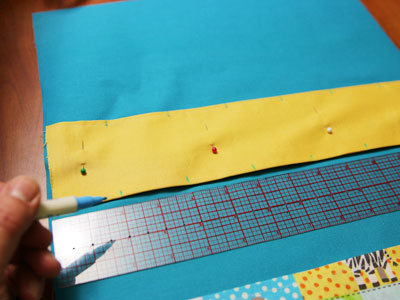
Lay the inner lining fabric flat with the right side facing up.
Align the pad pocket with the bottom edge of the back fabric (the folded edge of the pocket should be facing up).
Pin in place and sew a 1/8" seam along the side and bottom edges of the pocket.
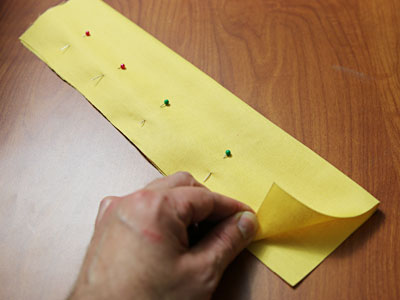
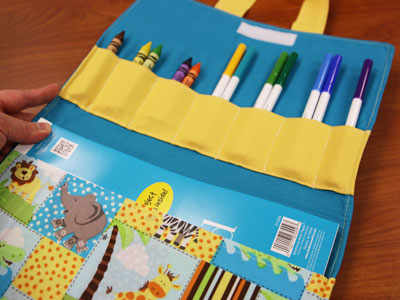
To prepare the crayon pocket, cut a piece of lightweight canvas to 14" x 7".
Fold the fabric together lengthwise, right sides together. Pin in place. Sew a 1/2" seam along the long raw edge only.
Turn the fabric right side out and press the seam and fold. Top stitch a 1/8" seam along the top fold only.
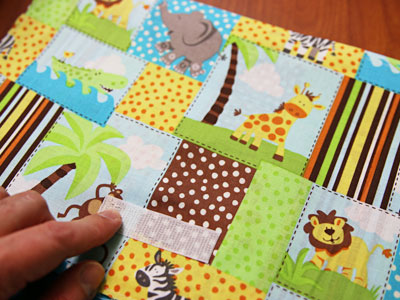
Lay the crayon pocket on top of the inner lining, aligning the side edges together. Place it with the bottom edge of the pocket about 1" up from the center of the inner lining.
Pin in place. Measure and mark every 2" along the top and bottom of the crayon pocket.
Sew a 1/8" seam along the side and bottom edges of the pocket.
Also, sew seams in-between the marks -- this creates the separate compartments of the pocket.
Add a 3" piece of Velcro (the loop side) to the top center of the inner lining 1" down from the top edge.
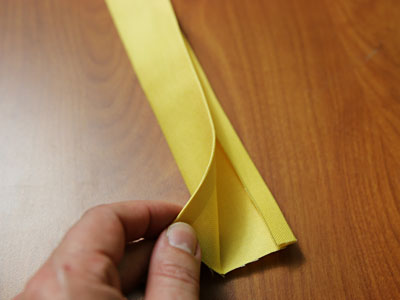
To create the handles, cut two pieces of lightweight canvas to 4" x 14". Fold the long raw edges in 1/2" and press.
Fold the fabric again by aligning the long folded edges together. Press and pin in place. Sew a 1/8" seam along each of the long side edges.
Align the ends of the handles with the top and bottom edges of the inner lining, spacing the handles about 2" in from each corner.
Allow the ends of the handles to extend out about 1/4" past the outer edges of the fabric. Pin in place.
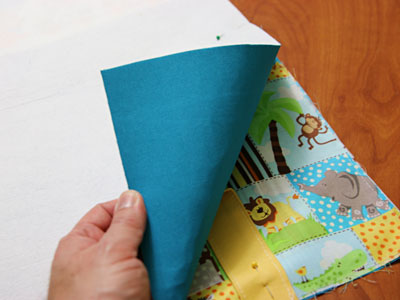
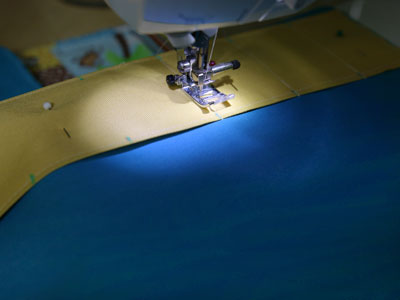
Align the embroidered outer shell on top of the assembled piece, right sides together, with the embroidered end at the top.
Pin in place and sew a 1/2" seam along the outer edges of the fabric, leaving about 6" open along one of the sides.
Trim away the seam allowance around the outer edge of the shape except for by the opening and by each strap.
Turn the caddy right side out; press. Turn the fabric of the opening in 1/2"; press.
Top-stitch a 1/8" seam along the entire outer edge of the caddy.
Fold the caddy together and close with the Velcro strips.
Fold the bottom of the caddy by pressing with your fingers.
Fill the caddy with doodle and sketch pads, coloring books, crayons, markers, and more!
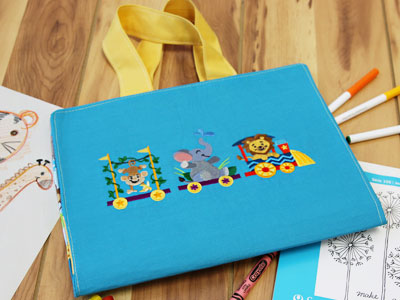
This coloring caddy is the perfect carry-all for road trips, visits to the doctor's office, and much more.
Let your little one pick his or her favorite designs to decorate the cover. Or, if you know an adult that's crazy for coloring, this is an excellent gift for them, too.


