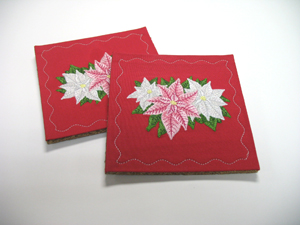
These cork-backed coasters make a delightful addition to your dinner table at Christmas time!
Stitch and give a unique set as a gift or simply keep them for yourself!
Read below for instructions!
Supplies
Supplies Needed:
**Cork tiles (about 1/4 inch thick)
**8 inch by 8 inch piece of sturdy fabric (we used poplin)
**Medium weight cutaway stabilizer
**Temporary spray adhesive
**Air-erase pen (or other marking tool)
**Craft knife and cutting pad (or scissors)
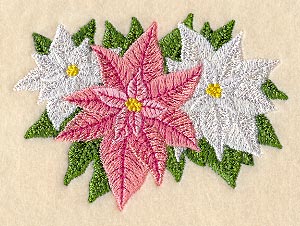
Design used:
Elegant Poinsettias
Finished size:
5 inches by 5 inches
Designs Used
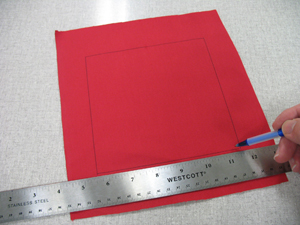
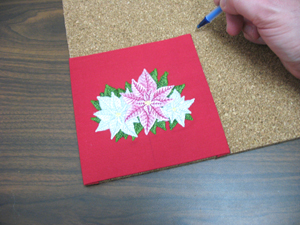
To begin, we will prepare the fabric for the embroidery.
Cut a piece of fabric a bit larger than your hoop (ours is 8 inches by 8 inches). Then, draw a 6 inch by 6 inch square in the center of the fabric.
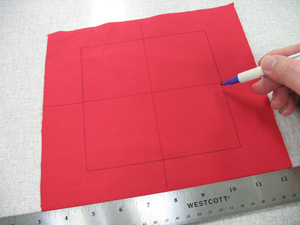
Using an air-erase pen, mark the center of each side by measuring and dividing by two. Draw lines to connect the center points. Where the lines meet is the center of the square.
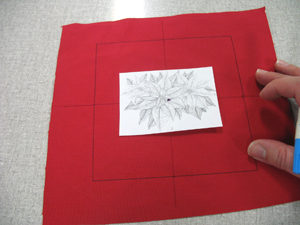
If you have embroidery software, print a template of the design to use for placement. If you don't have embroidery software, you can cut a piece of paper the shape and dimensions of the design to help with placement and centering. Poke a hole in the center of the template and align it with the center point on the fabric. Make sure the design fits well within the shape. There should be at least one inch of space between the edges of the design and the edges of the shape.
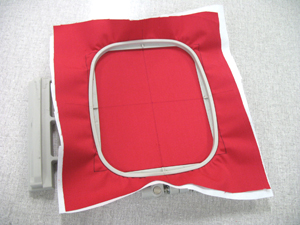
Spray a piece of cutaway stabilizer with adhesive and smooth the fabric on top. Hoop the fabric and stabilizer together by aligning the marks on the hoop with the lines on the fabric. Attach the hoop to the machine and load the design. Move the hoop so that the needle is directly over the center point on the fabric. Embroider the design.
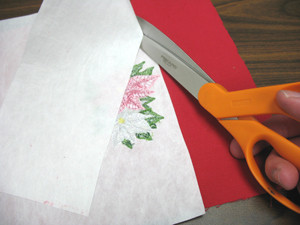
When the design has finished, unhoop the fabric and trim away the excess stabilizer on the back of the embroidery.

Cut out the shape.
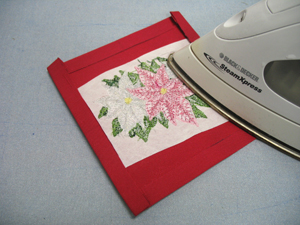
Fold the edges of fabric over to the wrong side on the top and bottom edges and press with an iron. Fold the edges of the sides over and press.
Lay the fabric on the cork tile and mark each corner. Then, use a ruler to connect the marks.
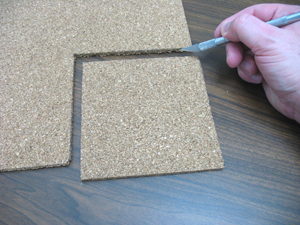
Cut out the shape using a craft knife and cutting pad or with a scissors.
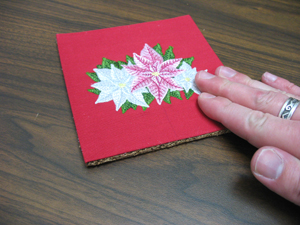
Spray the wrong side of the fabric with adhesive, align it on top of the cork piece and smooth in place.
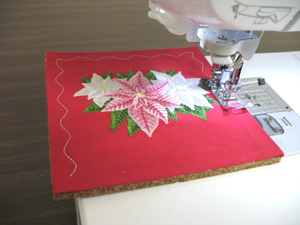
Sew a 1/4 inch seam along the outer edge of the coaster (we used a decorative stitch). When sewing around a corner, keep the needle down and raise the presser foot. Lift the coaster off the feed dogs and pivot the coaster. Then, lower the presser foot and continue sewing. This will insure that the cork will not be damaged by sticking to the feed dogs.


