Craft clever gift bags for Christmas, birthday's, potpourri holders, and more with this step-by-step drawstring bag tutorial! Simply embroider your chosen fabric with any design that you wish, add contrasting lining for added dimension and flair, then add matching ribbon at the end for closure. See below for details.
Supplies
Project Needs & Notes:
- 1 yard of outer fabric
- 1 yard of lining fabric
- 1/2 yard of contrasting fabric
- 20 inches of 1/2" single fold bias tape
- Temporary spray adhesive (such as Gunold's KK100)
- Cutaway stabilizer
- Pins
- Embroidery thread
- Universal sewing thread
- Air-erase pen or marking tool
- Scissors
- Quilting ruler
- 40 inches of 1/4" ribbon
- Safety pin
- Pressing cloth
- Ironing board
- Iron
Designs featured in this tutorial include:
- M32275, Made with Love and Holly Gift Bag Accent
Designs Used
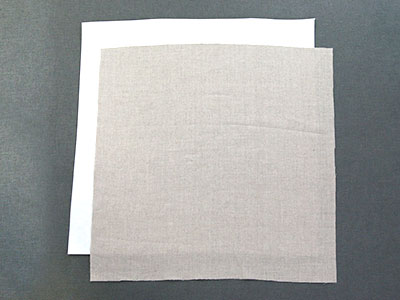
To begin, cut a piece of the outer fabric (the design will be embroidered on this fabric piece) and cut away stabilizer so that they are larger than both the embroidery hoop, and 9 1/2" x 10 1/2" (which is the size of the bag's front piece). The outer dimensions of the hoop we used are 18" Tall x 9 1/2" wide. For best results, make sure the fabric is at least 2" larger than the hoop in both height and width. We cut our fabric to be 20" x 20".
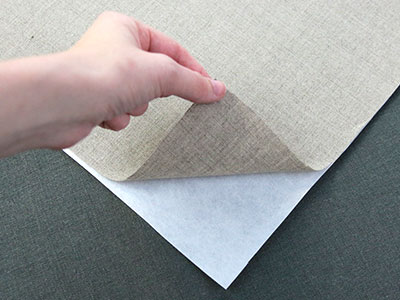
Spray the cutaway stabilizer with temporary spray adhesive. Then, smooth the stabilizer to the wrong side of the outer fabric piece.
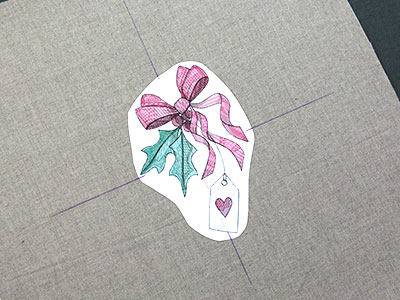
A template, or print out, of a design is an excellent tool to help with placement. Print off the template of the design using embroidery software. If you do not have embroidery software, Wilcom Truesizer is a free program to use. Center the template on the fabric while keeping placement in mind. Using an air-erase pen, mark the center point and the horizontal and vertical axis lines of the design.
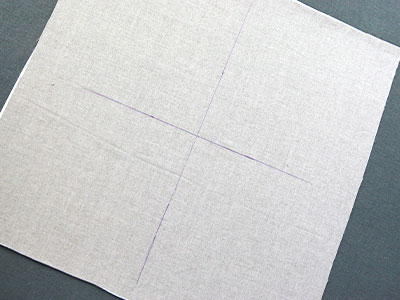
Extend the axis lines using a ruler and air-erase pen to make it easier to hoop accurately.
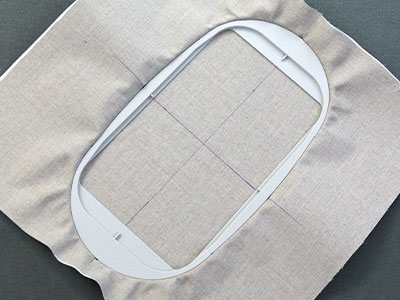
Hoop the stabilizer and fabric together so that they are drum tight. Make sure line up the axis lines with the markings on the embroidery hoop.
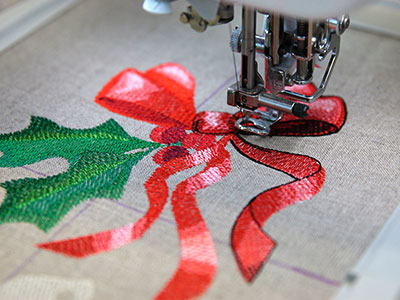
Load the embroidery file onto your machine and secure the hoop in place. Move the needle over the marked center point on the fabric. Follow the color change sheet and embroider the design.
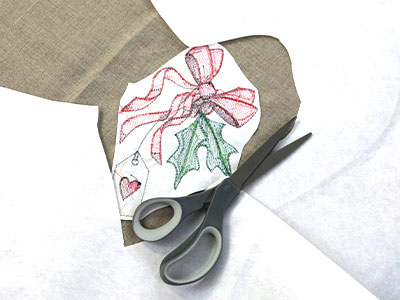
After the embroidery has finished, unhoop the design. Carefully trim away the excess stabilizer around the back side of the embroidery.
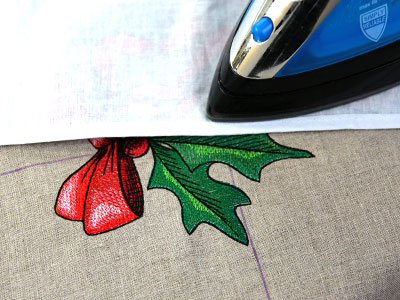
With a pressing cloth, iron any wrinkles out of the design. This will help the fabric lay flat while marking out the cutting lines.
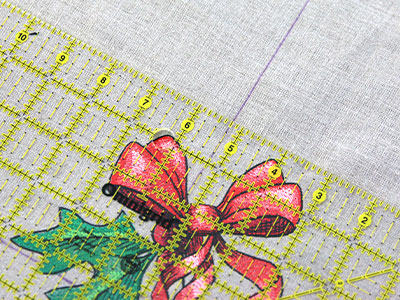
To cut out the embroidery we are going to draw a rectangle and mark the outer dimensions of our finished piece. First, measure up 1/4" above the design with a ruler. We are going to draw a 10 1/2" line above the design here. To do this, line up the drawn vertical axis with the 5 1/4in mark on the ruler. Then, draw a line from 0" to 10 1/2".
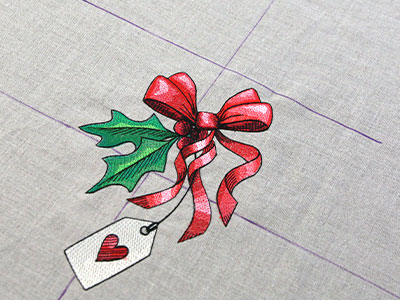
After the line is drawn it should look like this -- beginning 1/4" above the design. It should be 10 1/2" long and centered on the vertical axis.
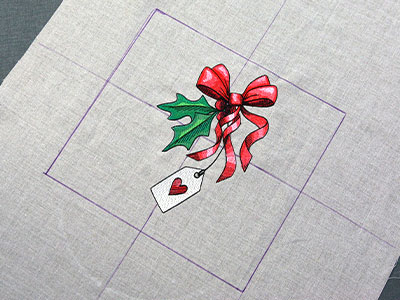
The first drawn line will be the top of the rectangle. To achieve perfect 90-degree corners, use a quilter's ruler and draw the rest of the rectangle so that the sides are 9 1/2" tall. When finished, the final measurements should be 10 1/2" wide by 9 1/2" tall.
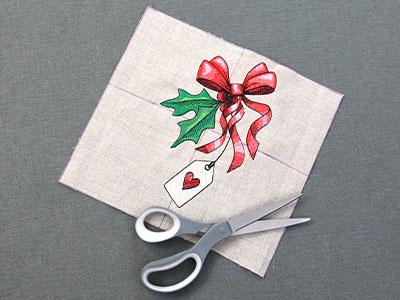
Next, cut the fabric out following the drawn rectangle. This will be the outer front piece.
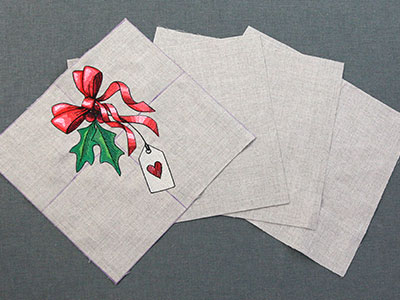
Next, cut out another rectangle using the same outer fabric. This second rectangle should be the same dimensions as the first - 10 1/2" by 9 1/2".
Once you have cut the two outer pieces, proceed to cut out two lining pieces using the same 10 1/2" x 9 1/2" rectangle dimensions. In this example we are using the same fabric for the lining and outer pieces.
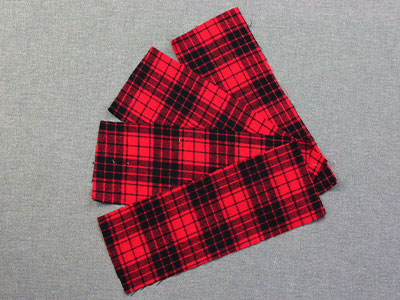
Next, using your contrasting fabric, measure and cut out four rectangles that are 10 1/2" wide x 4" tall.
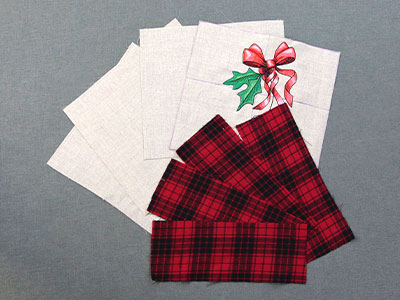
Before assembling the bag, make sure you have all six pieces cut and ready. There should be two outer fabric pieces, two lining pieces, and four contrasting rectangle pieces.
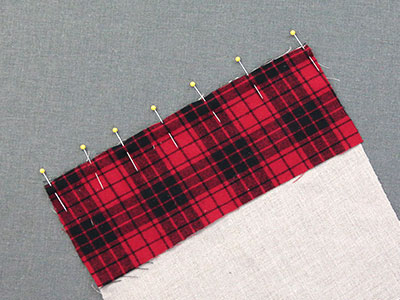
Take one of the contrasting fabric pieces and a line it up with one of the lining fabric pieces along the top long edge. Right sides should be together. Pin them together along the matched long edge.
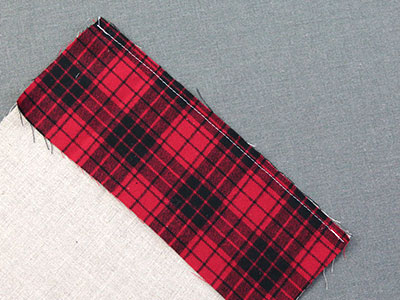
Sew the pinned edged with a 1/4" seam allowance.
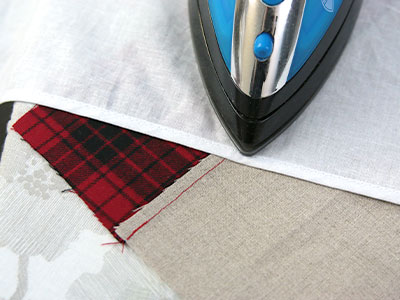
Flip the band up and press the seam allowance up toward the contrast band.
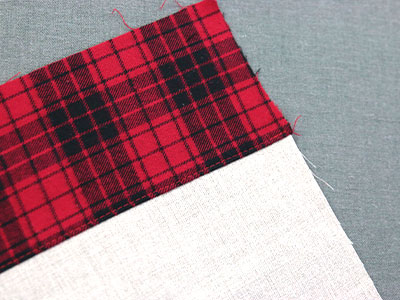
Then, topstitch 1/8" up from the seam on the contrast fabric side. With the seam allowance pressed up, this topstitch will sew the seam allowance to the wrong side of the fabric, keeping it in place. Use thread that matches the contrast fabric for best results.
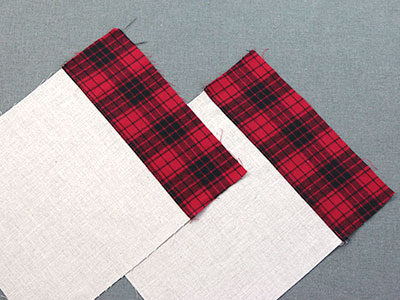
Repeat to sew the remaining lining piece onto a contrast fabric piece. Press the seam upwards and topstitch it in place.
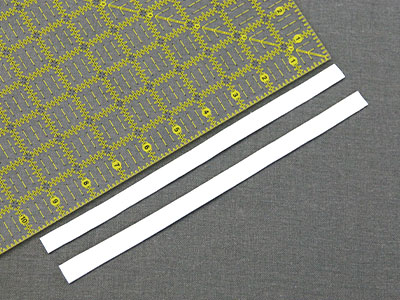
Cut two pieces of 1/2" single fold bias tape that are 10" long.
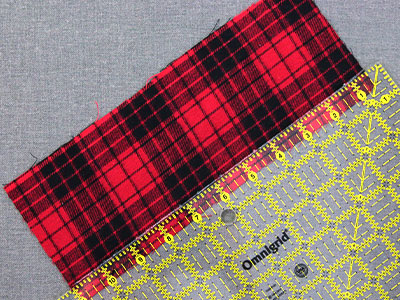
Take one of the two remaining contrast fabric pieces and turn it over so the wrong side is facing up. Measure 1/2" up from the bottom edge (either of the10 1/2" edges). Mark this with an air-erase pen, drawing a line all the way across the bottom edge.
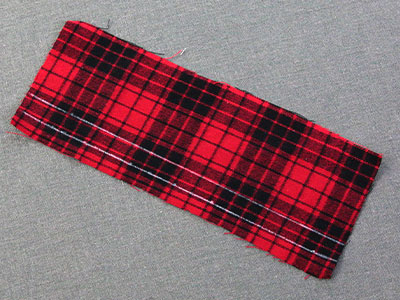
Then, use the ruler to mark a 1/2" up from the drawn line as well.
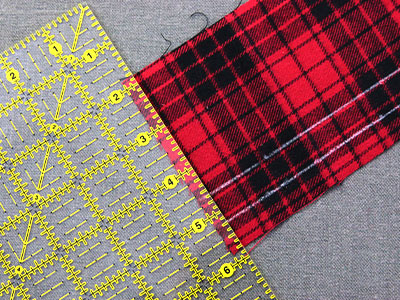
Before placing the bias tape, measure in from one side by 1/4" and leave the ruler there as a guide. This is to prevent the bias tape from being sewn into the side seams later.
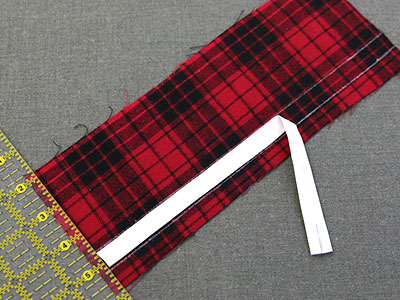
Place one end of your cut bias tape against the ruler so it starts 1/4" away from the side. Make sure the open side of the bias tape is facing down. Then, lay the bias tape across the band, so that is sits between the lines have just drawn. Since the bias tape is 10" long, it will end 1/4" from the opposite side as well.
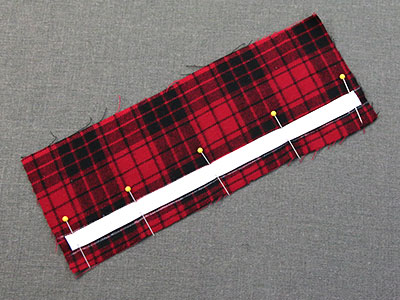
Carefully pin the bias tape in place. Check to make sure it is 1/4" away from both sides, sitting between the two drawn lines. Again, the open side of the bias tape should be facing down
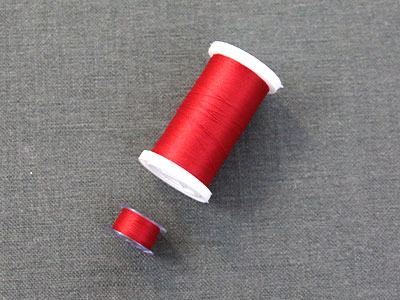
Match both the top thread and the bobbin thread to the contrast fabric as these stitches will be visible from the outside.
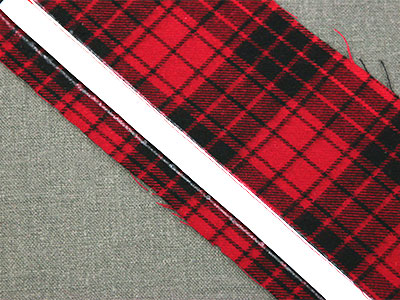
Slowly topstitch along the top edge of the bias tape. Make sure to sew as close to the edge of the tape as possible. After sewing along the bottom, this will become the channel for the ribbon. Keeping the topstitch as close to the edge as possible helps ensure the safety pin and ribbon will fit.
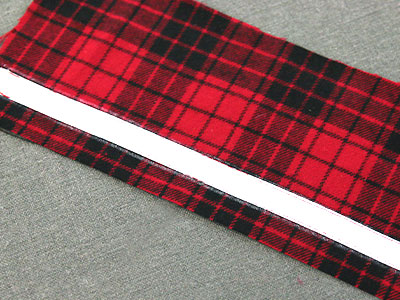
Next, also topstitch along the bottom edge, carefully stitching as close to the edge as possible.
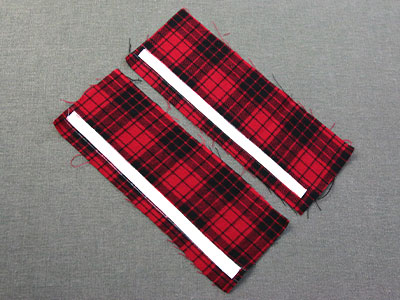
Repeat the previous steps to add the ribbon channel onto remaining contrast piece. Make sure to draw the lines correctly on the wrong side of the fabric, place the bias tape 1/4" from both sides, and sew as close to the edge of the bias tape as you are able.
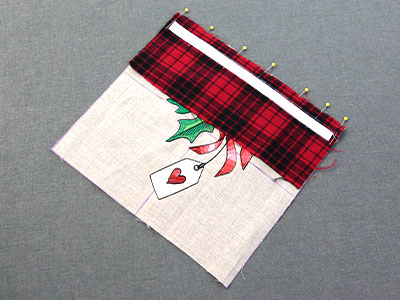
To make the outer fabric pieces, first take the embroidered outer piece and one of the contrast fabric pieces that has been stitched with bias tape. Match them up along the top edge of the embroidered piece with right sides together. The edge of the contrast fabric that is stitched with bias tape should be closest to the unfinished edge of the outer fabric piece and matched along the long edge. Once this is done, pin them together along the top edge.
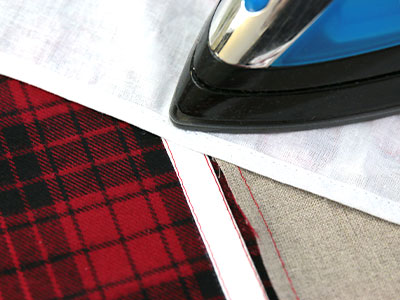
Sew across the top pinned edge with a 1/4" seam allowance. Then, flip the band up and press the seam allowance upward toward the contrast piece.
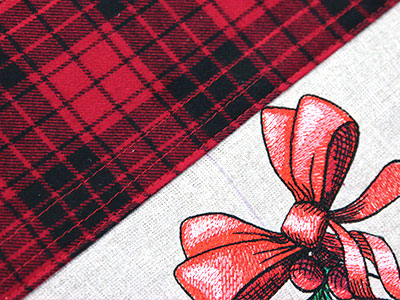
Topstitch 1/8" up from the seam on the contrast fabric side. With the seam allowance pressed up, this topstitch will also sew the seam allowance to the wrong side of the contrast fabric. Use thread matching the contrast fabric color for best results.
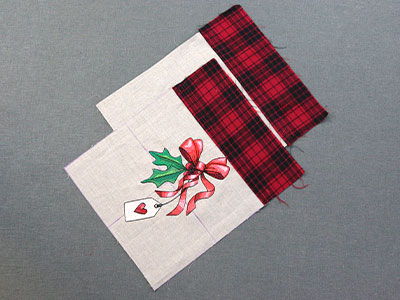
Repeat the previous steps to sew the remaining contrast fabric piece onto the back outer fabric piece with right sides together. Then, press the seam allowances upward and topstitch the seam in place. Make sure that edge closest to the bias tape ends up being sewn to the top edge of the outer back piece.
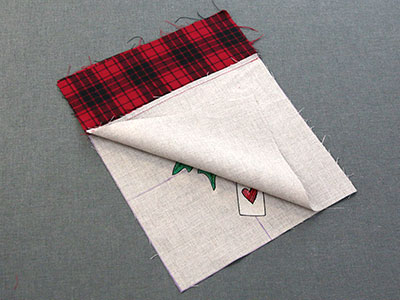
With right sides together, match up the front outer fabric piece and one of the lining pieces. Make sure to match up the contrast bands, bias tape channels, and seams as well.
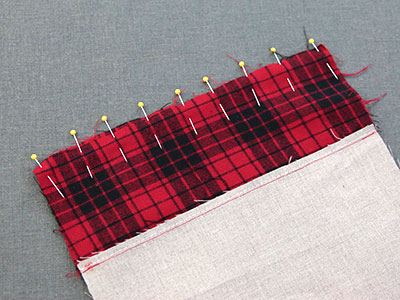
Pin the front outer piece and the lining piece together along the top edge only.
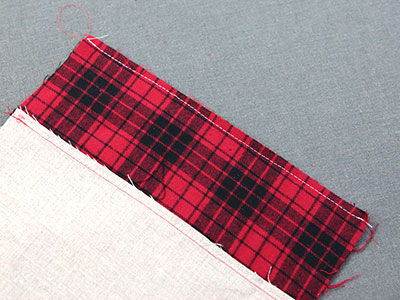
Sew a 1/4" seam allowance along the pinned top edge.
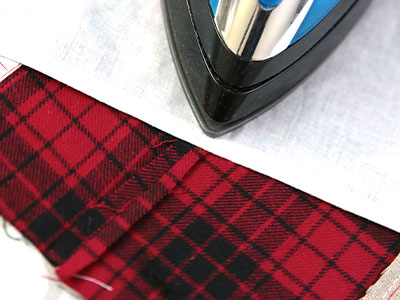
Press the seam open, so the outer front piece and the lining piece now make one long piece.
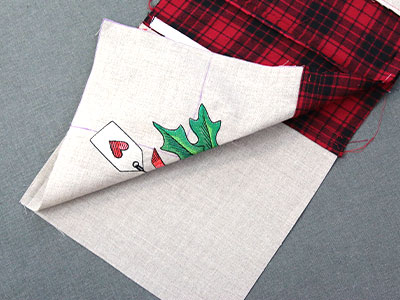
Repeat the previous steps to pin and sew the outer back piece onto the remaining lining piece with right sides together. Then, press the seam open to create another long piece. Lay the two long pieces on top of each other with right sides together. Make sure the outer pieces are matches up on one side and that the lining pieces are matched up on the other side. The sewn bias tape channels should be matched up as well.
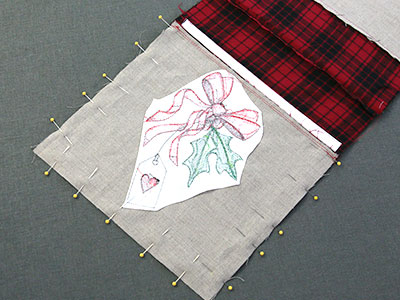
Once you are sure the two long pieces are matched up correctly, pin the two outer fabric pieces together only. Stop pinning when you reach the bottom edge of the bias tape on both sides.
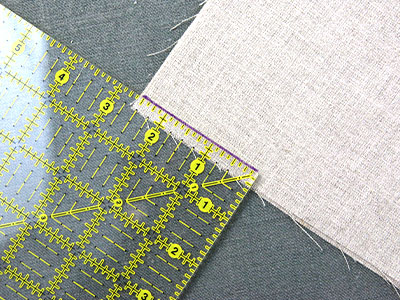
On the lining side, measure 1/4" up from the bottom edge. Then, draw a 2 1/2" line in, starting from the edge of the fabric.
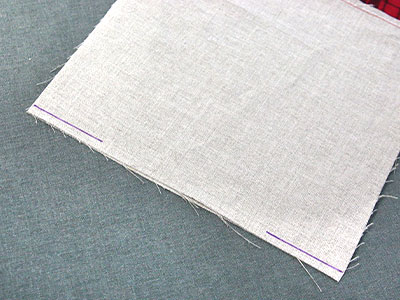
Repeat to measure and mark the same line on the side adjacent to your previously drawn line.
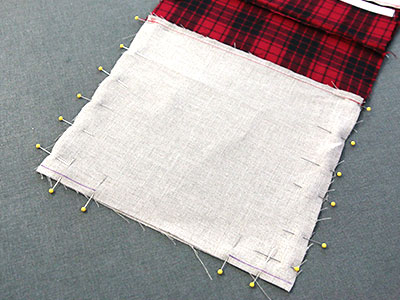
Next, pin the two lining pieces together. Pin from the top edge of the lining (where it meets the contrast fabric) to where the drawn lines end 2 1/2" from the bottom corners. This opening at the bottom will be left for turning in a later step.
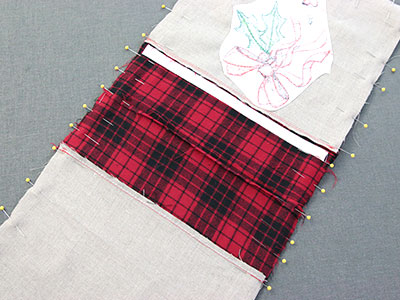
Now, pin the contrast fabric pieces together. Do not pin where the bias tape is. This will need to be left open for the ribbon channel. Instead, pin from the top edge of the lining pieces to the top edge of the bias tape.
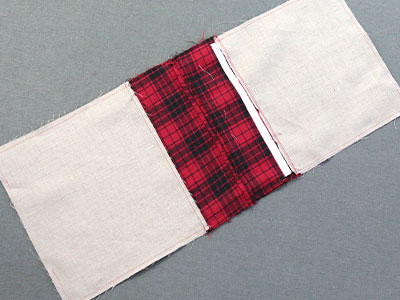
Sew along all the pinned edges with a 1/4" seam allowance. Be careful to leave the three unpinned areas open. These areas include the two openings on each side of the bias tape, and the opening along the bottom edge for turning.
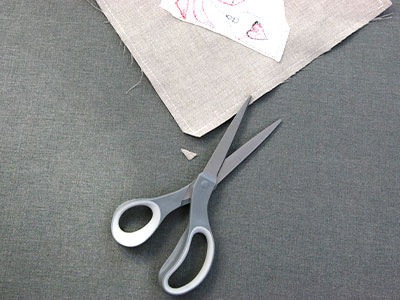
Before turning the drawstring back right side out, clip all the corners, being careful not to cut the seam. Doing this will make it easier to create crisp corners with less bulk.
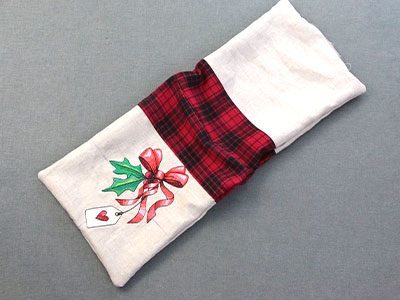
Turn the bag right side out through the bottom opening.
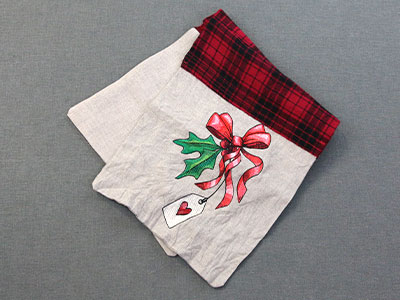
Follow the manufacturer's instructions to remove the air-erase pen markings. With the marker we used, we simply dabbed the lines with water until they disappeared.
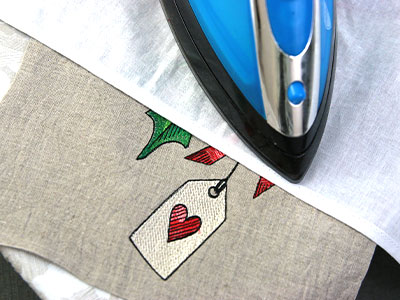
After removing the markings, press the fabric to remove any wrinkles that were created during the construction process. Press the all of the edges until the are crisp. During this step, fold in the raw edges of the three openings by 1/4" and press them in place as well.
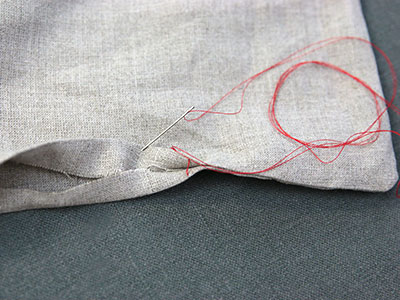
Then, use a hand sewing needle and thread to sew closed the opening at the bottom of the lining. Use a thread that matches the color of the lining for best results.
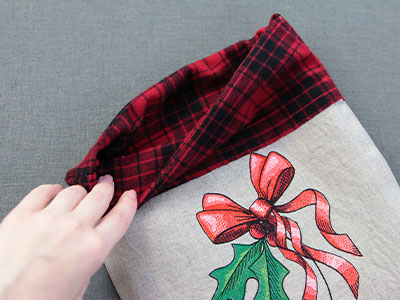
Once the opening is stitched closed, take the lining side of the bag and push it inside of the outer fabric pieces.
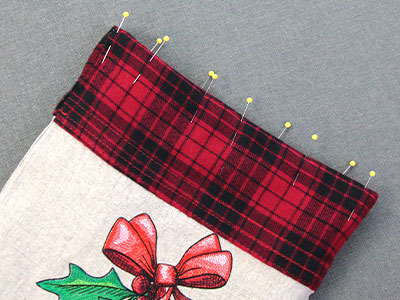
Once the lining is inside the bag, match up the contrast fabric seams so the edges of the opening are flush. Then, pin the bands together to hold the seam along the top edge.
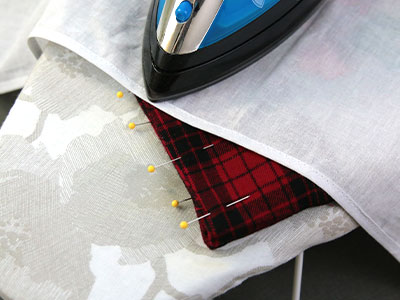
Press this top seam until the top edge is crisp. You can also pin after pressing this edge if you prefer.
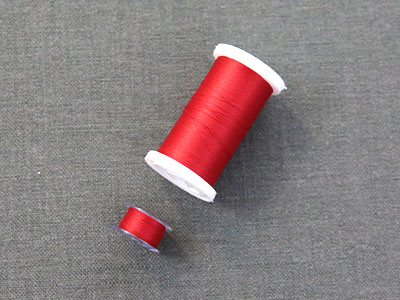
As the final seam will be seen on both sides of the band, match the top thread and the bobbin to the color of the contrast fabric.
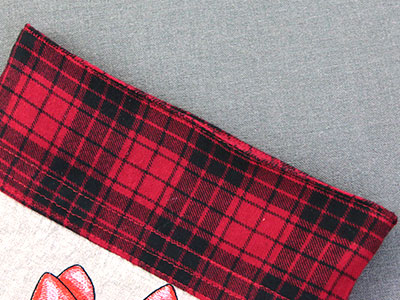
Topstitch along the top edge of the contrast fabric seams with a 1/8" seam allowance. This will help hold the crisp edge and ensure that the seam always stays on the edge of the fold.
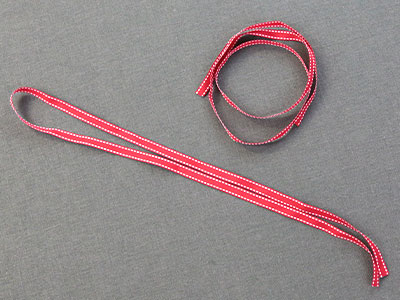
To make the drawstring ties, cut two pieces of ribbon that are both 30" long.
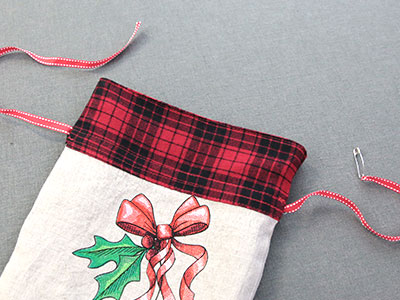
Take one of the ribbon pieces and pin a safety pin onto one end. On the front side of the drawstring bag only, feed the ribbon through the front channel that was created using bias tape. Using a safety pin on the end of your ribbon will make it easier to feed the ribbon through the small channel.
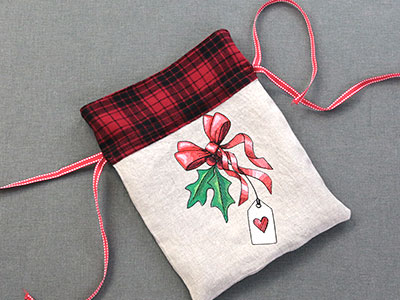
Repeat the previous step and feed a ribbon through the bias tape channel on the back side of your drawstring bag.
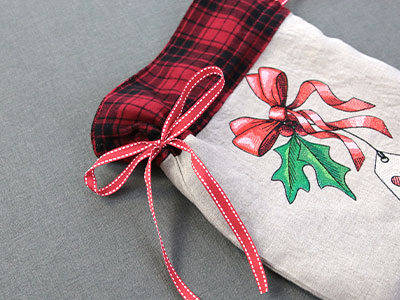
To close the bag, pull on the ribbons so they hang out of one side a little more than the other (maybe about 6-7" more). Then tie the ends of the ribbon together on that same side.
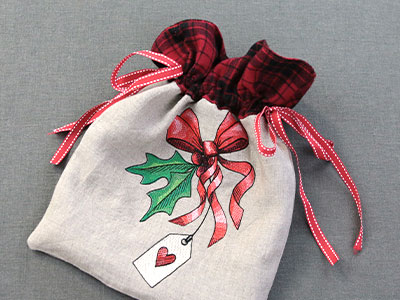
Once one side is tied, pull on the other side's ribbons to close the bag. For a finished look, we recommend securing both sides by tying a bow.


