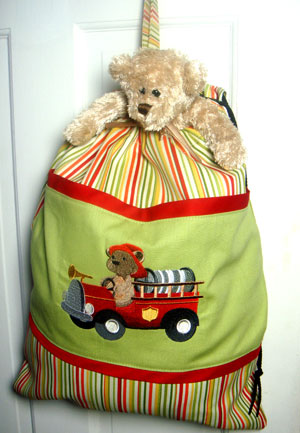
Cleaning up is a cinch with this drawstring toy bag! Perfect for storing books, blocks, dolls, action figures and much more.
A handy loop means it's also a great take-along bag, and it can hung just about anywhere.
Read below for these free project instructions!
Supplies
Supplies Needed:
**1/2 yard print twill, denim, or lightweight canvas fabric (for front top panels and back panel)
**1/2 yard solid color twill, denim, or lightweight canvas (for front middle panel)
**1/2 yard twill, denim, or lightweight canvas for inner lining
**Medium weight cutaway stabilizer
**Air-erase pen (or other marking tool)
**Temporary spray adhesive
**50 inch long drawstring cord
**1 yard 7/8 inch wide double fold bias tape quilt binding
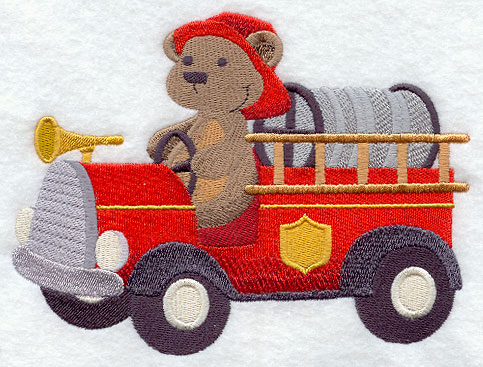
Designs used:
Firefighting Bear (large size) from the Free-Wheelin' Teddy Bears Design Pack. This design pack is available in 2 sizes: large and small.
Finished Size:
15 3/4 inches wide by 20 inches high
Designs Used
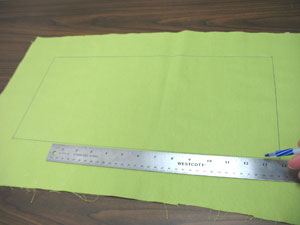
To begin, prepare the fabric for the front middle panel.
On the solid colored fabric (we used lightweight home decor canvas) draw a 17 inch wide by 8 inch high rectangle. Be sure to leave a couple inches of excess fabric around the shape.
Using an air-erase pen (or other marking tool), mark the center of each side of the rectangle by measuring and dividing by two. Draw lines to connect the marks - where the lines meet is the center of the shape.
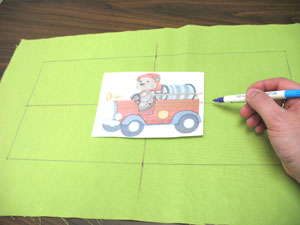
Create a paper template of the design by printing it at full size using embroidery software. If you don't have embroidery software, you can cut a piece of paper the shape and dimensions of the design to help with placement and centering.
Poke a hole in the center of the template and align it with the center point on the fabric. Make sure the design fits well within the shape. There should be at least two inches of space between the edges of the design and the edges of the fabric.
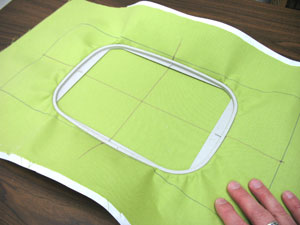
Hoop the fabric and stabilizer together by aligning the marks on the hoop with the lines on the fabric. Attach the hoop to the machine and load the design. Move the hoop so that the needle is directly over the center point on the fabric and embroider the design.
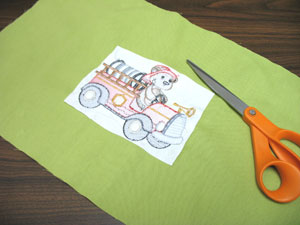
Once the design has finished, trim away the excess stabilizer on the back of the embroidery.
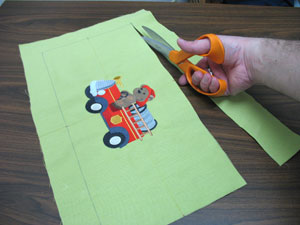
Cut out the shape.
Now, we will prepare the quilt binding which will be added to the front panels.
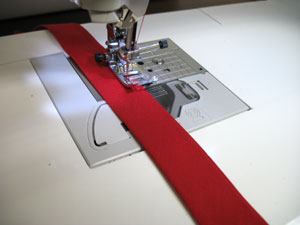
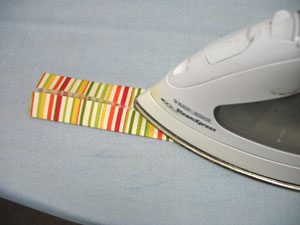
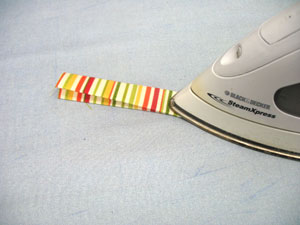
Cut two 18 inch long strips of the quilt binding. Then, sew a 1/8 inch seam along the open edge of each piece.
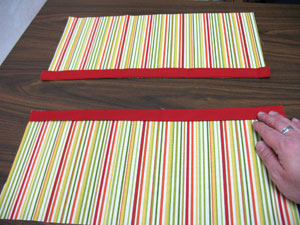
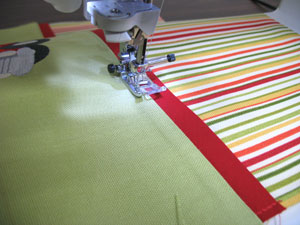
Prepare the top and bottom front panels by cutting two pieces of the print fabric 17 inches wide by 8 inches high. Next, align the seamed edge of the quilt binding along one of the long edges of each panel. Pin in place and sew a 1/8 inch seam along the pinned edge only, tacking the binding in place.
Now it's time to assemble the front panel.
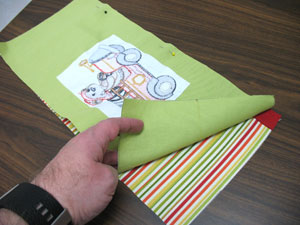
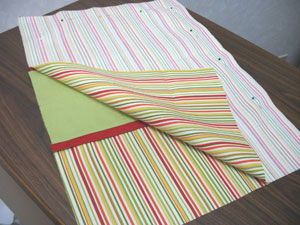
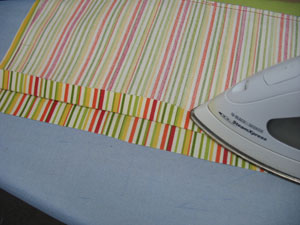
Lay the bottom panel with the binding edge facing up. Align the embroidered middle panel on top, right sides facing, with the bottom edge aligned with the top edge of the bottom panel. Pin in place and sew a 1/4 inch seam along the pinned edge.
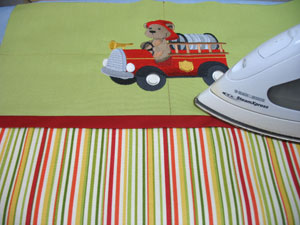
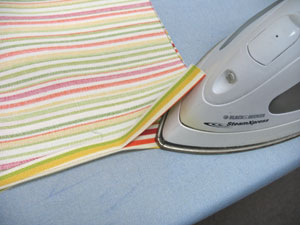
Lay the panels flat and press the seam with an iron.
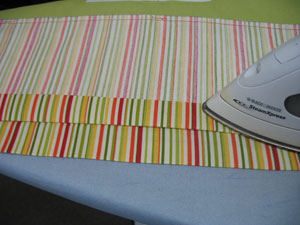
Lay the assembled panels flat and align the top panel with the middle panel, right sides facing, with the bottom binding edge aligned with the top edge of the middle panel. Pin in place and sew a 1/4 inch seam along the pinned edge. Press the seam.
Top stitch a 1/8 inch seam along the inner edges of the middle panel.
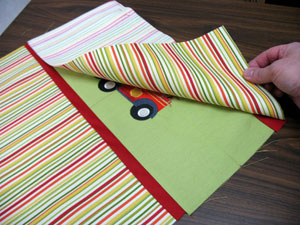
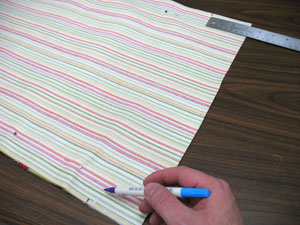
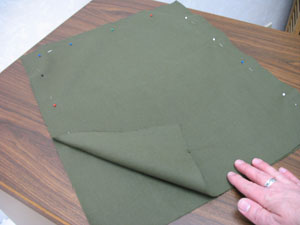
To create the back panel, lay the front panel on top of the print fabric, trace and cut out the shape. Then, align the panels together with the right sides facing, and pin in place.
Mark down 3 inches along each side starting at the top corners. Sew a 1/2 inch seam along the sides and bottom edges starting and stopping at the marks you just made. Leave the 3 inch spaces at each top corner and the top edge open.
Now, fold the top edges of the bag over to create the pockets for the drawstring. Fold the seam allowances over 1/2 inch along the sides below each top corner and press in place.
Then, fold the top edges over 3/4 inch (to the wrong sides) and press. Sew a 1/4 inch seam along the inside raw edge of the folds.
Fold the top edges over 1 inch and press.
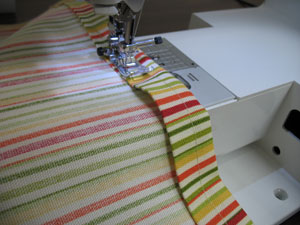
Sew a 1/4 inch seam along the inner edges of the folds to create the drawstring pockets.
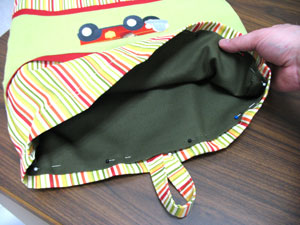
To prepare the inner lining, cut two pieces of fabric 16 1/2 inches wide by 20 inches high. Align the pieces right sides facing and pin in place. Sew a 1/2 inch seam around the sides and bottom edges but leave the top open for turning. Then, turn the top edge to the outside 1/2 inch, wrong sides facing, and press.

Turn the outer shell portion of the bag right side out and insert the lining inside. Align the side seams together and align the top edge of the lining 3/4 inch from the top edge of the outer shell. Pin in place at the side seams.
Prepare the loop by cutting a piece of fabric 9 inches wide by 3 1/2 inches high. Fold the long edges together to meet in the center of the fabric (wrong sides facing). Press in place.
Fold the fabric with the long folded edges together and press. Sew a 1/8 inch seam along both long edges of the loop.
Bring the raw ends of the loop together and place it at the back center of the bag. Insert the ends of the loop in between the lining and the outer shell. Pin in place. Also, pin the remaining inner lining in place.
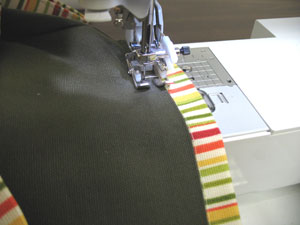
Sew a 1/4 inch seam along the top edge of the inner lining all the way around the top of the bag.
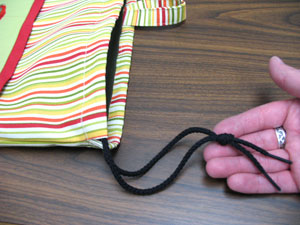
Insert the drawstring through one side and then back through the opposite side. Align the ends of the string together and tie a knot.
Your "beary" own toy bag is now complete.


