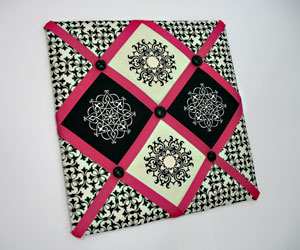
Showcase your mementos with this pretty-as-a-picture fabric bulletin board!
Use your favorite colors, fabrics, and ribbons to customize the board and accent your items.
Read below for these free project instructions.
Supplies
Supplies Needed:
**1 yard (total) lightweight canvas [1/3 yard solid colored canvas (light colored), 1/3 yard solid colored canvas (dark colored), and 1/3 yard print canvas]
**Medium weight cutaway stabilizer
**Temporary spray adhesive
**Extra-loft batting (two 19 inch wide by 19 inch tall pieces)
**Temporary spray adhesive
Supplies Continued:
**Air-erase pen or dressmaker's pencil
**19 inch wide by 19 inch tall piece of foam core board
**Large piece of paper or tag board (for corner fabric pattern)
**18 1/2 inch wide by 18 1/2 inch tall piece of tag board (for back)
**4 yards - 7/8 inch wide grosgrain ribbon
**Hot glue and glue gun
**5 - 1 inch hook buttons
**5 small all-purpose buttons
**Needle and button craft thread for some hand sewing
**One loop picture hanger
Designs used:
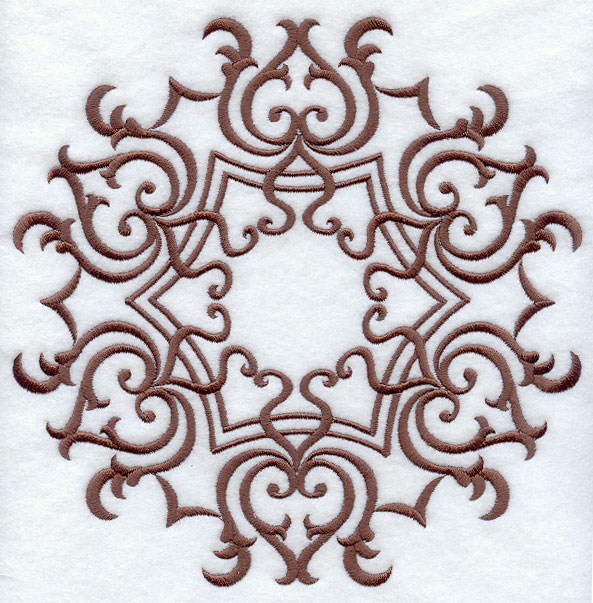
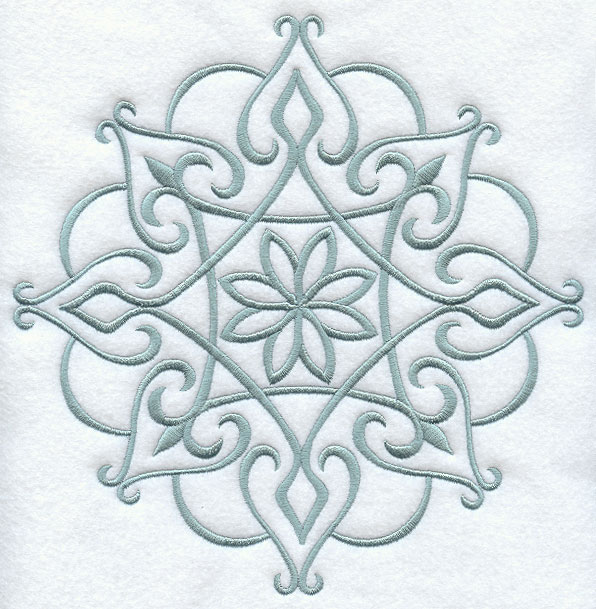
Simple Symmetry Medallion 1 (medium)
Simple Symmetry Medallion 2 (medium)
These designs are available in the following design packs:
A Fashion Medallions Design Pack - XL
A Fashion Medallions Design Pack - Lg
A Fashion Medallions Design Pack - Md
A Fashion Medallions Design Pack - Sm
Finished Size:
19 inches wide by 19 inches high
Designs Used
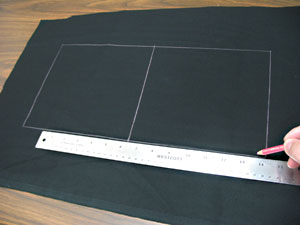
First, we will prepare the fabric for the front center squares. Draw two 8 inch wide by 8 inch tall squares on the light and dark colored canvas (total of four squares).

Using an air-erase pen, dressmaker's pencil, or other marking tool, draw lines connecting the corners of each box - extend the lines a couple of inches outside of the boxes. These lines will be used for hooping.
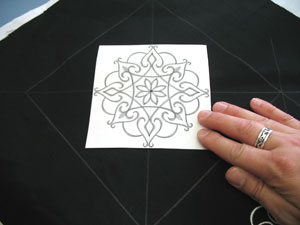
Create paper templates of the designs by printing them at full size using embroidery software. If you don't have embroidery software, you can cut a piece of paper the shape and dimensions of the designs to help with placement and centering.
Poke a hole in the center of the template and align it with the center point on the square. Make sure the design fits well within the shape - there should be about two inches of space between the edges of the design and the edges of the shape.
Spray a piece of cutaway stabilizer with temporary adhesive and smooth the fabric on top. Hoop the fabric and stabilizer together by aligning the marks on the hoop with the lines on the fabric. Attach the hoop to the machine and load the design. Move the hoop so that the needle is directly over the center point on the fabric. Embroider the design.
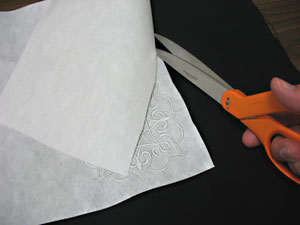
Repeat the hooping and embroidering process for each square. After the designs have finished, trim away the excess stabilizer on the back of the embroidery.
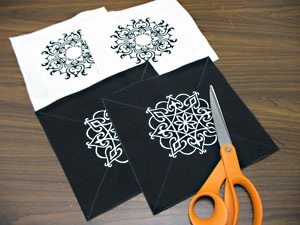
Cut out the shapes.
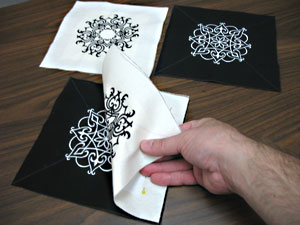
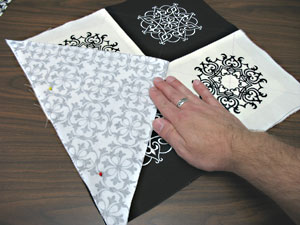
Arrange the squares how you want them. Then, pair the squares up by aligning them together, right sides facing and pin in place as shown. Sew a 1/2 inch seam along the pinned edges only. Then, lay the squares flat, wrong side up, and press the back seam open with an iron.
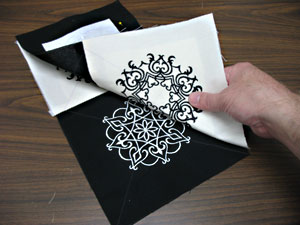
Align the assembled square pairs together, right sides facing and with the seams aligned. Pin in place and sew a 1/2 inch seam along the pinned edge. Then, press the back seam open.
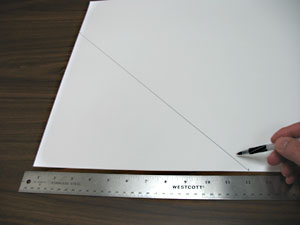
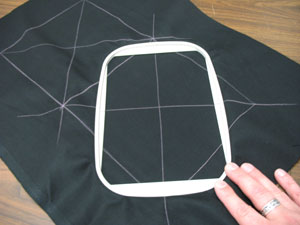
Now we will prepare the pattern piece for the corner fabric pieces. On one of the bottom corners of a large piece of paper or tag board, measure and mark 11 3/4 inches out along the bottom edge starting at the corner. Also, measure and mark 11 3/4 inches up along the side edge starting at the corner. Draw a line connecting the marks. Cut out the shape.
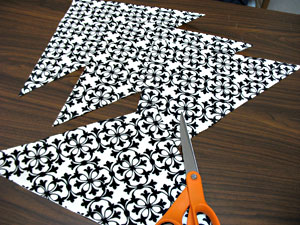
Use the pattern piece to trace and cut out four pieces of the print canvas.
Lay the assembled center square portion right side up. Align the long straight edge of one of the corner pieces with one of the sides of the center square portion. Align the point of the corner piece with the seam of the square portion. Pin in place and sew a 1/2 inch seam along the pinned edge. Then, press the back seam open.
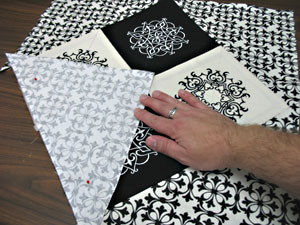
Repeat this process for each corner piece, working your way around each side of the square portion.
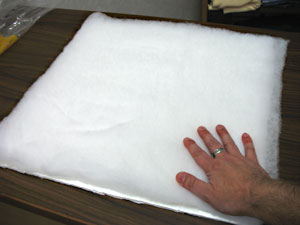
Now we will prepare the back of the board. Cut a piece of foam core board 19 inches wide by 19 inches tall. Also, cut two pieces of extra-loft batting 19 inches wide by 19 inches tall. Spray the foam core board with temporary adhesive and smooth one of the batting pieces on top. Then, spray the first layer of batting with adhesive and smooth the second piece of batting on top.
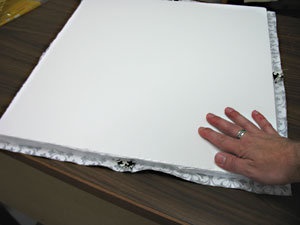
Lay the assembled fabric piece wrong side up and spray it with a bit of temporary adhesive. Align the back piece, batting side down, on top of the fabric piece leaving about one inch of excess around the outer edge of the back piece. Press in place.

Lay a line of hot glue along one edge of the back of the board, fold the fabric over to the back, and press in place. Glue one side first, then the opposite side, and then the two remaining sides.
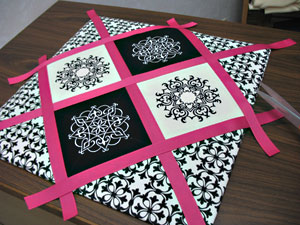
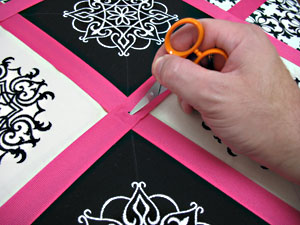
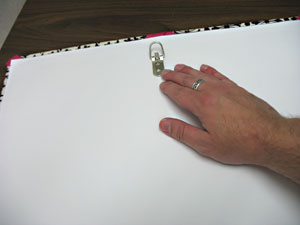
Turn the board over to the right side and lay ribbon over the seams - trim the ribbon leaving about two inches of excess on each end of the ribbon pieces (to wrap around to the back of the board). Attach the longest pieces of ribbon first (the pieces that crisscross in the center) by adding a drop of hot glue at the very center, aligning the ribbon with the seam centered underneath, and pressing the ribbon in place. Glue each ribbon in place at each intersection. Then, bring the ends of each ribbon to the back and glue in place.
Now we will add the buttons! With a small scissor, poke a hole through the ribbon, fabric, and the board at each intersection inside the board (there are five intersections total) - not along the edges of the board.
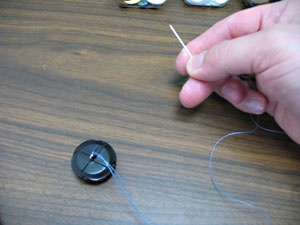
Thread a needle with button craft thread then tie and knot the end of the thread around the loop of the button.
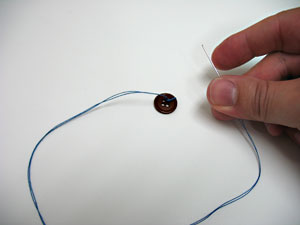
Insert the needle through one of the holes on the front of the board. Then, loop the thread around a small button on the back of the board. Pull the thread tight so that the button on the front is tight against the ribbons, and then knot the thread at the back.
To finish the back of the board, cut a piece of tag board 18 1/2 inches wide by 18 1/2 inches tall. Add lines of hot glue about one inch in from the outer edge of the back of the board, align the tag board, and press it in place. Then, add a loop picture hanger on the back of the board with a few drops of hot glue. We added our hanger about two inches from the top of the board.
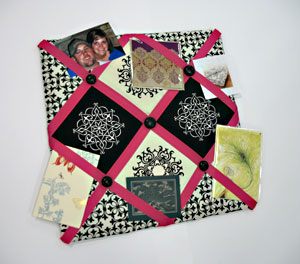
Your bulletin board is now complete! Hang on the wall and add photos, cards, notes or other small paper items!


