
Warm up with a cozy embroidered fleece hat! Colorful embroidery adds a unique style -- make one for yourself, your favorite little one, or a friend, too.
Tools
- 1/2 yard fleece
- Air-erase pen
- Medium-weight cutaway stabilizer
- Lightweight water-soluble stabilizer for topping
- Scotch tape
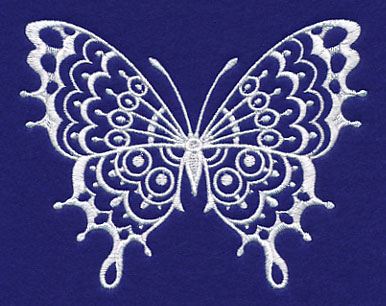
Designs Used
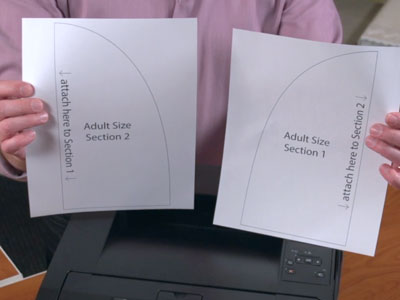
To get started, choose if you'd like to make the adult or child sized hat and print the PDF of the pattern pieces linked above. The adult size and the child size will print on two pieces of paper. The infant size will print on one piece
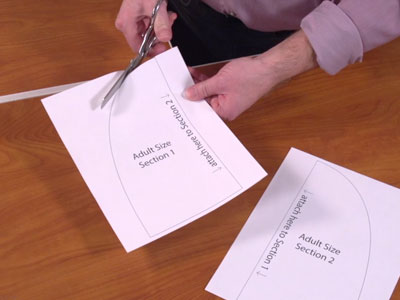
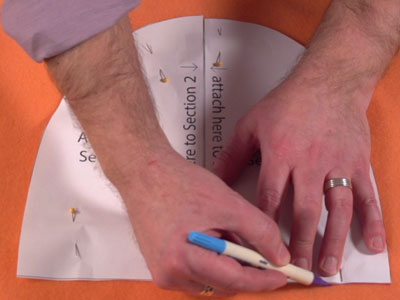
Cut out the pattern shapes.
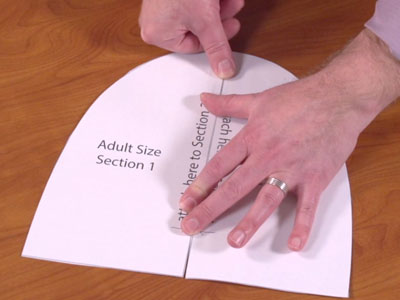
Tape the pattern pieces together (for the adult and child sizes).
Next, lay the pattern piece on top of the fleece and pin it in place. Leave a couple of inches of excess around the pattern shape. Trace the shape and remove the pattern.
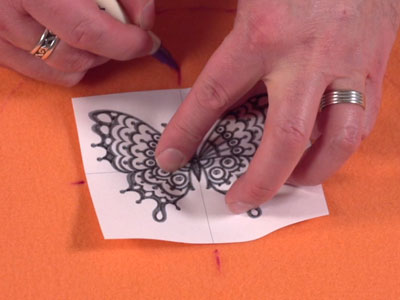
A template, or printout of a design, is an excellent tool to help with placement. Print a template of the design from your embroidery software. If you do not have embroidery software, Wilcom's TrueSizer is a free program to use. Position the design about 2" from the top of the shape. Mark the center point and the horizontal and vertical axis lines.
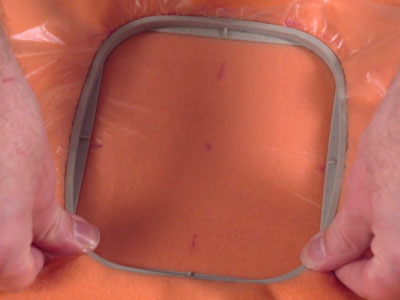
Hoop the fabric with one piece of cutaway stabilizer. Add one piece of lightweight water soluble stabilizer on top. This topping helps to prevent the stitches from sinking into the fabric. Hoop all three layers together. Align the marks on the hoop with the marks on the fabric.
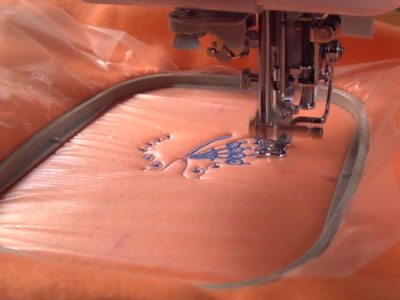
Attach the hoop to the machine and load the design. Move the hoop so the needle is right over the center point. Embroider the design.
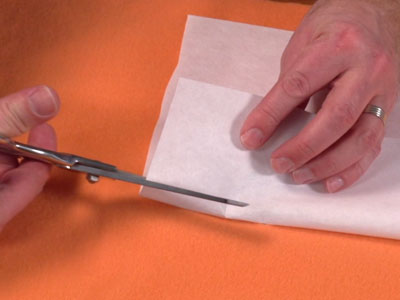
After the design has finished, trim away the excess stabilizer on the backside of the embroidery.
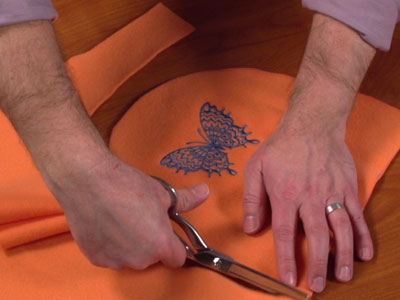
Then, cut out the shape.
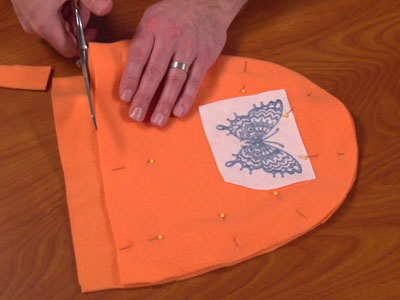
Lay the embroidered piece on top of the fabric, right sides together. Pin in place, and cut around the shape of the embroidered piece.
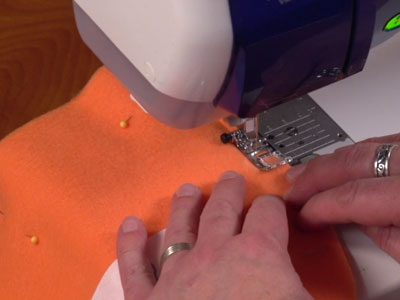
Sew a 1/2" seam along the side and top edges starting and stopping 2" from the bottom edge.

Turn the hat right side out.
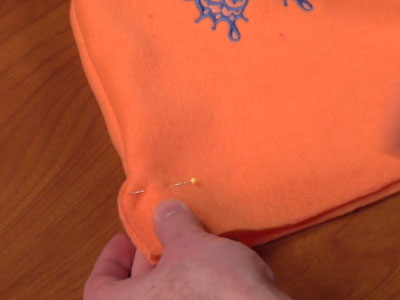
Align the open side edges together, and pin.

Sew a 1/2" seam along the side edges.
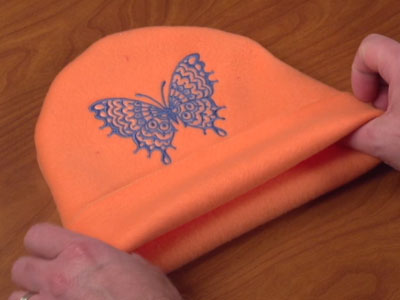
Then, fold the bottom edge up about 2".

These hats are a fun and fast way to add embroidery to your winter wardrobe. Great for the kids, too!


