Keep cozy and warm in this fun, fuzzy hat.
Fringed fleece at the top gives a whimsical look to head-wear, and a quick-stitch embroidery design adds color and character. And, a flexible size chart makes this project great for infants, toddlers, children, teens, and adults.
Read on for free project instructions!
Supplies
Supplies Needed:
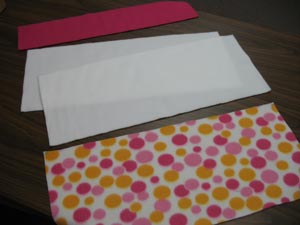
**5/8 yard fleece, in three different colors:
1/8 yard for top piece
1/4 yard for middle piece
1/4 yard for bottom piece
**Medium-weight cutaway stabilizer
**Temporary spray adhesive (we use KK100)
**Air-erase pen (or other marking tools)
**Needle and thread for some hand sewing
**Designs used: Quick-Stitch
Baby Characters (set 1 in
large or small, or set 2 in
large or small)
Designs Used
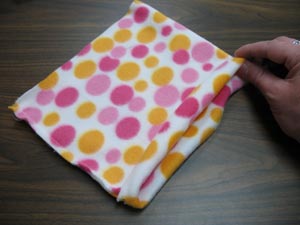
First, cut the fabric. Cut each piece of fabric with the stretch along the width.
Choose the size that you want to make, and refer to the chart above for the dimensions of each fabric piece.
For a custom fit, measure around the head (over the ears)to find the circumference. Take that measurement and add 1/2 inch for a seam allowance.
Use that measurement for the width of the fabric pieces, rather than the chart above. The height doesn't change for a custom fit, so you can refer to the chart above for height dimensions.
The embroidery design is stitched onto the fabric selected for the middle of the hat. First, we'll mark the fabric for correct placement.
Using an air-erase pen or other marking tool, mark the center of the long sides of the fabric (measure the width and divide by two). Mark the fabric on the top edge, and the bottom edge. Draw a line connecting these two points, making a vertical line in the center of the fabric.
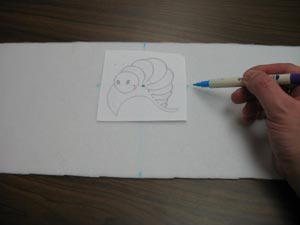
Create a paper template of the design by printing it from embroidery software. Poke a hole in the center of the template, and align it with the line on the fabric. Position the top of the design about 1 1/2 inches from the top edge of the fabric. Mark the center point and the horizontal axis points.
Remove the paper template and draw a line connecting the horizontal axis lines. We'll use the vertical and horizontal lines to hoop the fabric.
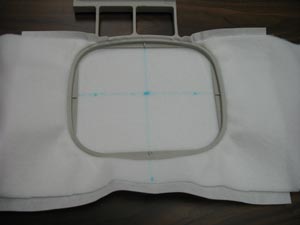
Spray a piece of cutaway stabilizer with a bit of temporary adhesive, and smooth the fleece on top. Fleece is stretchy, so the spray adhesive helps it to stay in place during the embroidery.
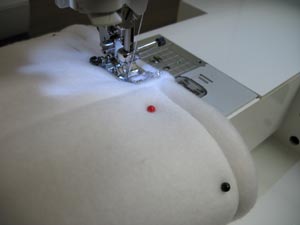
Hoop the fleece and stabilizer together, aligning the markings on the fabric with the marks on the hoop.
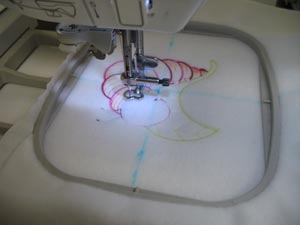
Attach the hoop to the machine and move the hoop until the needle is right over the center point. Embroider the design. For tips on embroidering on fleece, and checking for good-quality fleece, click here.
Generally a topping isn't needed, unless the design is Redwork or very sheer. And, any marks from the hoop come out in the wash, or with a few spritzes from a water bottle.
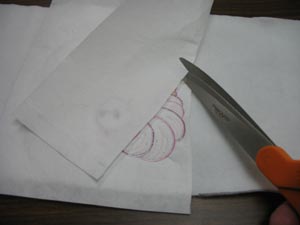
After the design has finished, cut away the excess stabilizer from the backside. We like to leave about 1/4 inch of excess around the design.
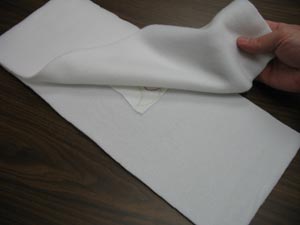
Place the embroidered middle piece right side down and align the second middle piece on top. This is the inner lining piece that covers the back of the embroidery.
Pin the pieces together along the short ends.
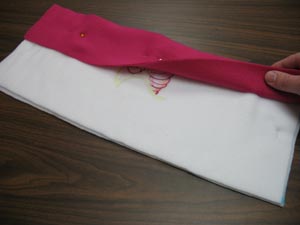
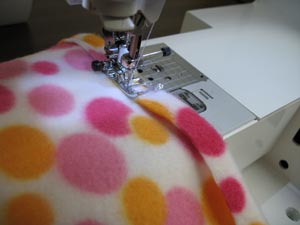
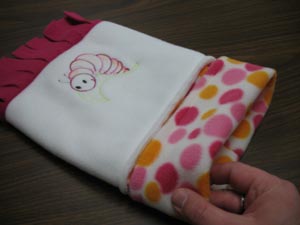
Place the middle piece with the embroidered side up. Align the top piece with the top edge of the middle piece, right sides together. Pin in place.
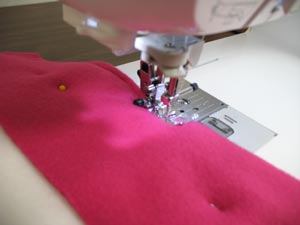
Sew a 1/4 inch seam along the top edge.
Next, flip the top piece over and finger-press the seam (don't press with an iron, as the fleece may melt).
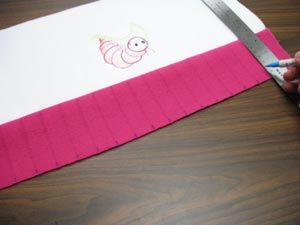
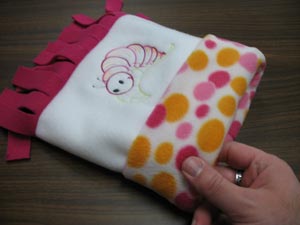
Now we'll mark the top fabric to create a fringe tassel. Make marks at inch intervals all along the top and bottom edge of the top fabric. Draw lines connecting the marks.
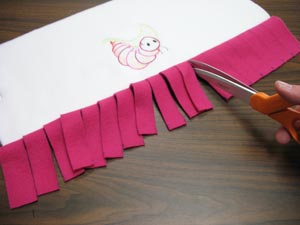
Cut along the lines to create the fringe. Cut from the outer edge, and stop about 1/4 inch from the seam.
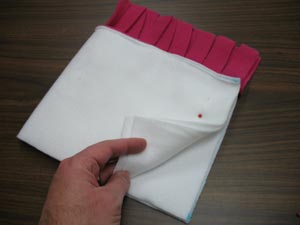
Fold the middle piece with the short ends together, right sides together. Pin in place and sew a 1/4 inch seam along the short ends only. Make sure that the fringe does not get sewn into the seam. Then, turn it right side out.
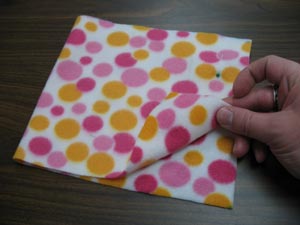
Next we'll prepare the bottom piece. Fold the bottom fabric with the short ends together, right sides together. Pin in place and sew a 1/4 inch seam along the short ends.
Fold one of the open ends over 1/2 inch, wrong sides together.
Sew a seam right along the inside edge of the fold.
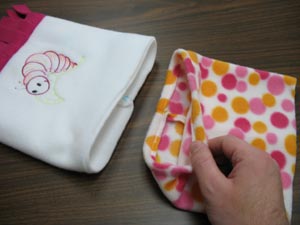
Turn the bottom piece right side out. Place the embroidered piece right side up. Place the bottom piece with the hemmed edge facing the bottom open end of the embroidered piece with the seams aligned.
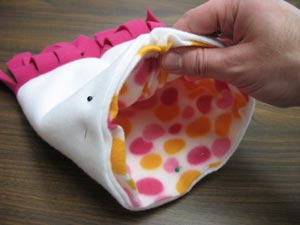
Insert the bottom piece inside the embroidered piece through the bottom.
Sew a 1/2 inch seam around the entire hat.
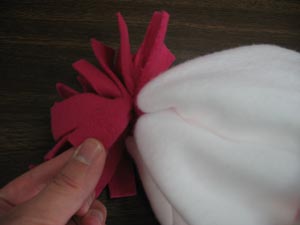
Pull the bottom piece all the way out from the embroidered piece through the bottom. Fold the bottom piece, bringing the hemmed edge up to meet the bottom edge of the embroidered piece.
Fold the bottom piece again, bringing it up over the bottom edge of the embroidered piece.
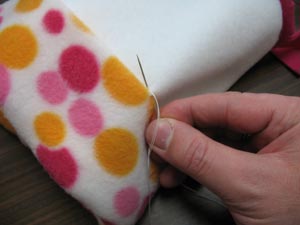
Using a needle and thread, sew a few stitches along the upper fold of the bottom piece. Do this on each side of the hat.

Now we'll finish the hat by cinching the top opening. First, cut a strip of the fleece to 8 inches by 1 inch.
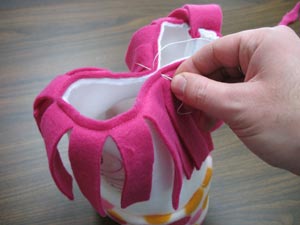
Set the hat right side up and allow the fringe to drape along the outer sides. Bring the sides together and hand sew them together along the top edge.
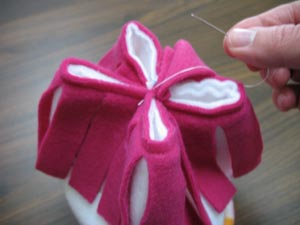
Bring the front and back together and stitch them together as well.
Wrap the strip of fleece around the base of the fringe and tie it in a knot.

And now you're ready to protect your loved ones from chilly breezes and cold weather!


