
It's the cutesy, iconic look of candy conversation hearts, made into a wonderfully fun and functional bag.
Plus, it's sugar free!
This cozy backpack has a sturdy inside lining, zipper closure, and adjustable straps -- great for standing the wear and tear of a little sweetie on-the-go!
Supplies
Supplies needed:
- 1/2 yard outer shell fabric
- 1/2 yard inside lining fabric
- All-purpose zipper, 18 inches
- Two 30-inch strips of 1-inch-wide nylon strapping
- 2 side-locks that fit 1-inch strapping
- Cut-away stabilizer
- Spray adhesive
- Air-erase pen
- Masking tape
- Lighter
Designs Used:
- 1-1/2 inch Dots Alphabet
Designs Used
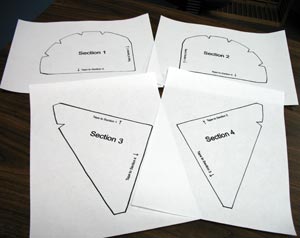
The pattern for the heart shape is split into four sections, which will print on four pieces of paper. The pattern will be used for the front and back of the backpack.
Click the link above to access the pattern PDF for this project.
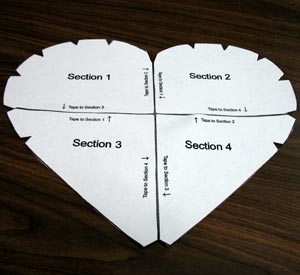
Cut out the shapes and align the four sections as instructed on each print-out. Tape them together.
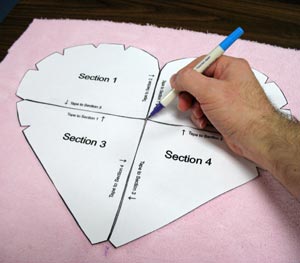
Cut a piece of the front outer shell fabric a bit larger than the pattern. We chose a soft, low-pile fur fabric for the outer shell.
Lay the fabric right side up, and place the pattern on top. Use an air-erase pen to mark the center of the heart. Then mark the horizontal and vertical axis lines. These lines will be used for hooping.
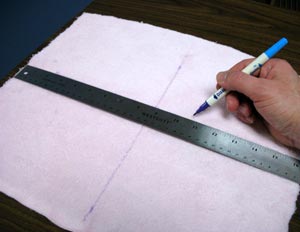
Remove the pattern and draw lines connecting the horizontal and vertical axis marks.
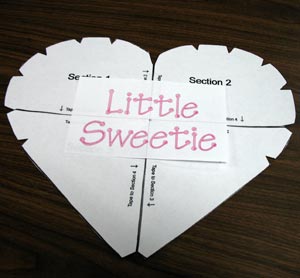
You can embroider any design or phrase on the backpack. We chose to merge Dot Letters together to make the phrase "Little Sweetie." To see how to merge letters using embroidery software, click here.
Print a full-size paper template of the design using embroidery software. Trim around the design for easier placement. Lay the template on the pattern to make sure your design will fit. Also, make sure the design will fit your hoop.
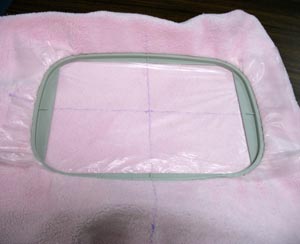
Spray the fabric with adhesive and hoop it with cut-away stabilizer.
We added a water-soluble stabilizer topping to prevent the stitching from sinking into the plush fabric.
Hoop the stabilizer, fabric, and water-soluble topping together by aligning the marks on the hoop with the lines on the fabric.
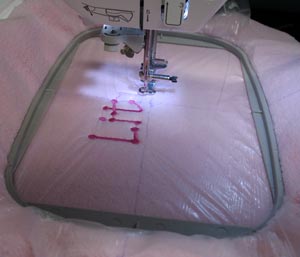
Attach the hoop to the machine, load the design, align the needle directly over the center point, and embroider the design.
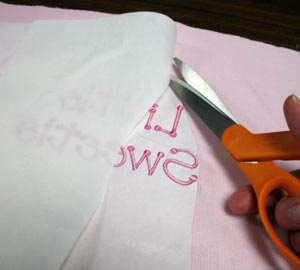
When the design has finished sewing, unhoop the fabric and trim away the excess stabilizer. Peel away the excess water-soluble topping.
Any small bits of topping can be easily removed by lightly wetting your fingertips and brushing the topping away.
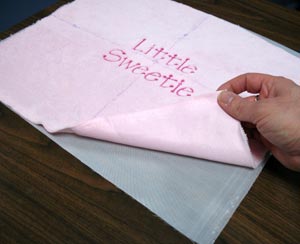
Next, cut a piece of inside lining fabric the same size as the embroidered fabric. We used a sturdy nylon for our lining.
Spray the wrong side of the lining fabric with adhesive and smooth the embroidered fabric on top, wrong sides together.
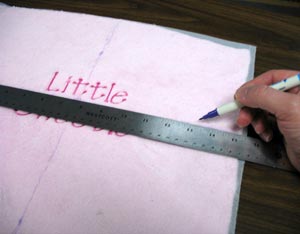
Plush fabric is difficult to mark, so it's best to mark the back side instead. Working on the embroidered side, extend the horizontal and vertical lines out to the edges of the fabric.
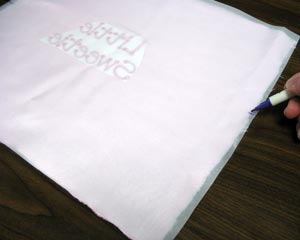
Use those lines to mark the axis lines onto the back of the fabric.
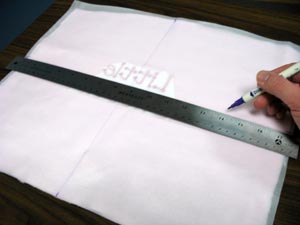
Draw lines by connecting the marks.
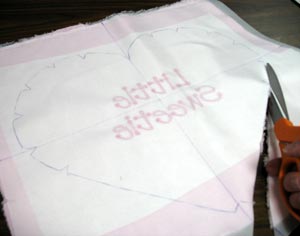
Poke a hole in the center of the pattern and align with the center point on the fabric. Align the axis lines on the pattern with the axis lines on the fabric. Trace the pattern onto the fabric and cut out the shape.
Be sure to align the pattern with the text so that the text is upright within the shape.
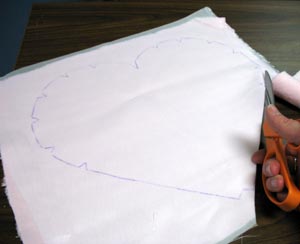
To prepare the back of the pack, cut a piece of the outer shell fabric a bit larger than the pattern. Do the same with the lining fabric.
Spray the wrong side of the lining fabric with adhesive, and smooth the outer shell fabric on top, wrong sides together. Lay the pattern on the lining side, trace it, and cut out the shape.
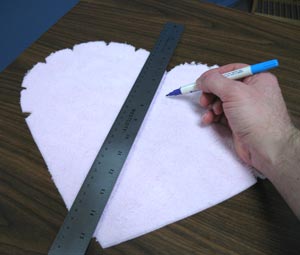
Lay the back piece of the bag lining side down. Draw a line directly down the center.
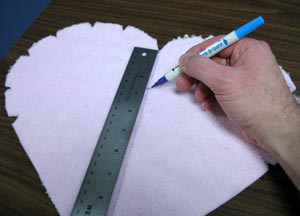
Make a mark 2-1/2 inches down from the center "V".
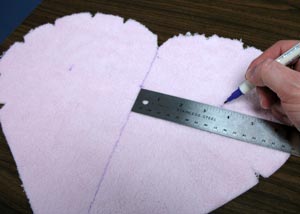
On each side of the line, mark outward 3-1/2 inches from the previous mark.
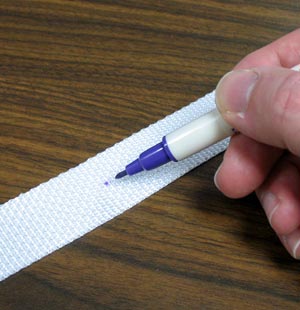
Fold each 30-inch nylon strap in half, and mark the center of the strap on the fold.
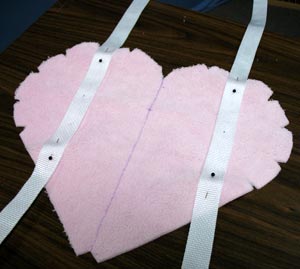
Lay the straps parallel with the center line. Align the center marks of the straps with the marks on the fabric. Pin the straps in place near the edges of the fabric.
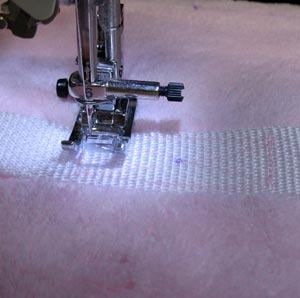
Sew the straps to the fabric by sewing a 2-inch rectangle around the center points. Sew an "X" inside the rectangle for extra holding power.
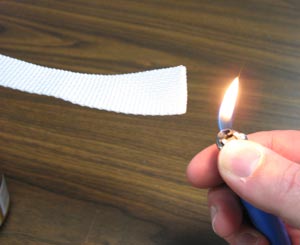
Use a lighter to lightly run a flame along the ends of the straps. Hold it just long enough to melt the loose threads.
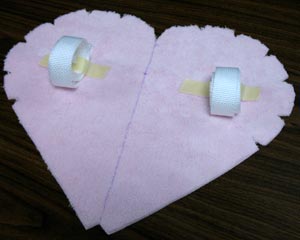
Roll up the straps and use masking tape to hold them in place. This will keep them out of the way during the rest of the sewing process.
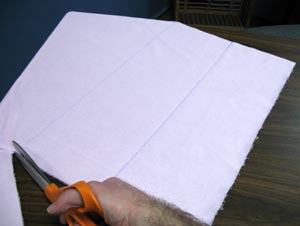
Cut two pieces each of outer shell and inner lining fabric to 19-3/4 x 6 inches (total of four pieces). These will be the sides of the backpack.
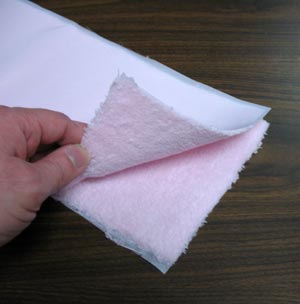
Spray the wrong side of the lining fabric with spray adhesive. Smooth the outer shell fabric on top, wrong sides together. Do this for both sets of fabric.
Lay the two pieces with outer shell fabric sides together.
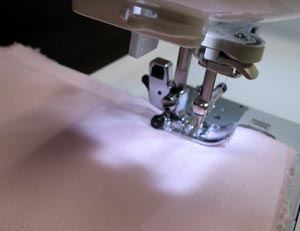
Sew one of the 6-inch ends on each piece together with a quarter-inch seam.
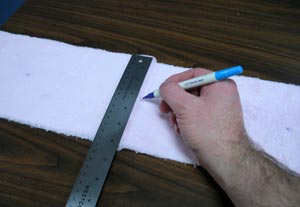
Lay the side fabric flat with the right side up. Mark the center of the seam, which is 3 inches from the top or bottom edge. Also, from the center point, mark out 9 inches on each side. This is where the zipper will go.
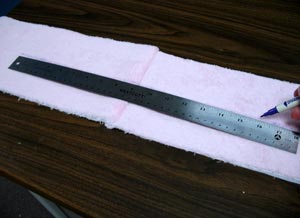
Draw a line connecting the two outer points.
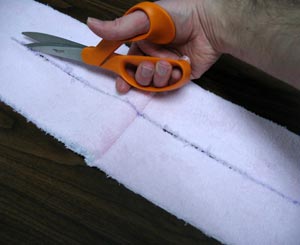
Cut along the line, creating a slit in the fabric.
Cut 1/4 inch slits on each end, perpendicular to the long slit, forming a "T" shape.
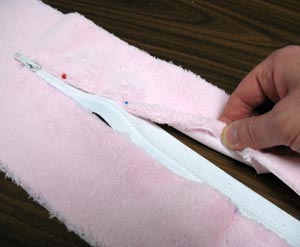
Lay the zipper under the fabric and inside the slit.
Fold each edge of the slit over 1/4 inch and pin them to each side of the zipper, along the zipper's teeth.
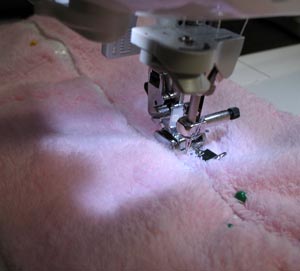
Using a zipper foot, sew along and around the zipper.
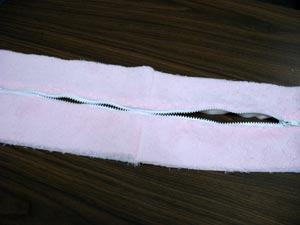
Now it is time to assemble the backpack! Lay the side fabric right side up. Unzip the zipper for turning.
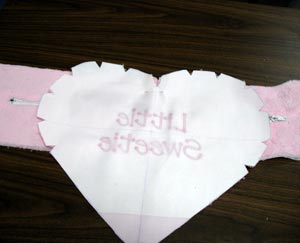
Lay the front (embroidered fabric) piece on the side piece, right sides together. Align the center line of the front piece with the center seam of the side piece. Allow 1/4 inch of the side piece to be above the center "V" of the front piece. Pin in place
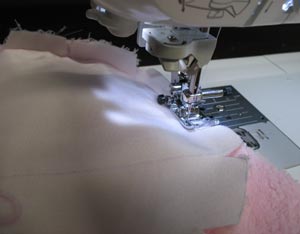
Starting at the center "V" of the front piece, sew a 1/4 inch seam along the heart. Sew one half of the heart at a time. Pinch and position the fabric together as you go.

To add the back piece, position the fabric as shown with the un-sewn side of the side piece laying right side up.
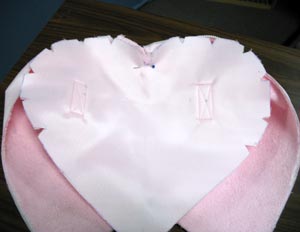
Lay the back piece (with straps) on the side piece, right sides together. Align the center of the back piece with the center seam of the side piece. Allow 1/4 inch of the side piece to be above the center "V" of the back piece. Pin in place.
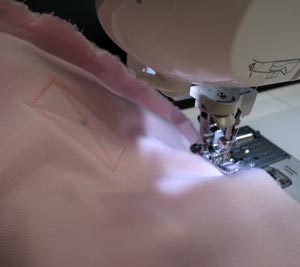
Sew a quarter- inch seam starting at the center "V" as you did with the front piece. Sew one half at a time.
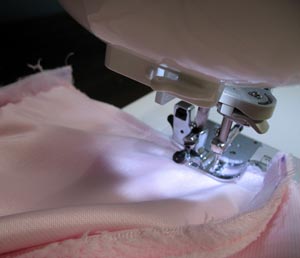
Finish the bottom by aligning the two sides and stitching it closed with a zigzag stitch.

Turn the backpack right side out. Remove the masking tape from the straps
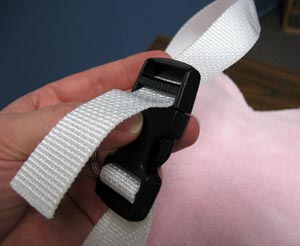
Add the side locks by first inserting the end of the strap through the inner slot.
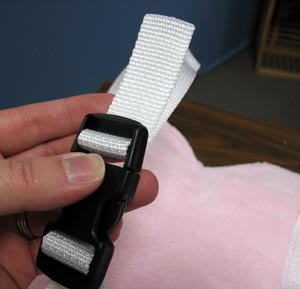
Then, insert the end of the strap through the other slot. Pull to adjust.

And there you have it! An adorable backpack for your 'Little Sweetie.'


