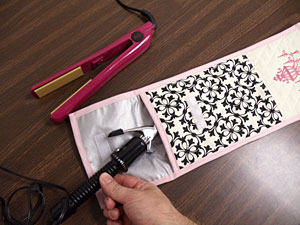
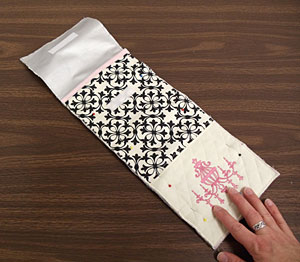
Travel in style with this convenient hot iron travel case! Use it to safely store both curling irons and flat irons.
Read below for these free project instructions!
Supplies
Supplies Needed:
**1/4 yard quilted cotton fabric (filled with 100% cotton batting)
**1/4 yard print lightweight canvas
**1/4 yard ironing board fabric (we found ours at Jo-Ann Fabrics)
**Cotton batting
**Medium weight cutaway stabilizer
**Temporary spray adhesive
**Air-erase pen or dress maker's pencil
**Extra wide - double fold bias tape
**14 inch piece of 1 inch wide strapping
**3 inch piece of sew-on Velcro
Designs used:
Light Up My Life Chandelier - small
These designs are also available in the following design packs:
A Fashion Favorites Design Pack - Sm
Finished Size:
6 3/4 inches wide by 15 inches high
Designs Used

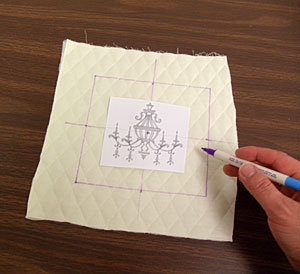
First, we will prepare the bottom of the front panel for the embroidery. Using an air-erase pen or other marking tool, draw a 6 1/2 inch wide by 6 inch high rectangle on the quilted cotton fabric. Mark the center of each side of the shape by measuring each side and dividing by two. Draw lines connecting the marks. Where the marks meet is the exact center of the shape. Create a paper template of the design by printing it at full size using embroidery software. If you don't have embroidery software, you can cut a piece of paper the shape and dimensions of the design to help with placement and centering.
Poke a hole in the center of the template and align it with the center point on the fabric. Make sure the design fits well within the shape - there should be at least one inch of space between the edges of the design and the edges of the shape.
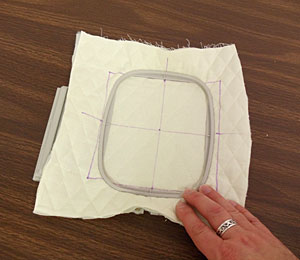
Remove the template and spray a piece of cutaway stabilizer with temporary adhesive. Smooth the fabric on top of the stabilizer. Hoop the fabric and stabilizer together by aligning the marks on the hoop with the lines on the fabric. Attach the hoop to the machine and load the design. Move the hoop so that the needle is directly over the center point on the fabric. Embroider the design - for more information on embroidering on quilted cotton click here.
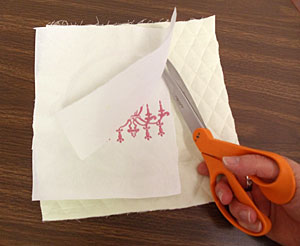
When the design has finished, trim away the excess stabilizer on the backside of the embroidery.
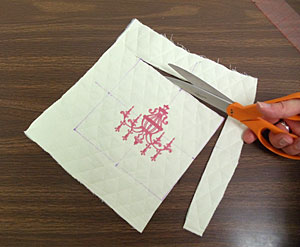
Then, cut out the shape.
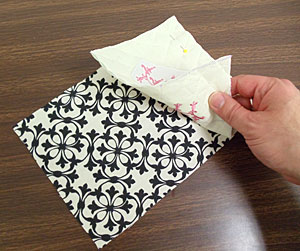
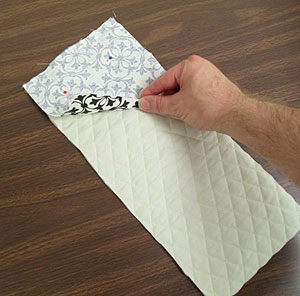
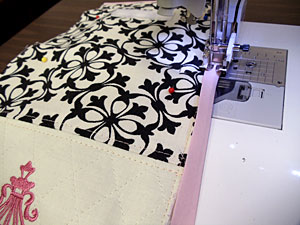
Cut a piece of print lightweight canvas to 6 1/2 inches wide by 9 1/2 inches high. Align the top edge of the embroidered section with the bottom edge of the canvas, right sides together. Pin in place and sew a 1/2 inch seam along the pinned edge. Press the back seam open with an iron. Then, top stitch along each side of the seam you just sewed.
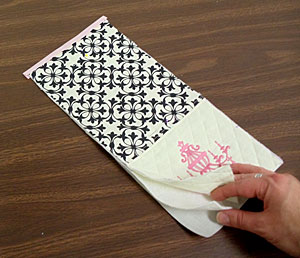
Cut a piece of the cotton batting and the ironing board fabric by laying the assembled front piece on top, tracing the shape, and cutting out the shapes. Layer the pieces together with the ironing board fabric first (right side facing down), the cotton batting next, and the assembled front piece last (right side facing up). Pin the layers together. Also, cut a strip of bias tape the width of the top edge and wrap the tape around the top edge. Sew a seam along the inner edge of the bias tape. Now sew a 1/8 inch seam along the side and bottom edges of the fabric.
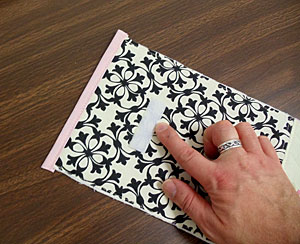
Cut a 3 inch piece of Velcro. Spray the backside of the loop side of the Velcro with temporary adhesive and press it in place about 3 inches down from the top edge of the fabric (on the right side of the front piece). Then, sew the Velcro in place.
Now we will prepare the fabric for the back and flap of the case. First, cut a piece of quilted cotton to 6 1/2 inches wide by 15 inches high. Then, cut a piece of print canvas to 6 1/2 inches wide by 5 1/2 inches high. Align the bottom edge of the print canvas with the top edge of the quilted cotton, right sides together, pin in place, and sew a 1/2 inch seam along the pinned edge. Press the back seam open and top stitch along each side of the seam you just sewed.
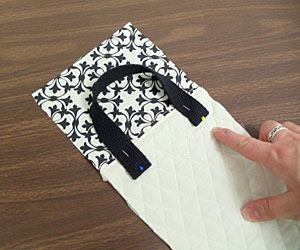
Cut a piece of strapping to 14 inches long. Fold each end over 1/2 inch and pin the folded ends along the top edge of the quilted cotton about 1 inch from the edges of the fabric with the strap facing towards the top flap (the print canvas). Sew the ends of the strap in place.
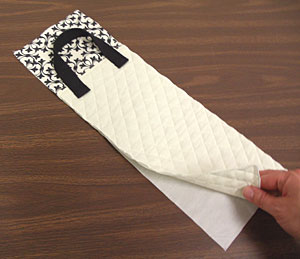
Lay the assembled back/flap piece on top of the ironing board fabric, trace the shape, and cut out the shape. Then, align the pieces, wrong sides together, pin in place and sew a 1/8 inch seam along the entire outer edge of the fabric.
Spray the hook section of the Velcro with adhesive and press it in place about 1 inch from the top edge of the ironing board fabric side of the back/flap section. Then, sew the Velcro in place.
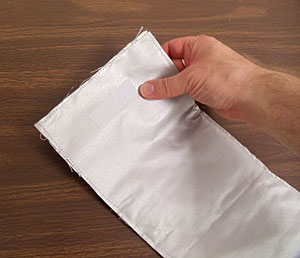
Align the front section with the back/flap section with the bottom edges together and the ironing board fabric sides facing each other. Pin in place.
Wrap bias tape around the entire outer edge of the case. Sew the tape in place by sewing along the inner edges of the tape. Fold the tape at each corner as you sew and trim the tape at the end leaving about 1/4 inch excess.
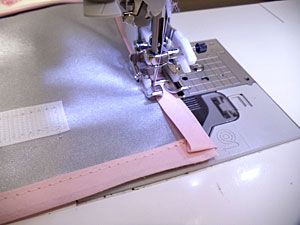
Fold the end of the tape in 1/4 inch and sew to the end.

Tuck your hot irons inside the case and you are ready to go! Be sure to follow the manufacturer's instructions for the hot iron and allow the iron to cool before inserting it into the case.


