
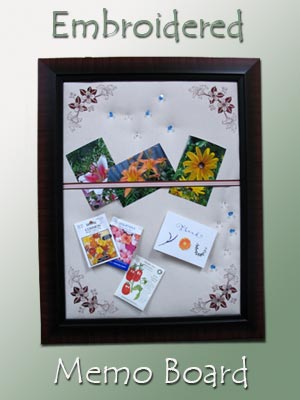
Stay organized with this extraordinary Embroidered Memo Board!
A snug ribbon fits around the memo board to hold notes, coupons, and photos in place. All other keepsakes can be held in place with push pins. Create your memory board, in any size, to organize your busy life or keep track of upcoming projects!
This board's frame has an opening of 18 x 24 inches. It also has bendable tabs that hold the memo board in place. You can also use a frame without the back and glass. You will need to use a piece of heavy cardboard for the base of the memo board and purchase fasteners to hold the memo board in place when inserted into the frame.
Supplies
Supplies needed:
** Picture frame (with back included - we chose an 18 x 24 inch frame)
** Three 12 x 12 inch cork board tiles
** 3/4 yard denim fabric
** Low-loft batting
** Cutaway stabilizer
** Temporary spray adhesive
** Hot glue
** All-purpose glue (we used Mod Podge)
** Large paint or glue brush
** Ribbon
** Tag board or poster board (large enough to cover back of frame
** Push pins
Designs used:
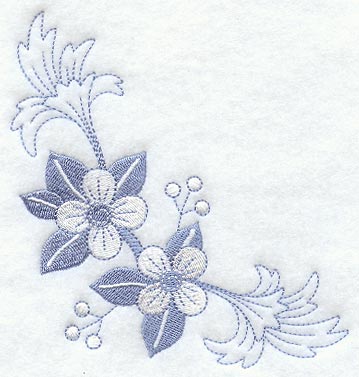
** Out-of-the-Blue Floral Corner (we used large, there is also a small size)
Designs Used
Preparing and embroidering the fabric
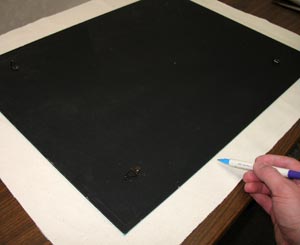
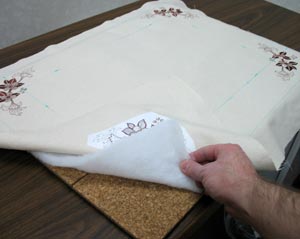
To begin, remove the back of the frame and the glass (the glass will not be used for this project). Lay the fabric right side up and then lay the frame back on top. Cut a piece of the fabric with about 2 1/2 inches of extending out around the edges of the frame back. Trace the shape of the frame back onto the fabric using an air-erase pen.
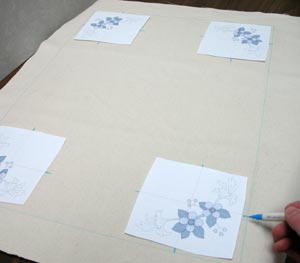
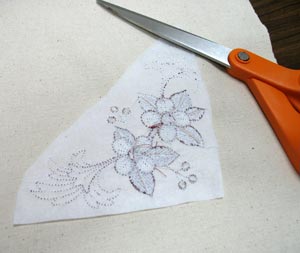
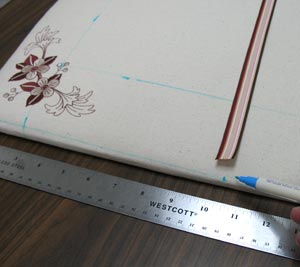
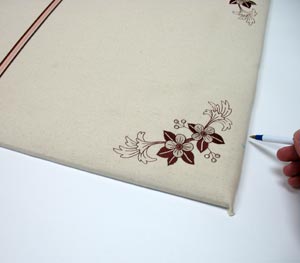
Create paper templates of the designs by printing them at full size using embroidery software. Cut around the designs to make them easier to position. We positioned the designs in each corner of the fabric about 3/4 inches from the line. To do this, measure equal distances from the outer edges of the designs and the outer line of the fabric.
Measure the overlap (part of the frame that will cover the edges of the fabric) on the inner front frame and consider this when deciding how far the designs will be from the line. When the designs are positioned, poke a hole in the center of the templates and mark the fabric. Also, mark the horizontal and vertical axis lines on the fabric.
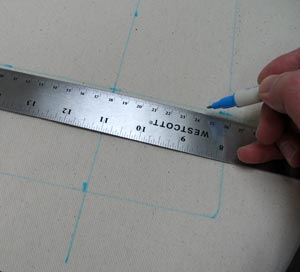
Remove the templates and draw lines connecting the axis points, these lines will be used for hooping.
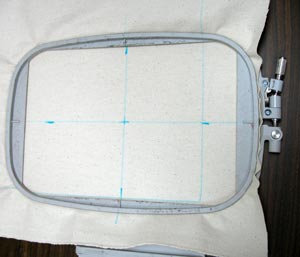
Hoop the fabric for the first design by hooping the fabric with cutaway stabilizer that has been sprayed with temporary adhesive. Hoop the fabric and stabilizer together by aligning the marks on the hoop with the lines on the fabric.
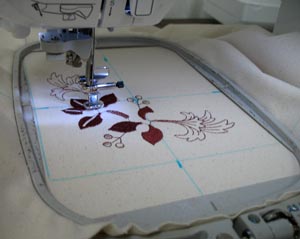
Attach the hoop to the machine and load the design. Align the needle over the center point on the fabric and embroider the design.
When the design has been embroidered, unhoop the fabric and trim away the excess stabilizer.
Repeat the hooping and embroidering process for the other designs.
Assembling the memo board
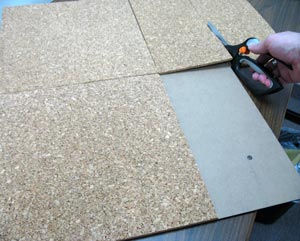
Lay the frame back right side up and align the cork board tiles on top. Cut the tiles to size so that they completely cover the frame back.

Use the brush to apply an even layer of glue to the frame back and...

press the cork boards into place. You may use a hot glue gun if you wish.

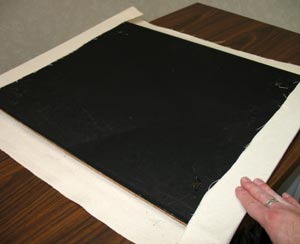
Next, lay the batting flat and then lay the frame on top. Cut out the shape.
Lay the frame back with the cork side up. Align the batting on top. Then, lay the embroidered fabric on top of the batting and align the lines on the fabric with edges of the frame back.
Flip the frame back over. Brush the outer edges of the frame back with glue, gently stretch the fabric over the edge and press in place. Start with the top and bottom edges.
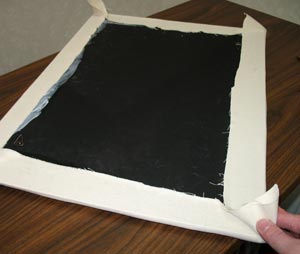
Then, brush glue along the right and left edges, stretch the fabric, and press in place.

Trim the excess fabric at each corner. Cut it as close to the frame back as possible.
To add the ribbon, cut a length of ribbon that will reach across the width of the frame back and extend a few inches around to the back on each end. Decide where you want the ribbon and mark one side. Measure the mark from the top of the frame back to the mark and then mark the other side (this will insure that the ribbon will be even). We place our ribbon about 4 1/2 inches down from the top designs so that when pictures are inserted they will not cover the embroidery.
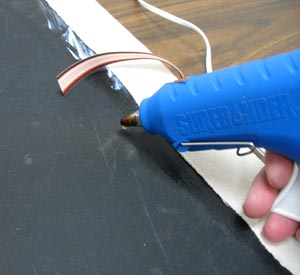
Hot glue the ends of the ribbon in place on the backside of the frame back by aligning one end of the ribbon with the mark, adding glue, and pressing the end in place. Align the other end of the ribbon with the mark on the opposite side, stretch the ribbon slightly, add glue, and press the ribbon in place.
To finish the back, lay the frame back on the top of the tag board and trace the shape. Then, cut out the shape.
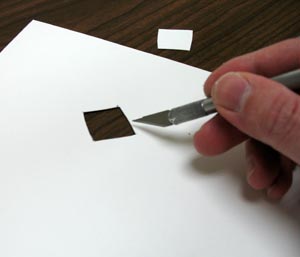
Our frame had hangers on the backside of the frame back, so we cut out holies in the tag board to allow the hangers to poke through. To do this, align the tag board and mark the center of the hangers. Measure the dimensions of the hangers, mark a square or a diamond shape around the center points on the tag board and cut out the shapes.

Add hot glue to the outer edges of the backside of the frame back, align the tag board, and press it in place.
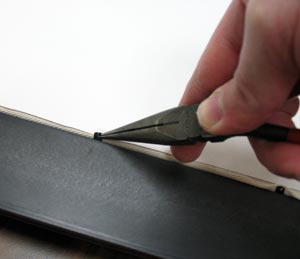
Insert the memo board into the frame. Then bend the tabs over the frame back to secure it in place. We found that using the tip of a needle nosed pliers works great for bending the tabs.
There you are! A stylish memo board to keep your sewing room, office, or kitchen organized.


