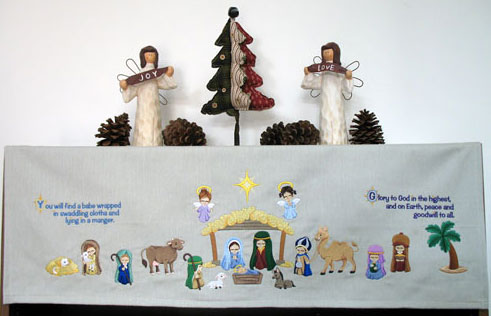
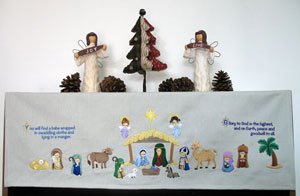
The Christmas Story is a beautiful tradition to celebrate every year. With optional raffia additions to make a 3D textured stable, create a fun shelf scarf to share the story with children and grandchildren -- a perfect way to remember the reason for the season.
Supplies
Supplies needed:
** 1 yard fabric (we used canvas)
** Cut-away stabilizer
** Spray adhesive
** Air-erase pen
** Anti-slip rubber shelf liner (optional)
** Raffia (optional)
** Embroidery floss (optional)
** Tapestry needle (optional)
Designs Used:
Designs Used

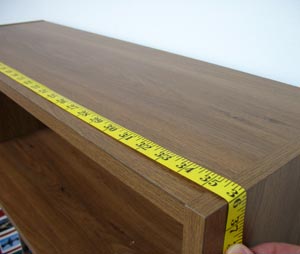
First, measure the dimensions of the top of the shelf -- width and depth. The top of our shelf is 36 inches wide by 12 inches deep.
Then, decide how far down you'd like the scarf to hang. This is the part that will be embroidered, so keep in mind the size of the designs you would like to use.
We decided to allow the scarf to hang down 13 1/2 inches, with the same 36 inch width as the top.
Add the dimensions of the top and the front together. For example, our scarf will be 36 inches wide and 25 1/2 inches tall.
The scarf will have a 1/4 inch seam allowance on all sides, so add 1/2 inch to the dimensions. The total size of our fabric is now 36 1/2 x 26 inches.
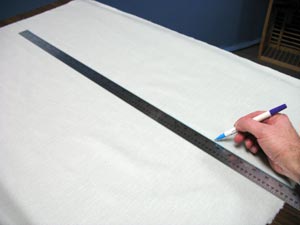
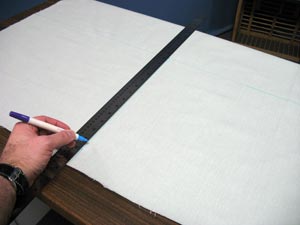
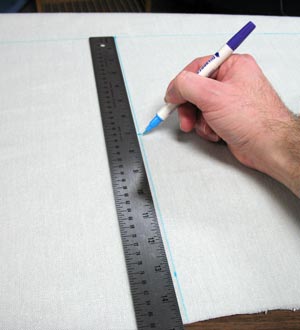
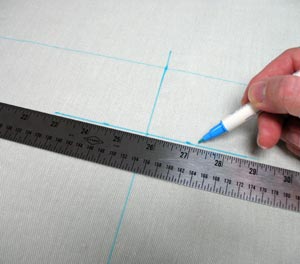
Measure, mark and cut fabric to the desired size. Use an air-erase pen to mark the division between the top and the front.
Find the vertical center of the front section by measuring the width and dividing by two. Draw a line through center. This line will be used for design placement and hooping.
Find the horizontal center by measuring between the division line of the top and front, and the bottom of the front section. Divide by two.
Use embroidery software to print out templates of the designs. Trim the templates for convenience.
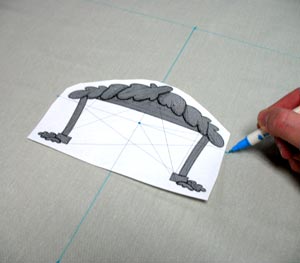
We decided to place the stable in the center of the front section. Poke a hole in the center of the template and align it with the center point marked on the fabric. Align the vertical axis line on the template with the vertical line marked on the fabric. Mark the horizontal axis lines on the template onto the fabric.

Cut out the inside of the stable template in preparation of marking and placing designs "inside."
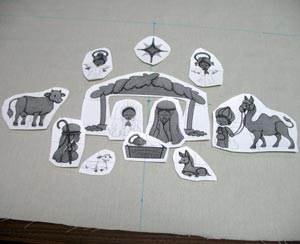
Realign the horizontal axis lines on the stable template with the lines on the fabric. Print templates of all other designs and trim them down.
Arrange the templates in and around the stable, but do not overlap designs.
The only exception, is Jesus' halo, which is digitized so that if you wish, you can overlap another design, as shown.
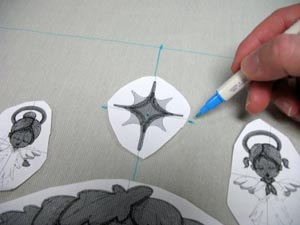
One design at a time, mark the center point and horizontal and vertical axis points.
Remove the templates and draw lines connecting the marks.
These lines will be used for hooping, so draw them out far enough to reach the hoop's edge.
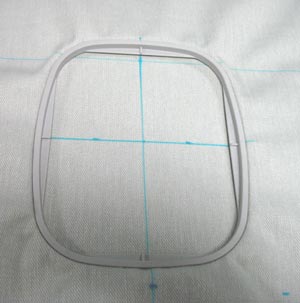
Spray a piece of cut-away stabilizer with adhesive and hoop it with the fabric by aligning the lines on the fabric with the marks on the hoop.
Attach the hoop to the machine, and load the design. Move the hoop so that the needle is right over that center point, and embroider the design.
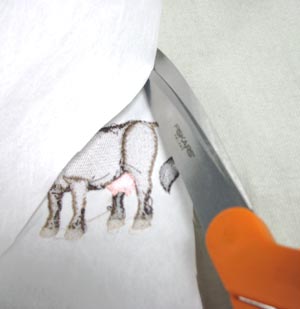
After the design has finished, trim away the excess stabilizer.
Repeat the hooping, embroidering and trimming process for each design on the scarf.

After all the designs have finished embroidering, finish the scarf by folding in all sides 1/4 inch and hemming the edges.
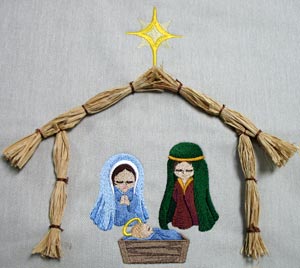
If you'd like to add texture to your scarf, or if your machine doesn't have an embroidery field large enough for the stable piece, here's a fun idea: Make the stable out of raffia! Tie small bundles of raffia together with embroidery floss. Trim the edges of the bundles to be even. Sew the bundles to the fabric with embroidery floss and a tapestry needle.
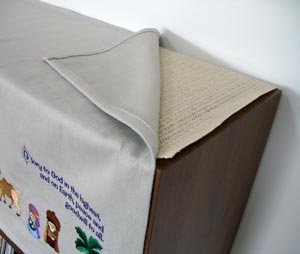
Put the scarf on your shelf. Keep the scarf from slipping by adding a rubber shelf liner under the scarf.
You can have a lot of fun arranging and re-arranging the design templates to get the story just right. Or, embroider the designs onto felt, trim around the edges of the design, and let youngsters arrange and rearrange the pieces to tell the story of the Nativity.


