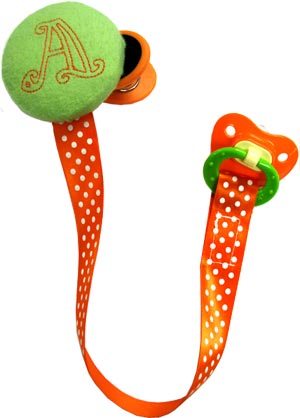
Keep a pacifier close to baby's hand with this colorful stay-put clip. The clip (by OXO) can be found in housewares stores (such as Linens-n-Things, Bed Bath & Beyond), or you can find equivalents at Target and WalMart, too.
A quick-stitch Redwork letter adds a classic monogrammed touch!
Supplies
Supplies Needed:
**Ring pacifier
**8 inch x 8 inch piece of fabric
**Plastic lid (2 1/2 inches in diameter)
**1 inch wide ribbon
**Small all-purpose clip
**1 inch strip of 3/4 inch wide Velcro
**Polyester fiberfill
**Medium-weight cutaway stabilizer
**Temporary spray adhesive (we use KK100)
**Air-erase pen, or other marking tool
**Hot glue and gun
**Majestic Redwork Alphabet
(1.5 inch height)
Designs Used

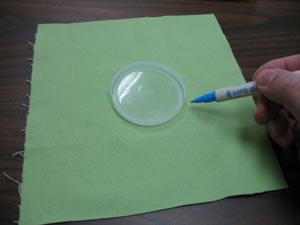
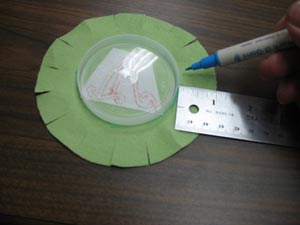
First, place the plastic lid on the right side of the fabric (we're using flannel). Using an air-erase pen or other marking tool, trace the shape of the lid.
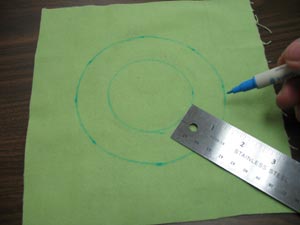
Make marks one inch out around the shape, and draw a circle connecting the marks.
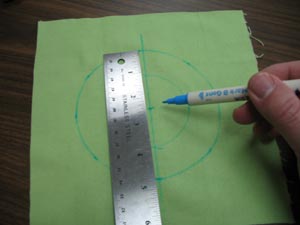
Draw a line through the center of the circles. Mark the center of the circles by measuring the centerline and dividing by two.
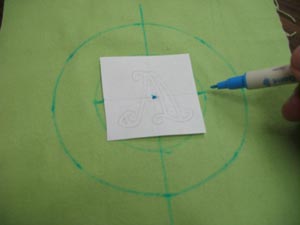
Print the design from embroidery software to make a template. Poke a hole in the center of the template and align it with the center point on the fabric. Make sure the design fits well in the inner circle shape. Mark the horizontal axis points on the fabric.
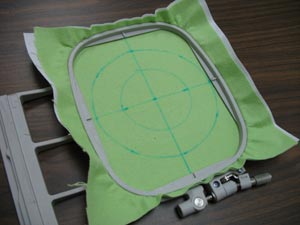
Spray the cutaway stabilizer with a bit of temporary adhesive, and smooth the fabric on top. Hoop the fabric and stabilizer together by aligning the marks on the hoop with the lines on the fabric.

Attach the hoop to the machine, upload the design, and move the hoop so that the needle is right over the center point.
Embroider the design.

After the design has finished, trim away the excess stabilizer from the backside, leaving about 1/4 inch around the design.
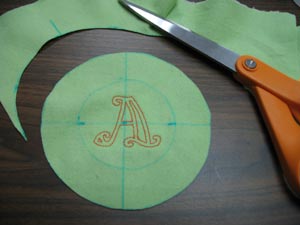
Cut out the shape along the outer circle line.
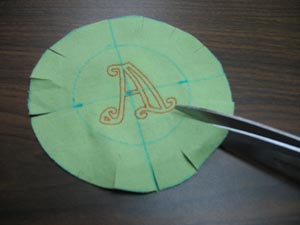
Cut 1/2 inch slits about every one inch around the outer edge of the fabric. This creates "tabs" in the fabric that will be wrapped around the lid and glued in place.
Place the fabric with the right side facing down. Align the lid in the center of the fabric by measuring in one inch from the outer edge to the edge of the lid. Trace the shape.
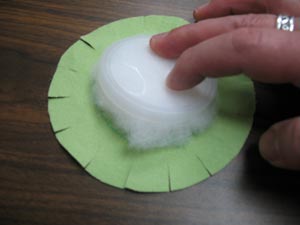
Place a small amount of fiberfill under the lid (with the flat side of the lid facing up). Add enough to make the lid rise up a bit.
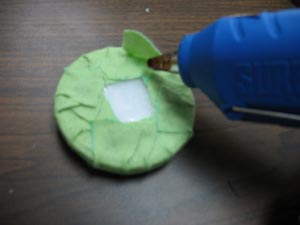
Align the lid with the outline of the shape on the fabric, and push fiberfill under the lip of the lid. Add drops of glue on the lid, wrap the tabs of the fabric around the edge of the lid, and press the tabs in place.
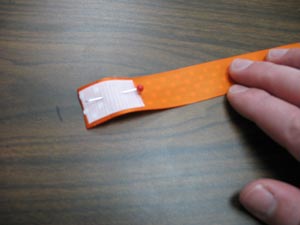
Next, cut a 16 inch length of ribbon. Lay the ribbon with the wrong side up and fold one end of the ribbon over 1/2 inch. Align the hook side of the Velcro on the folded end and pin in place.
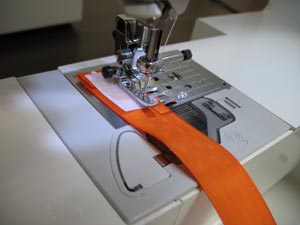
Sew a seam right along the edge of the Velcro.
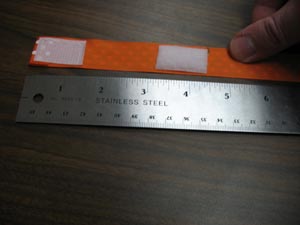
Lay the ribbon with the Velcro side up. Measure 4 1/2 inches from the end and make a mark. Align the loop side of the Velcro with the mark on the ribbon as shown. Sew a seam right along the edge of the Velcro.
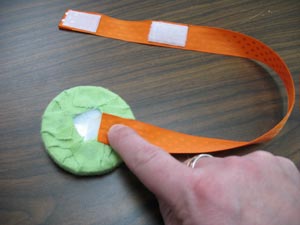
To attach the ribbon to the embroidered piece, place the embroidered piece with the backside facing up. Add a few drops of glue to the backside directly on the opposite side of the bottom of the design. This positions the ribbon directly under the design. Glue the right side of the non-Velcro end of the ribbon in place.
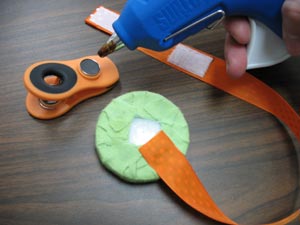
To add the clip, add glue to the center of the clip.
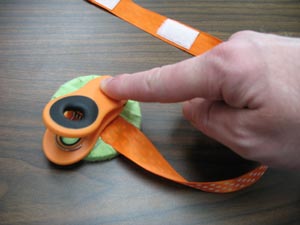
Glue the clip to the center of the backside of the embroidery piece. We positioned the clip sideways so that when the clip is attached to the side of a bib, the embroidery will be right side up.
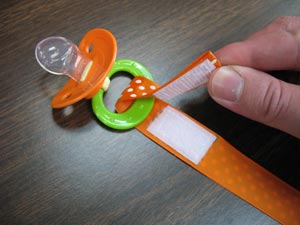
To add the pacifier, thread the Velcro end of the ribbon through the loop and press in place.


