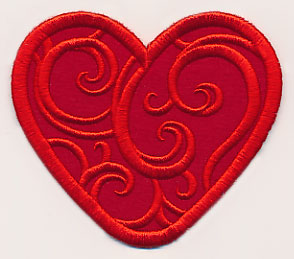
An in-the-hoop patch is a great way to bring embroidery to hard-to-hoop places. Add a touch of your personal style to apparel, hats, bags, and more by following these helpful instructions.
Supplies
Project Needs & Notes:
- 1/4 yard quilters cotton
- Tear-away stabilizer
- Temporary spray adhesive (Gunold's KK100)
- Medium-weight (2.5 ounce) cutaway stabilizer
- Patch glue, hot glue, or sewing machine (for application)
The design featured in this tutorial is:
Designs Used
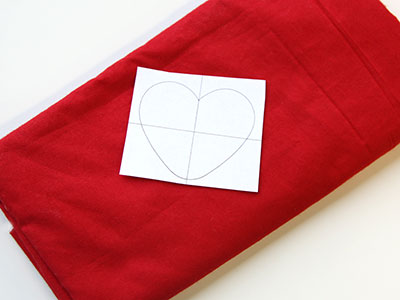
Each in-the-hoop patch design has two files. One is the full embroidery file. The other is a dieline file marked with the letters DL.
Open the dieline files with embroidery software, and print them.
If you do not have embroidery software, Wilcom's TrueSizer is a free program to use.
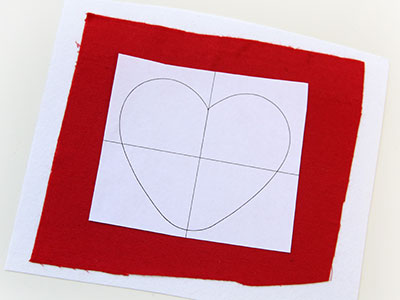
Spray a piece of cutaway stabilizer and smooth the fabric onto it.
Spray the back of the paper dieline and smooth it onto the fabric and stabilizer.
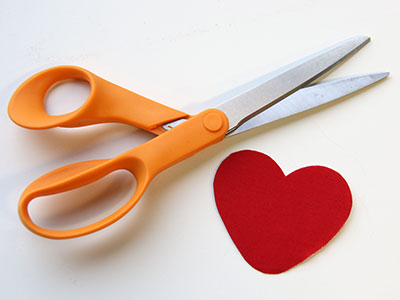
Cut out the shape and remove the paper.
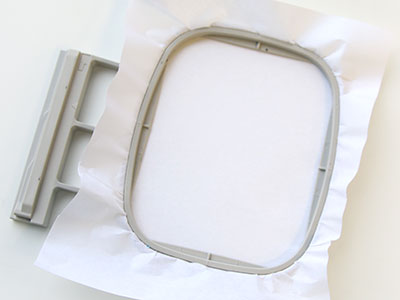
Now that the fabric piece is cut to the proper shape and size, it's time to embroider the design.
Hoop a piece of tear-away stabilizer.
Madeira E-Zee Tear 1.5 oz. or Floriani Tearaway Medium are good choices. Those brands are more fibrous, less paper-like, and will tear more cleanly.
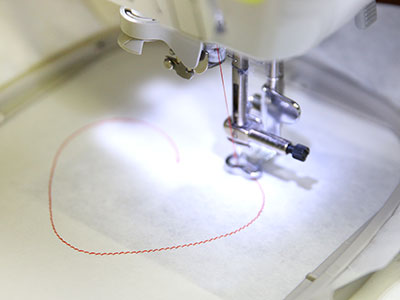
Attach the hoop to the machine and load the full embroidery file (not the dieline files).
Use a size 11 or 75/11 sharp sewing needle, rather than an embroidery needle. A sharp sewing needle has a smaller, finer point than an embroidery needle, so that will make smaller perforations in the stabilizer.
Embroider the design. The first thing to embroider will be a dieline or outline. This marks the area for the front fabric piece.
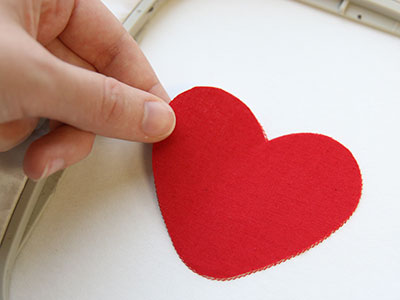
Remove the hoop from the machine, but do not unhoop the stabilizer.
Spray the back of the fabric piece with a small amount of temporary adhesive.
Place the fabric right inside the sewn outline.
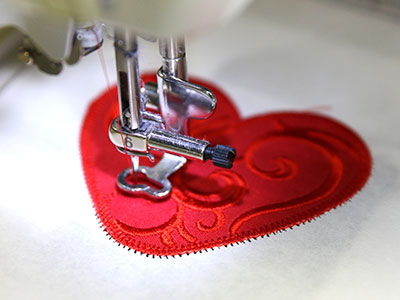
Attach the hoop back onto the machine and continue with the design.
A tack down will sew next to hold the fabric in place for the remainder of the design.
Then the inside elements and finished edge satin will sew.
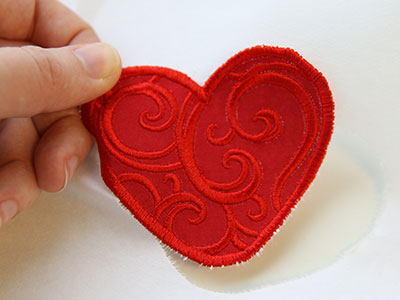
Once the embroidery is finished, remove the hoop from the machine.
Unhoop the stabilizer, and carefully tear it away (the dieline will be removed with the stabilizer).
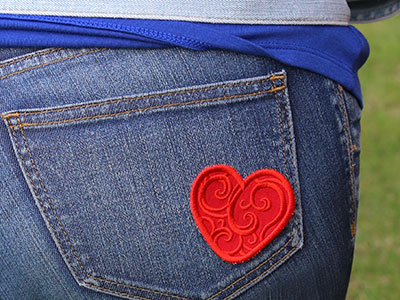
Use patch glue or hot glue to add your patch to your favorite items, or sew the patch on with your sewing machine.
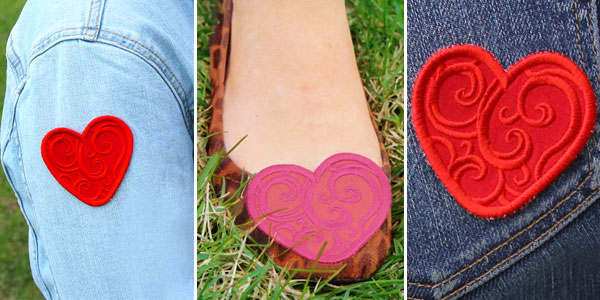
Apply an in-the-hoop patch to apparel for a "lovely" look! Here we added style to a pair of denim jeans with a highlight on the back pocket.
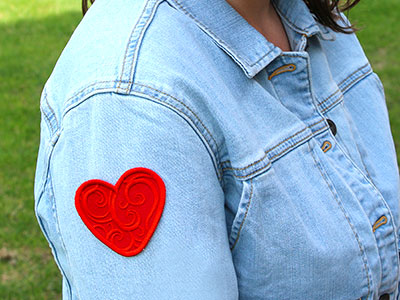
Or, try featuring the design on a jacket sleeve or pocket to give to your favorite fashionista!
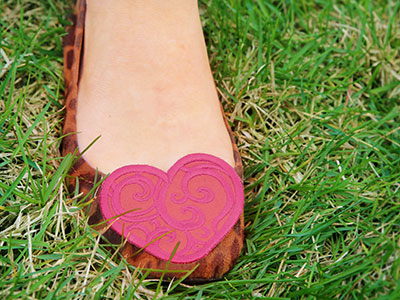
A little bit of hot glue or patch glue will allow the patch to even add interest to a pair of shoes, too!
