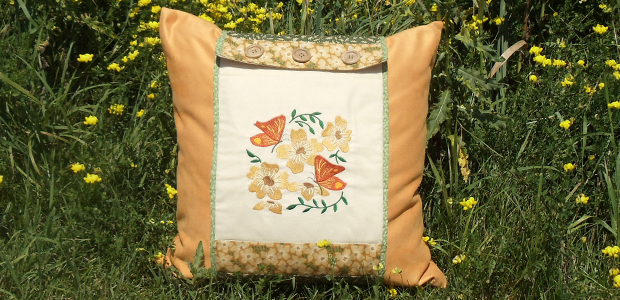
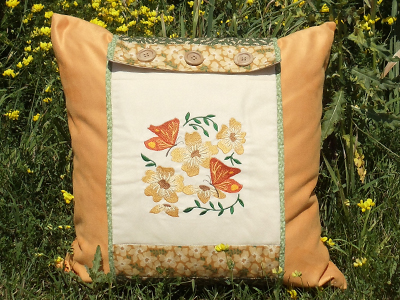
This pillow wraps lets you change your decor in a flash! Handy buttons let you take it on or off easily to switch up the pillow for different season, holidays, and decorating styles.
Supplies
Project Needs & Notes
- 1/2 yard quilter's cotton for embroidered center, back, and inner lining
- 1/4 yard (total) print quilter's cotton; choose two different prints for top and bottom panels
- 1/8 yard print quilter's cotton for borders
- Batting or extra-loft batting
- Medium-weight (2.5 - 3 ounce) cutaway stabilizer
- Temporary spray adhesive, such as Gunold's KK100
- Air-erase pen
- Straight edge
- Quilting cutting mat / self-healing craft pad
- Rotary cutter
- Nylon monofilament thread
- Three 1" to 1 1/8" buttons
- Craft knife or seam ripper
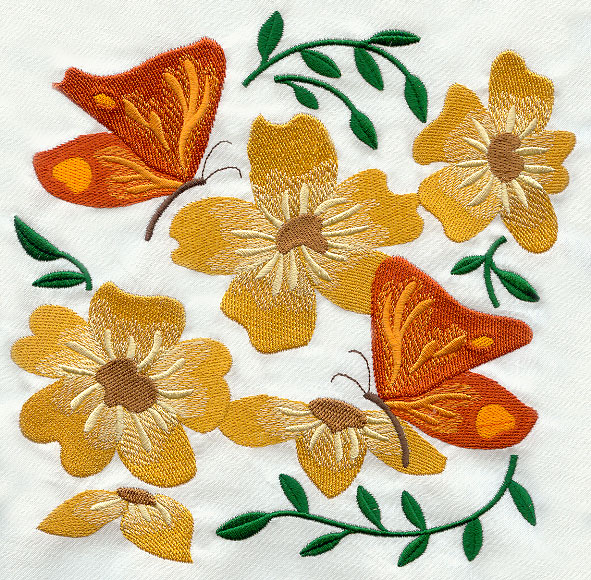
For this tutorial, I used S2416, the 5.86" x 5.86" of the Butterflies in Blooms Square design. Find even more pillow designs in the Pillow Squares department.
Finished Size: 9 3/4" x 18" (intended to fit an 18" x 18" pillow)
This project was featured in the following:
Pillow Party Lookbook
Pillow Party Trunk Show 1 Video
Designs Used
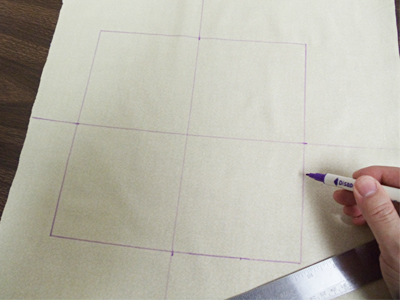
Prepare the fabric for the embroidered center front block.
Using an air-erase pen, draw a 9 1/2" x 9 1/2" square on the quilter's cotton. Leave at least 3 1/2" of excess fabric around the top of the shape and about 2" of excess fabric at the sides and bottom of the shape.
Measure and mark the center of each side. Draw lines to connect the marks. Where the lines meet is the exact center of the shape.
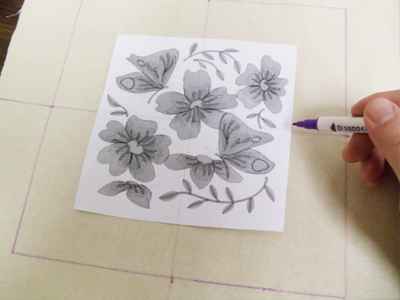
Use a template, or printout of the design, to plan where to stitch the design.
If you don't have software, Wilcom's TrueSizer is a free program that can print templates.
Place the template so that the center of the design is over the center of the fabric.
Make sure the design fits well within the shape. There should be at least 1 1/2" of space between the edges of the design and the edges of the square.
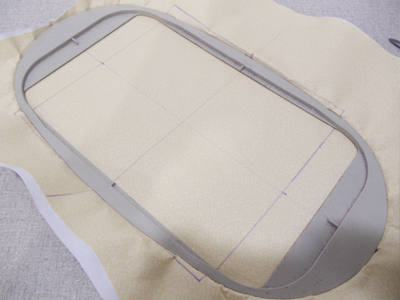
Spray the cutaway stabilizer with temporary adhesive and smooth the fabric on top.
Hoop the fabric and stabilizer together by aligning the marks on the hoop with the lines on the fabric and embroider the design
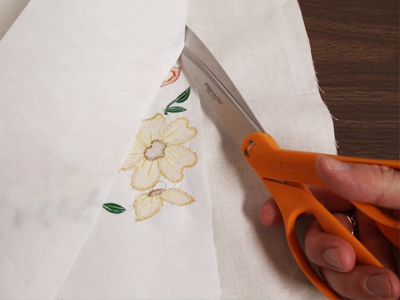
After the design has finished, trim away the excess stabilizer on the back of the embroidery.
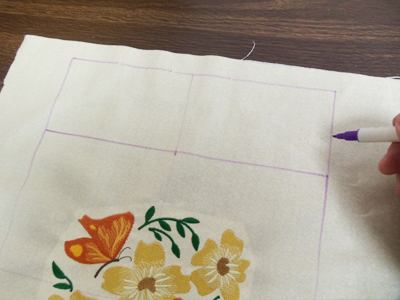
Measure and mark 3" up, starting at the corners, and draw vertical lines connecting the corners to the marks you just made. Then, draw a horizontal line to connect the marks.
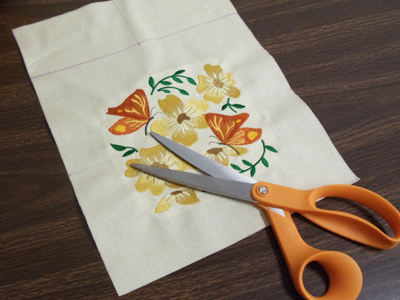
Cut out the shape.
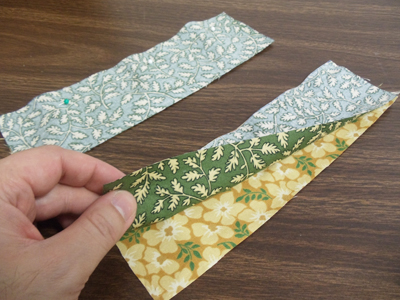
To prepare the fabric for the top and bottom panels, cut two pieces of both print fabrics 9 1/2" x 2 3/4" (four pieces total). Align the pieces together with right sides facing, pairing the opposite prints together. Pin in place, and sew a 1/4" seam along one of the long sides.
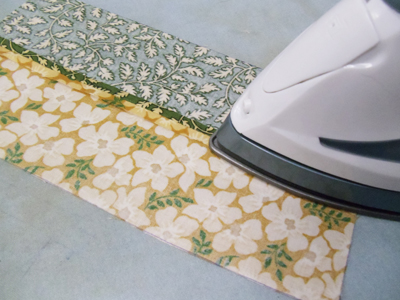
Press the back seams open with an iron.
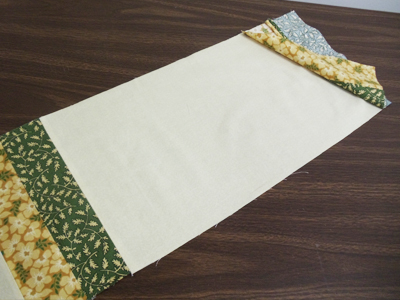
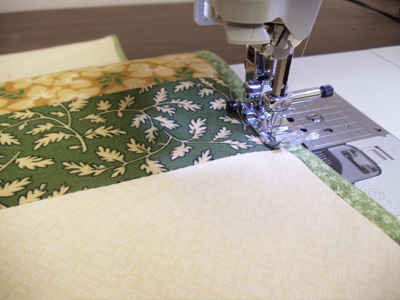
Lay the embroidered center block right side facing up. Then, align one of the assembled panels along the bottom edge of the center block. Be sure to place the side of panel you want directly under the embroidered block, aligned with the bottom of the embroidered block.
Pin in place and sew a 1/4" seam along the bottom edge and press the seams.
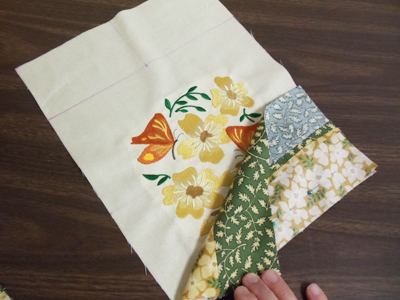
To prepare the back fabric, cut a piece of fabric 9 1/2" x 18".
Align the back fabric with the bottom edge of the bottom panels, pin in place, and sew a 1/4" seam along the pinned edge only. Press the seam.
Align the remaining assembled panel (this will be the top panel) along the opposite end (open end) of the back fabric with right sides together.
Position the panel so that the prints are opposite to that of the bottom panels. Pin in place, sew a 1/4" seam along the pinned edge, and press the seam.
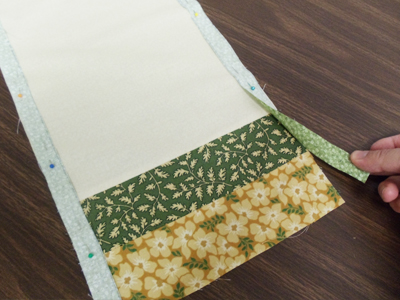
To prepare the border fabric, cut two pieces of fabric 3/4" x 39 1/2".
Align the pieces with the side edges of the assembled piece, right sides facing, pin in place, and sew a 1/4" seam along the outer edges. Press the seams.
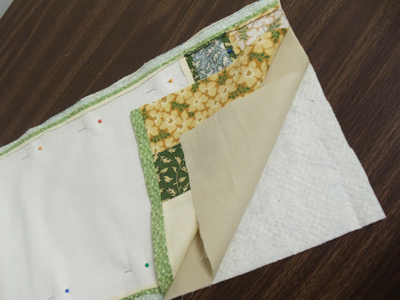
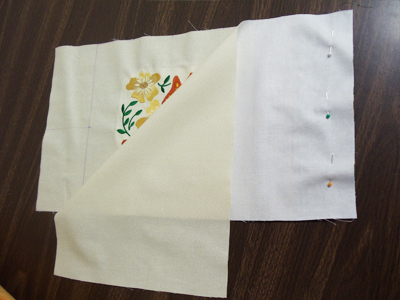
To prepare the fabric for the inner lining, lay the assembled front panel on top of the fabric, pin, and cut out the shape. Also, cut a piece of the batting just as you did for the back. Lay the batting flat and align the inner lining fabric on top with the right side facing up.
Then, align the front panel on top of the inner lining fabric with the right sides together (wrong side of the front panel faces up). Sew a 1/4 inch seam along the side and bottom edges -- be sure to leave the top edge open for turning.
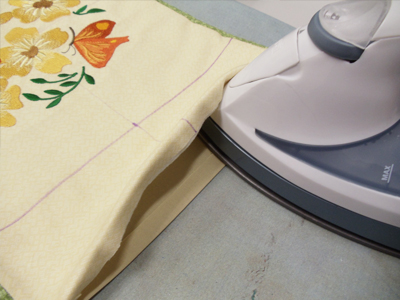
Turn the cozy right side out, between the front and inner lining layers (the batting will end up inside the cozy), and press the seams. Also, turn the fabric of the opening in 1/2" and press.
Using nylon monofilament in the needle and matching thread in the bobbin (thread that matches the inner lining fabric), quilt through all the layers by stitching along the existing seams of the front panel. Also, sew a 1/4" seam along the top edge to close the opening.
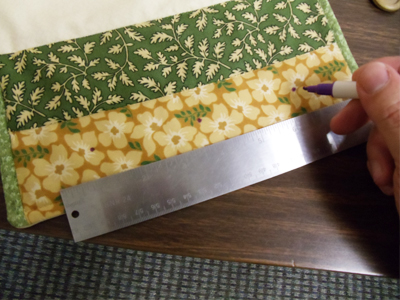
Now add the buttonholes and buttons. Lay the cozy flat with the right side facing up. Measure and mark the center of the bottom edge of the cozy (inside the bottom panel) by measuring and dividing by two. Measure and mark the center of the space between the mark you just made, and the outer side edges of the cozy by measuring and dividing by two (total of three marks).
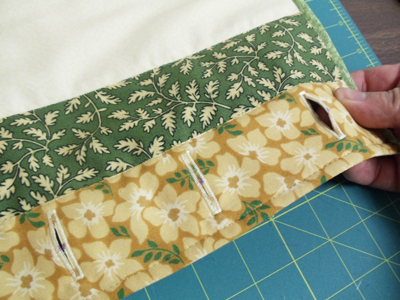
Sew a button hole at each of the marks centering them top to bottom within the panel. Then, cut the holes open with a craft knife or a seam ripper.
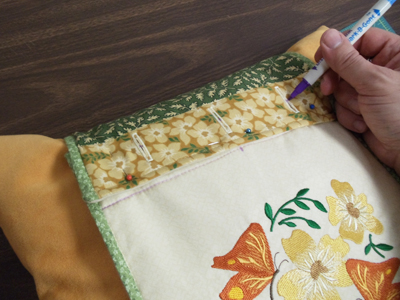
Add the cozy to the pillow by wrapping it around the center. Then, overlap the bottom edge of the cozy over the top edge of the cozy. Pin it in place and mark the center of each button hole onto the fabric underneath. Sew a button at each mark on the top edge of the cozy. Button the cozy in place to attach it to the pillow.
Choose a variety of designs and fabrics to make new cozies for any and every occasion!


