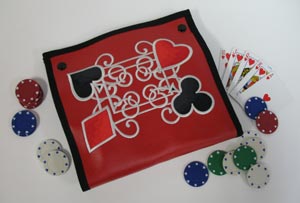
Keep cards, notepad, and poker chips in a lucky caddy.
The finished size, when folded and snapped, is 10 inches wide by 9 inches high -- the perfect size for carrying to poker night or card club. Roomy pockets hold cards and up to 100 poker chips!
Supplies
Supplies Needed:
**22 inch x 14 inch piece of vinyl (we used marine vinyl)
**19 inch x 10 inch piece of canvas or duck cloth (for lining)
**1/2 yard print cotton (for pockets)
**10 inch all-purpose zipper
**Extra-wide double-fold bias tape
**Medium-weight cutaway stabilizer
**Temporary spray adhesive (we use Gunold 100)
**Snaps and snap tool
**Pen (for marking)
**Masking tape (for marking)
**Dressmaker's pencil (for marking)
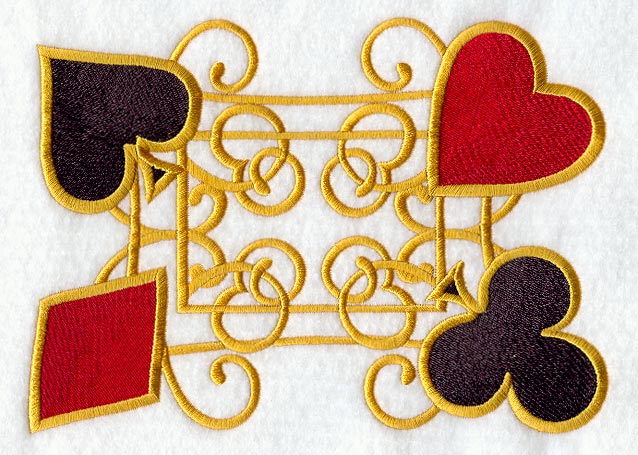
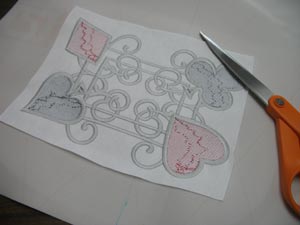
Design used:
Lady Luck Border - Lg
This design is available in the following design packs:
A Lady Luck Design Pack - XL
A Lady Luck Design Pack - Lg
Designs Used
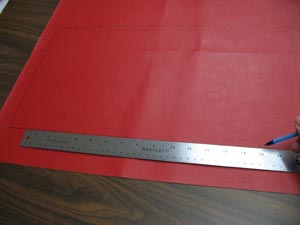
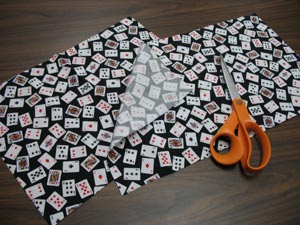
First we'll prepare the embroidered outer shell. Place the vinyl right side up and draw a 19 inch x 10 inch rectangle on the fabric. Leave about two inches of excess fabric around the rectangle.
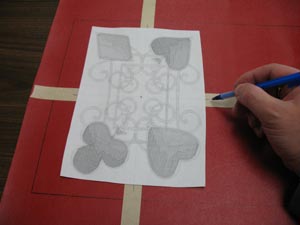
Print the embroider design from embroidery software to make a template. Place the template on the left side of the shape, with the edge of the design about 1 1/2 inches from the left edge of the vinyl.
Measure equal distances between the top and bottom edges of the design with the top and bottom edges of the fabric.
Vinyl will repel air-erase markers, so we're going to use masking tape and pen to mark the vinyl for design placement.
Place strips of masking tape on the vinyl under the axis lines on the template. Poke a hole in the center of the template, and mark the tape. Also, mark the axis points on the tape.
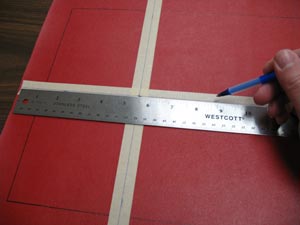
Remove the template and use a straight edge to draw lines connecting the marks on the tape. These lines will be used for hooping.
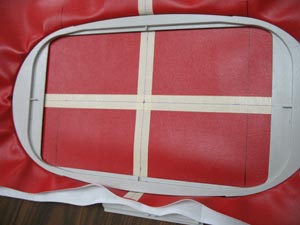
Spray a piece of cutaway stabilizer with temporary adhesive and smooth it on the backside of the vinyl.
Hoop the fabric and stabilizer together, aligning the marks on the hoop with the lines on the masking tape.
Attach the hoop to the machine, load the embroidery design, and move the hoop so that the needle is right over the center point. Peel back the masking tape, and embroider the design.
After the design has finished, unhoop the vinyl and carefully trim the stabilizer from the backside. Leave about 1/2 inch excess stabilizer around the design.
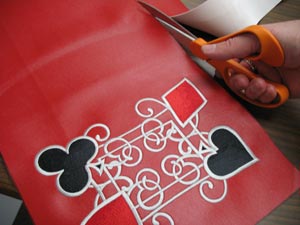
Next, cut out the 19 inch x 10 inch rectangle that you drew at the beginning of this project.
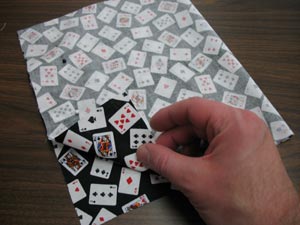
Now we'll prepare the fabric for the pockets. Cut a 15 inch x 11 inch piece, and a 17 inch by 10 inch piece, from the print cotton.
To prepare the pocket for the cards, pen, and note pad, take the 15 inch by 11 inch piece and fold it with the short ends together, right sides together. Pin in place.
Sew a 1/4 inch seam along two of the open edges. Leave one edge open for turning. Do not sew the folded edge.
Turn the fabric right side out and press the seams. Also, fold the open end in 1/2 inch and press.
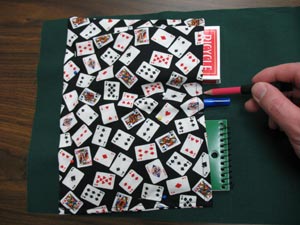
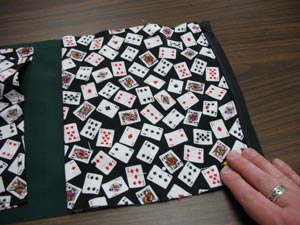
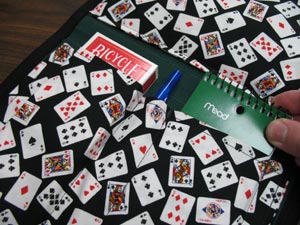
Next, cut a 19 inch x 10 inch piece of the canvas for the inner lining. Place the pocket on the canvas with the left edge of the pocket about 1 1/2 inches from the left edge of the canvas. Tuck the playing cards, pen, and memo pad under the right edge of the pocket. Gather the fabric around the items to ensure a snug fit, and pin the pocket in place. Make marks along the right edge of the pocket in between the items.
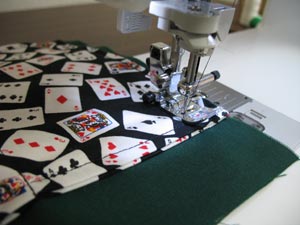
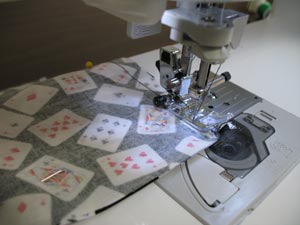
Remove the items and sew a seam around the sides and bottom of the pocket. Also, sew seams starting at each mark and ending at the bottom of the pocket.
Now we'll prepare the large pocket for the poker chips. Take the 17 x 10 inch piece and fold it with the short sides together, right sides together. Pin in place and sew a 1/4 inch seam along the short open edge only (the edge opposite to the folded edge). Turn the fabric right side out and press.

Add the zipper to the folded edge of the pocket by aligning the fabric with one of the sides of the zipper and pinning in place.
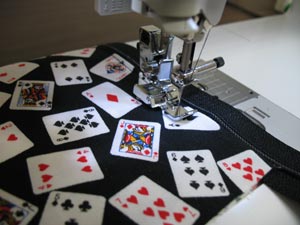
Use a zipper foot to sew the zipper to the pocket. Sew a 1/8 inch seam along the edge of the fabric.
Next, place the pocket on the right side of the lining (opposite to the card pocket). Align the outer edge of the zipper with the right edge of the lining. Pin in place. Sew a seam as close to the zipper as possible. Then, sew a 1/8 inch seam around the sides and bottom of the pocket.
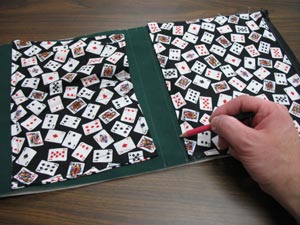
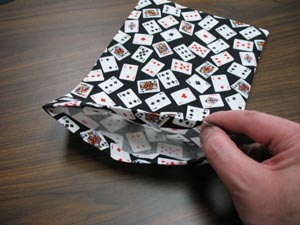
Next we'll combine the outer shell with the lining. Place the outer shell with the right side down, the embroider on the right. Place the lining on top of the shell with the right side up, and the card pocket on the right. Measure and mark 8 3/4 inches in from the top and bottom corners. Draw lines connecting the marks.
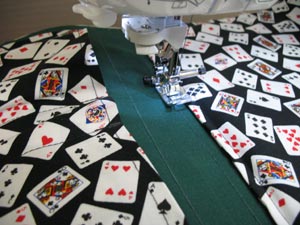
Sew a seam along each line. Also, sew a 1/8 inch seam around the entire outer edge.
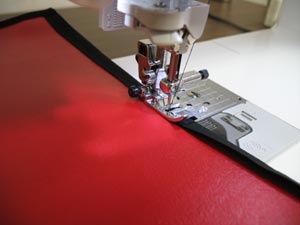
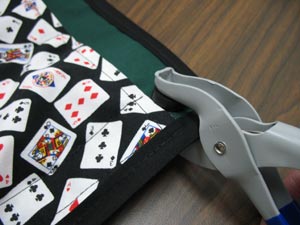
Next, add the bias tape around the outer edge by wrapping the tape around the edge and sewing a seam right along the inner edge of the tape.
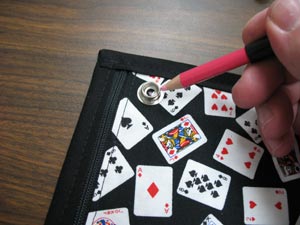
To add the snaps, place the snap about 1 1/4 inch from the zippered edge, and about 1 inch from the side. Mark the position.
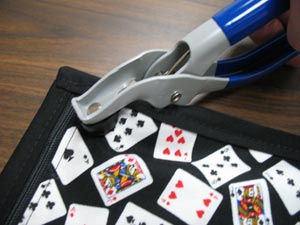
Add the snap. Add another snap to the opposite corner on the zippered edge.
Add the button side of the snaps to the opposite side of the caddy 1 1/4 inch from the short end, and 1 inch from the side.
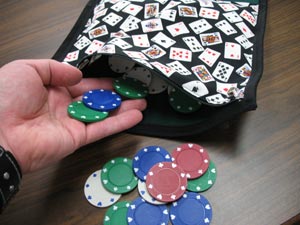
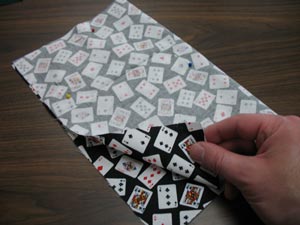
Unzip the large pocket to add poker chips.
Add cards, pen, and notepad. Fold up the caddy, snap it together, and away you go!


