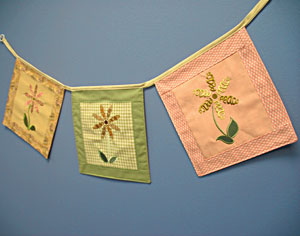
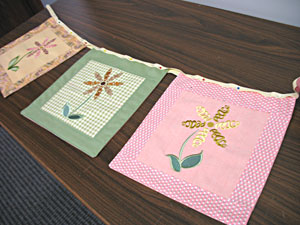
Craft a joyous atmosphere with festive patchwork prayer flags. Stitch your favorite designs or embroider each flag with a large letter to spell out a name, occasion, or message.
Read below for these free project instructions.
Supplies
Supplies Needed:
**12-inch-by-12-inch pieces of cotton fabric (for center pieces)
**Small pieces of cotton fabric (for sides and bottoms)
**Medium weight cutaway stabilizer
**Temporary spray adhesive
**Air-erase pen or dress maker's pencil
**Two 1-inch plastic or metal rings
**Extra wide double fold bias tape
Designs used:
A Flowers of Faith Design Pack (Large)
This design is also available in the following design packs:
A Flowers of Faith Design Pack (Small)
Finished Size (single flag):
10 1/4 inches wide by 10 1/4 inches high
Designs Used

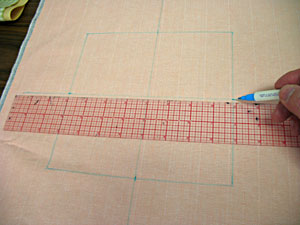
First, we will prepare the fabric for the center of the flag. Draw an 8 inch by 8 inch square in the center of the fabric leaving a couple of inches of excess around the shape. Then, using an air-erase pen or dress maker's pencil, measure and mark the center of each side by measuring and dividing by two. Draw lines connecting the marks. Where the lines meet is the exact center of the square.
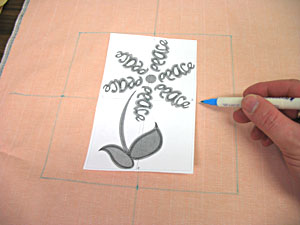
Create a paper template of the design by printing it at full size using embroidery software. If you don't have embroidery software, you can cut a piece of paper the shape and dimensions of the design to help with placement and centering.
Poke a hole in the center of the template and align it with the center point on the fabric. Make sure the design fits well within the shape - there should be at least 1/2 inch of space between the edges of the design and the edges of the shape.

Spray a piece of medium weight cutaway stabilizer with temporary adhesive and smooth the fabric on top. Hoop the fabric and stabilizer together by aligning the marks on the hoop with the lines on the fabric. Then, attach the hoop to the machine and load the design. Move the hoop so that the needle is directly over the center point on the fabric. Embroider the design. When the design has finished, trim away the excess fabric on the back of the embroidery.
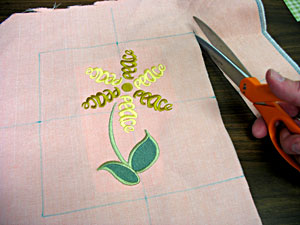
Cut out the shape.
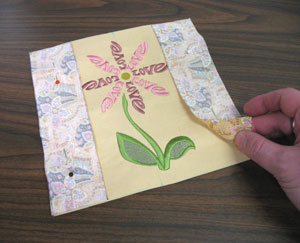
To prepare the side fabric, cut two pieces of cotton fabric to 2 inches wide by 8 inches high. Align them with the sides of the embroidered square, right sides together, and pin in place. Sew a 1/4 inch seam along the outer pinned edges only. Then, press the back seams open with an iron.
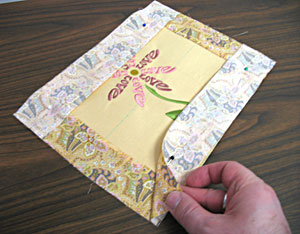
To prepare the top and bottom fabric, cut two pieces of cotton fabric to 10 3/4 inches wide by 2 inches high. Align the fabric with the top and bottom edges of the center/side piece, right sides together, and pin in place. Sew a 1/4 inch seam along the outer pinned edges only. Press the back seams open.
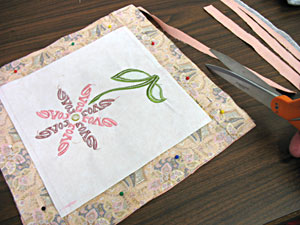
To prepare the back fabric, lay the assembled front piece on top of the fabric, right sides together, and pin in place. Cut out the shape around the assembled front piece. Sew a 1/4 inch seam along the side and bottom edges only - leave the top edge open.
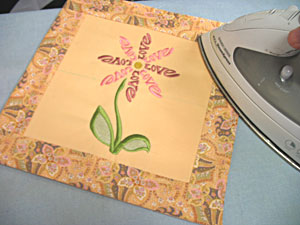
Turn the flag right side out and press the seams. Then, topstitch a 1/8 inch seam along the outer side and bottom edges and also along the inner edge between the center piece and the side, top, and bottom pieces.

Repeat this process for each flag.
Now that the flags are complete, we will string them together.
Lay out your flags with about 1 inch of space in between each flag. Cut a strip of bias tape along the top edges of the flag leaving about 6 inches of excess at each end. Wrap the tape around the top edges of the flags and pin in place.
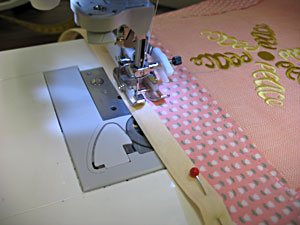
Turn the ends of the tape in 1/4 inch and pin in place. Sew a seam along the entire inner edge of the tape.

To add the rings, wrap the ends of the tape around the rings and sew them in place.

And you're finished! Create as many flags as you like to make the banner longer or shorter.
You could also make this project with holiday or seasonal designs, or embroider each flag with a large letter to spell out a name or greeting, as shown below!


