This reversible Headband will look great with your favorite summer outfit, or swim suit!
Take your look from day-at- the-beach to night-on-the- town with a quick flip! Download a free pattern and customize your own headband by choosing different designs and fabrics for each side.
Make them for your friends, daughters, granddaughters, and their friends, too! The finished size for this project varies according to individual measurements.
Supplies
Supplies needed:
- 1 yard twill fabric (two colors - 1/2 yard each)
- Medium weight cut-away stabilizer
- Air-erase pen
- Temporary spray adhesive
- Colored pencil or dressmaker's pencil
- 4 1/4 length or 1/2 inch wide elastic (for adult/teen size)
- 3 1/4 inch length of 1/2 inch wide knit elastic (for child size)
- 2 safety pins
Designs Used:
** Flower Border
** Sunflower Border (Toile)
Designs Used
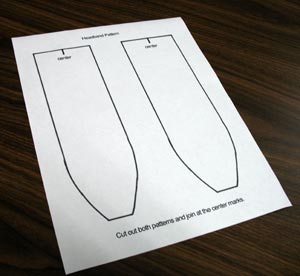
Click the link above to download the headband pattern.
Each pattern will print on one piece of paper.
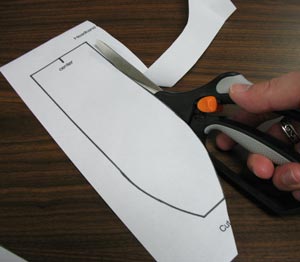
Cut out pattern pieces for the appropriate size.
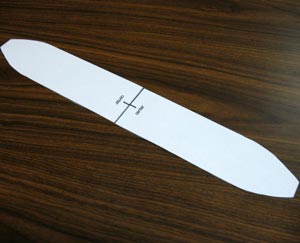
Align the center points together as shown and tape in place.
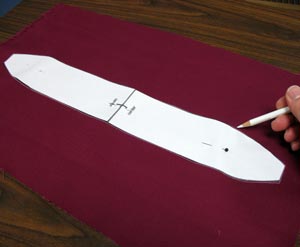
Lay the fabric right side up. Pin the pattern in place. Trace the pattern on the fabric, leaving about 4 inches on either side and 2 inches on either end. Using the air-erase pen, poke a hole and mark the center of pattern through the fabric.
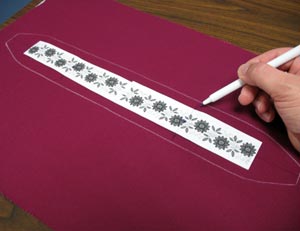
Remove the pattern and draw a line across the length of the pattern shape by measuring the ends and dividing by two. This line will be used for placing the designs. Create paper templates of the designs by printing them at full size. Cut around the templates to make them manageable.
Place the templates inside the shape. There should be at least 3/4 inch space between the edge of the designs and the edge of the shape. Since the border will be embroidered twice, place the ends of the designs about 1/4 inch from the center point. Align the horizontal axis lines with the center line on the fabric and mark the vertical axis points of each design.
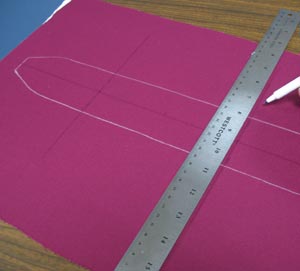
Remove the templates and draw lines connecting the vertical axis marks. These lines will be used for hooping.
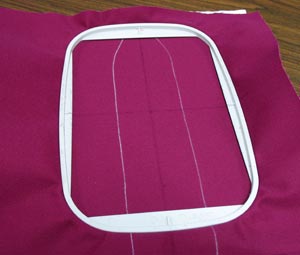
Lightly spray the fabric with temporary adhesive. Hoop the fabric and stabilizer together for the first design, aligning the lines on the hoop with the lines on the fabric.
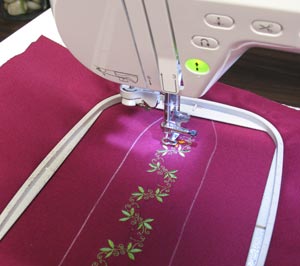
Attach the hoop to the machine, load the design, align the needle directly over the center point on the fabric, and embroider the first border design.
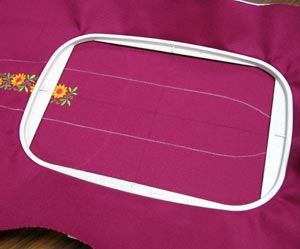
After the first part of the border design has been embroidered, unhoop the fabric. Move the hoop over to the second center point and re-hoop the fabric. The first design will not be damaged by re-hooping.
Repeat attaching the hoop to the machine, loading the design, aligning the needle directly over the center point on the fabric, and embroider the second design.
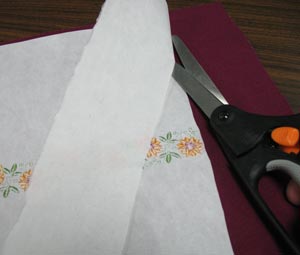
Once the designs are embroidered, carefully cut away the excess stabilizer.
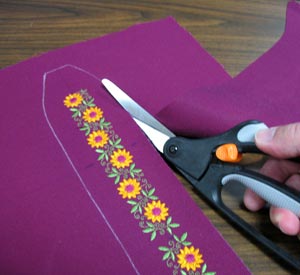
Cut out the shape from the fabric.
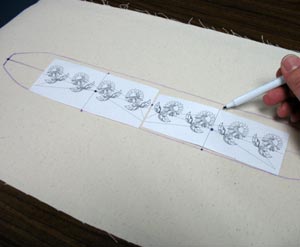
Lay the second piece of fabric right side up.
Repeat the pattern tracing, design placement, hooping, and embroidering process.
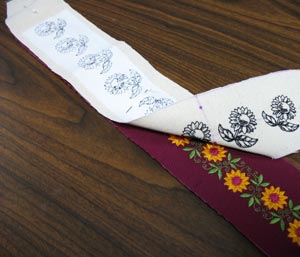
After the second piece has been embroidered cut out the shape of the fabric. Lay the two pieces of fabric right sides together. Pin in place.
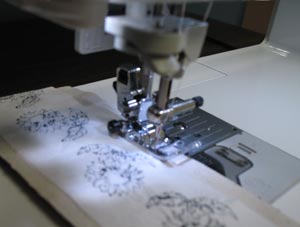
Mark a 2 1/2 inch opening in the middle of one of the long sides. Sew 1/4 inch seam along the sides only, leaving the 2 1/2 opening unstitched.
Do not sew the ends.
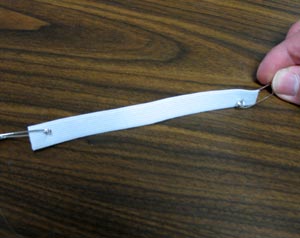
Cut a length of knit elastic to
4 1/4 inches long for the adult/teen size and 3 1/4 inches long for the child size.
Add a safety pin to each end.
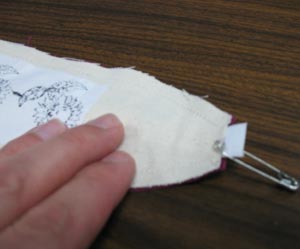
Thread one end of the elastic through one end of the headband, leaving about 1/4 inch of the other end exposed.
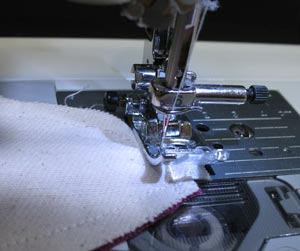
Remove the safety pin from the end with the exposed elastic and sew a 1/4" seam along the end, securing the elastic in place.
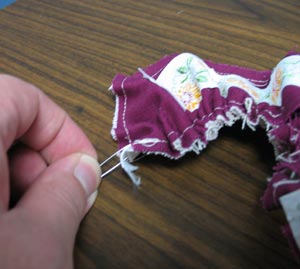
Work the other end of the elastic through the inside of the headband and through the opposite end. Hold the elastic in place and carefully remove the safety pin - do not let go of the elastic!
Lay the end flat and sew the end of the headband, securing the elastic as you did before.
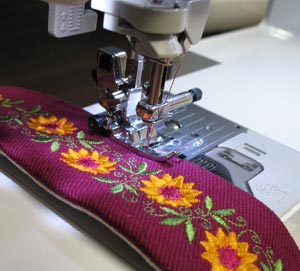
Turn the headband right side out, gently pulling on the elastic to start the turning.
Turn the opening in about 1/4 inch and press the seams in place around the headband. Top stitch along the outer edge all the way around, closing the opening in the process.
Match the top thread and bobbin thread colors to the appropriate side of the headband.
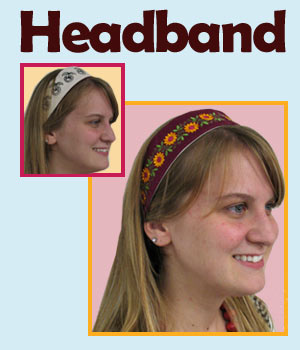
That's it! Put on you reversible headband and double your summer style!


