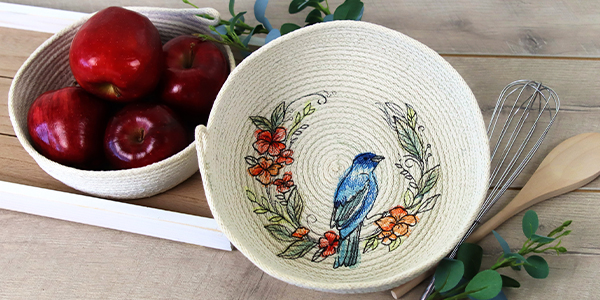
Rope baskets are a sweet and simple way to create a blank canvas for stunning machine embroidery designs. Whether you are making your own home decor, or crafting something for a gift, follow along with the step-by-step project instructions below to make your own embroidered rope basket.
Supplies
Project Needs & Notes:
- 50-80 feet of 7/32-1/4" thick cotton rope/clothesline.
- Embroidery design
- Embroidery thread
- Scissors
- Water soluble stabilizer
We recommend Vilene (this is an affiliate link. For more information on affiliate links click here.)
- Temporary spray adhesive
- Hand sewing needle
- All purpose thread (for sewing the basket)
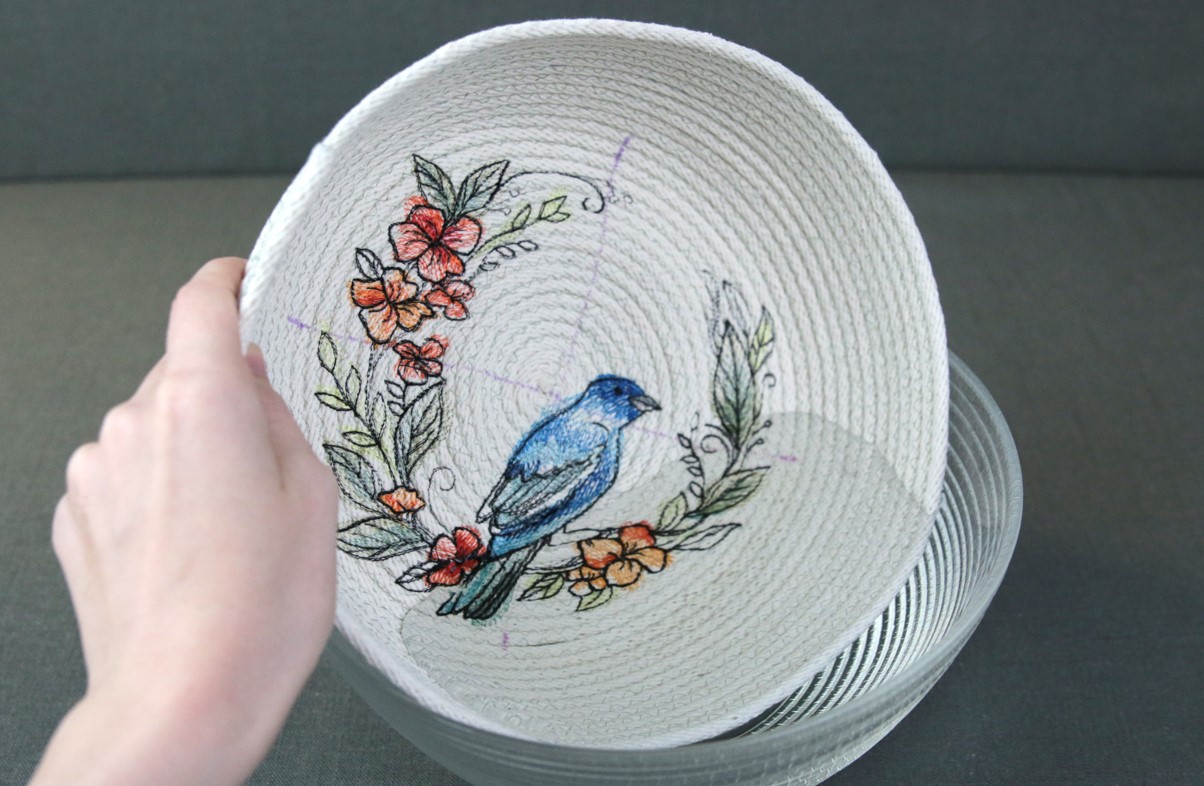
Designs featured in this tutorial include:
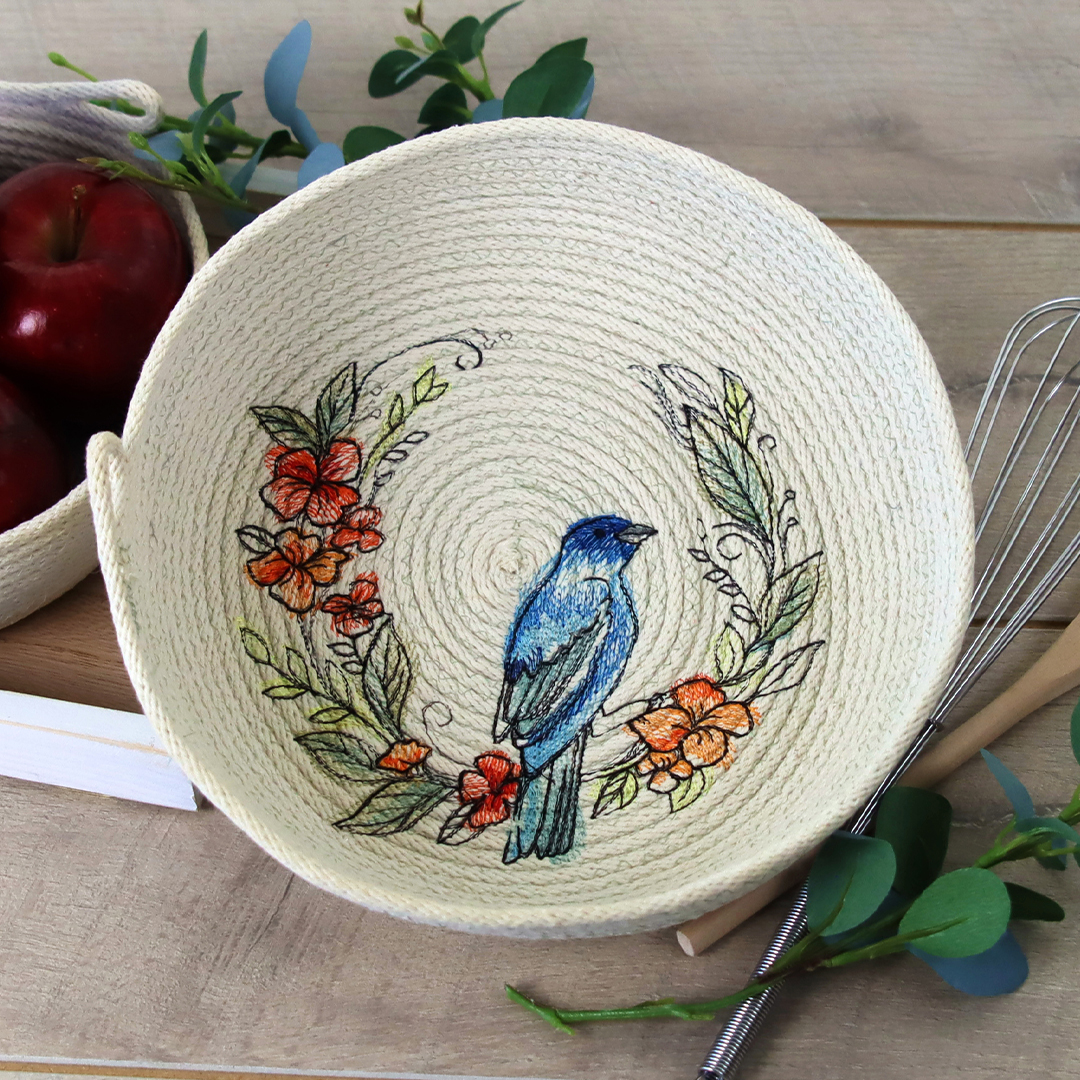
- M12761, Indigo Bunting Wreath in Watercolor
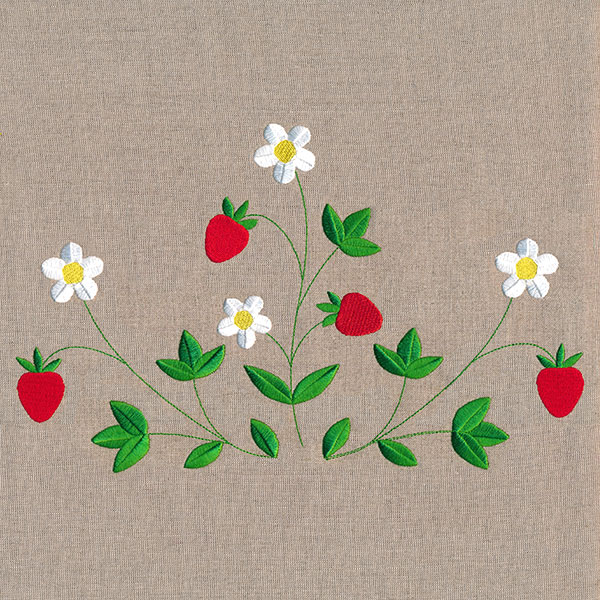
- M31196, Fresh Strawberries in Bloom Feature
Designs Used
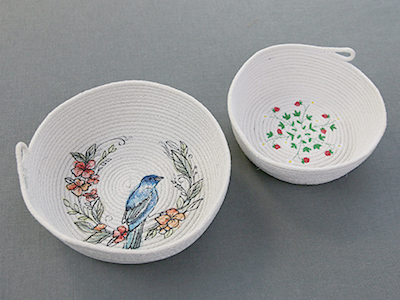
For these rope baskets it's best to use a lighter stitching design, one that is round in shape. Avoid choosing a design with solid fills or many layers of color. Designs with running stitch and only a couple layers of open fills will sew best through the density of the rope. Heavier designs will cause the thread to break more frequently.
In this tutorial, we used 7/32" Evandale Cotton Clothesline, which can be purchased online at Amazon, The Home Depot, or Walmart. Be careful to choose a rope that isn't too stiff or dense, both of which will make it harder to sew. Without feeling the rope in person, it can be hard to determine consistency. For best results, use a cord that is flexible and loose enough to coil and stitch through.
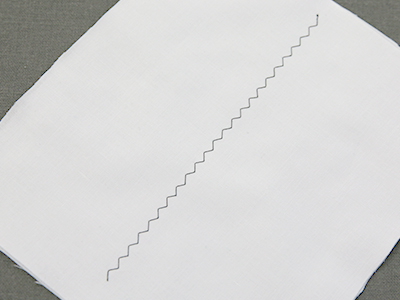
While sewing the basket, use a 1/8" wide zigzag stitch. This stitch is going to bind the rope together side by side as you coil it.
As the thread will be seen on both sides, also make sure to wind a bobbin that matches the thread being used in the top needle.
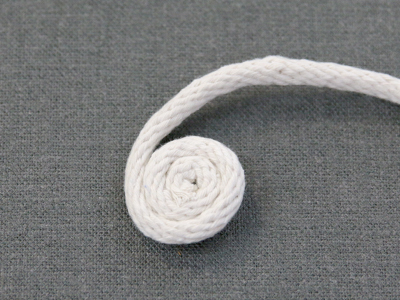
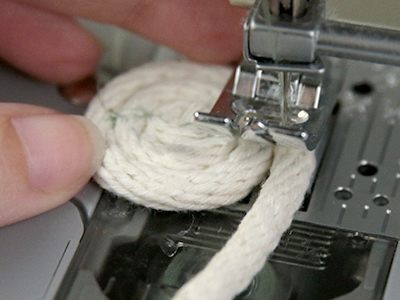
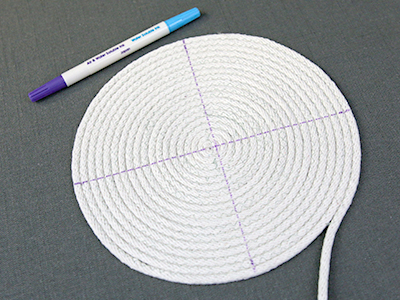
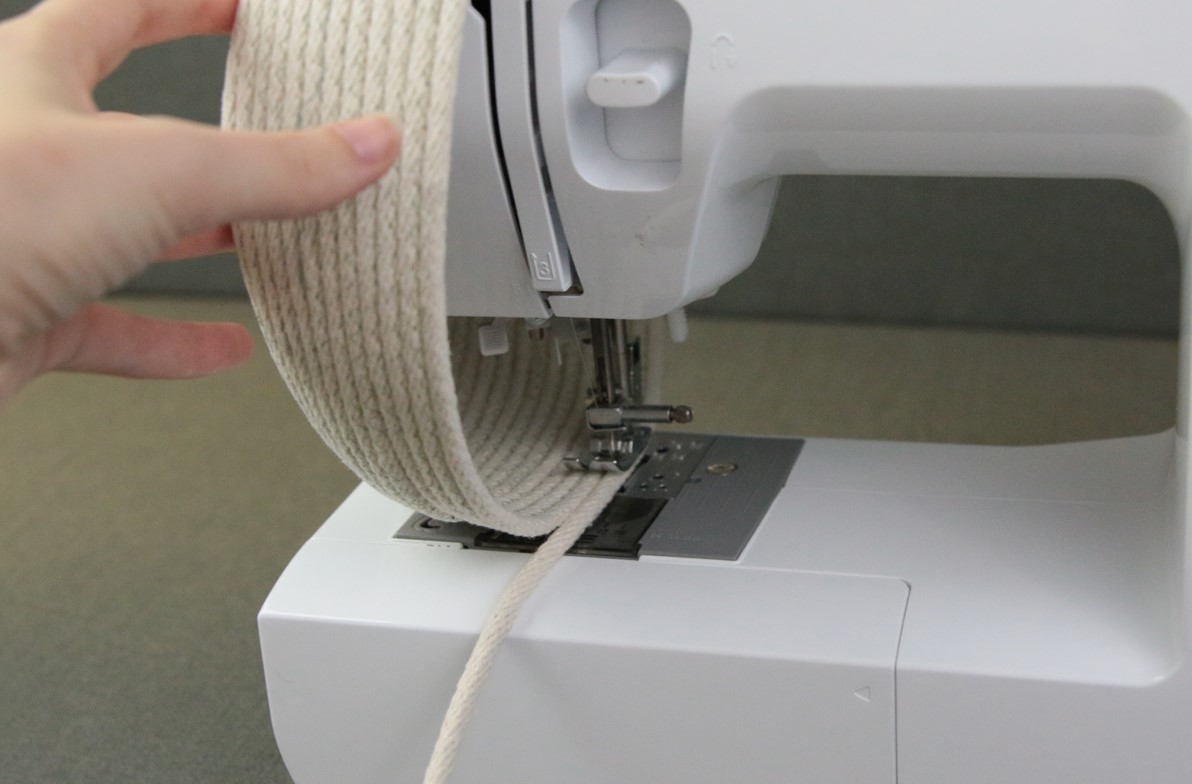
Take one end of your rope, and begin to tightly coil it clockwise around itself. The cord needs to wrap clockwise, as it will make the base and sides easier to sew under the foot of the machine as you rotate it.
Coil your rope until it is about 1" - 1-1/2" wide.
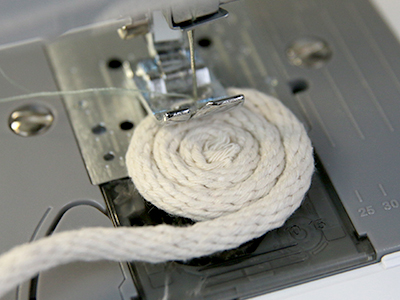
Once the coil is 1" - 1-1/2" wide, set it under the presser foot. Make sure the foot is sitting on top of the coil and that the tail of the rope is at the bottom.
It is very important to make sure the coil is still going in a clockwise direction now that it is on the machine.
With the tail directed off to the left, zigzag stitch straight across the coil. Make sure to backstitch a little at the top where you are starting to sew to make sure it doesn't unravel over time.
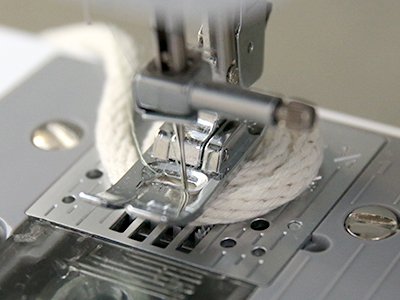
Where you stop sewing is very important. When you stop, the needle needs to be on the right side of the foot (not the left), and it needs to be stabbing into the center of the outer most rope at the bottom of the coil. Do not sew all the way to the outer edge of the coil.
Keep the needle down and in place, so it is stabbed through the outer most rope at the bottom, and is also on the right side of the sewing foot.
Keep the needle down and lift the presser foot. Pivot the coil until the tail of the cord is coming out toward the front of the machine. This way, as you continue to stitch, the cord will be pulled into the needle by the machine.
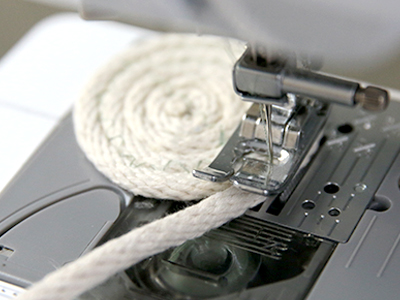
Lower the presser foot and begin to zigzag stitch around the coil. Go slowly to keep the gap between the sewn coil and tail of the rope centered under the foot. This way the zigzag will alternate between stabbing through the outer edge of the coil and the inner edge of the tail.
Carefully rotate the coil as you sew. This will ensure that the tail gets sewn around the outer edge of the starting coil. Your coil should be growing as you sew.
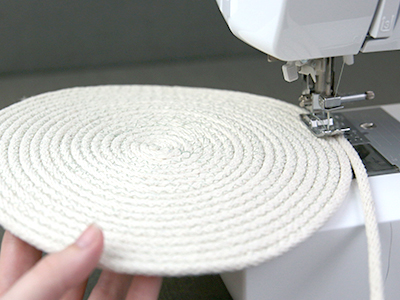
Continue to sew the tail onto the outer edges of the coil until the coil is about 1" - 2" larger than your chosen design. For example, the design we have chosen (M12761) is a little under 7" wide and 7" tall. We sewed the base coil of our basket until it was about 8" wide.
Once the base coil is larger than the chosen design, do not back stitch or cut the rope. Instead, lift the foot and needle, and pull the base off of the machine, creating a long tail of both the bobbin and top thread.
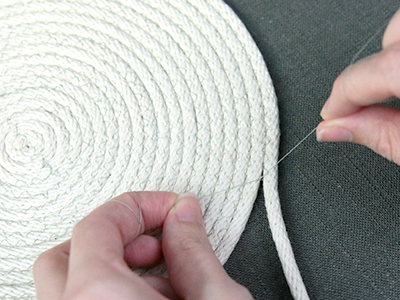
Cut these two threads long enough that you can easily tie them together. Then, tie them together in a double or triple knot along the inner edge of the tail where the stitching ends.
We are stopping at this point as it is easier to embroider the base while it is still flat. After embroidering, you can make the sides as tall or steep as you'd like without having to worry about them getting in the way while embroidering.
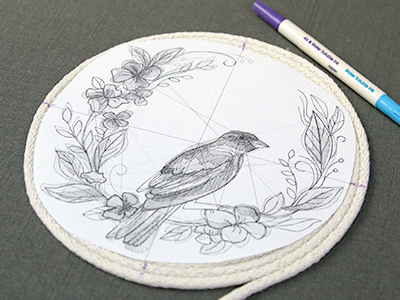
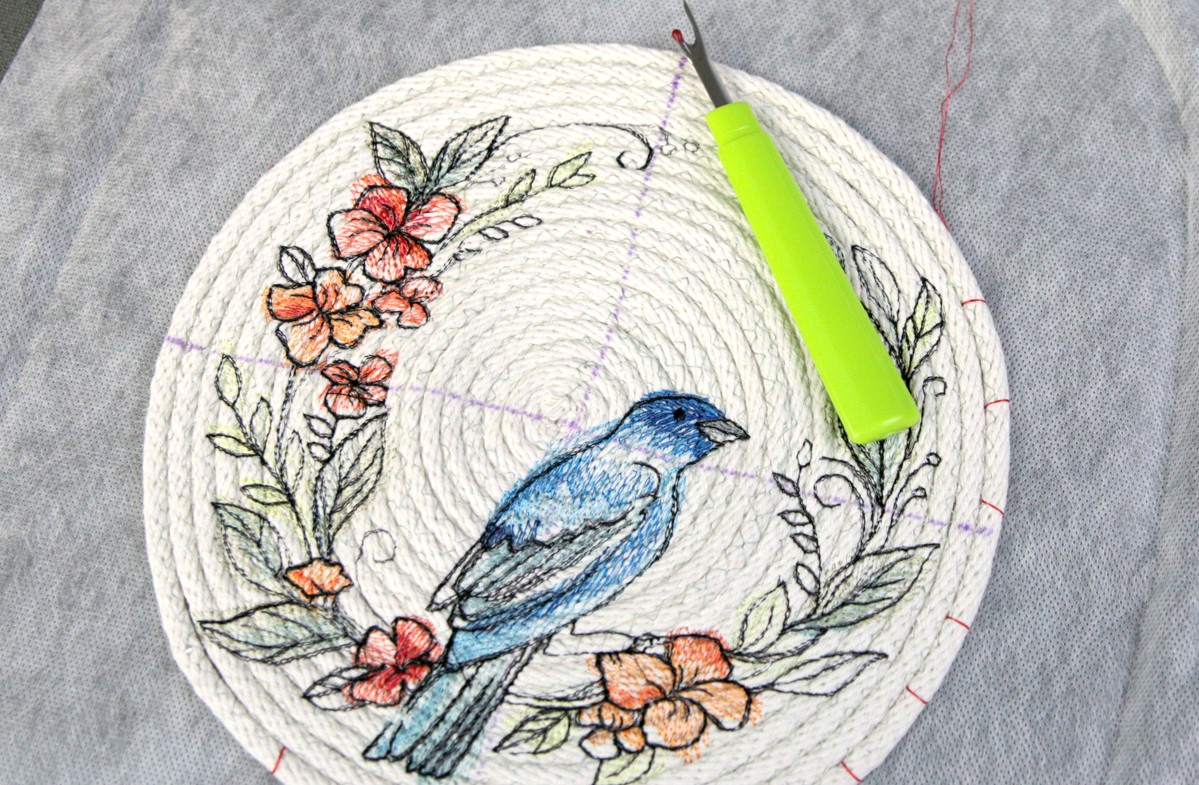
To make sure the design is centered on the base coil, use a printed template and center it on the base. Use an air-erase pen to mark the center point and the horizontal and vertical axis lines of the design.
A template (or print out) of a design is an excellent tool to help with placement. To learn more about how to create and use a template, check out our helpful video.
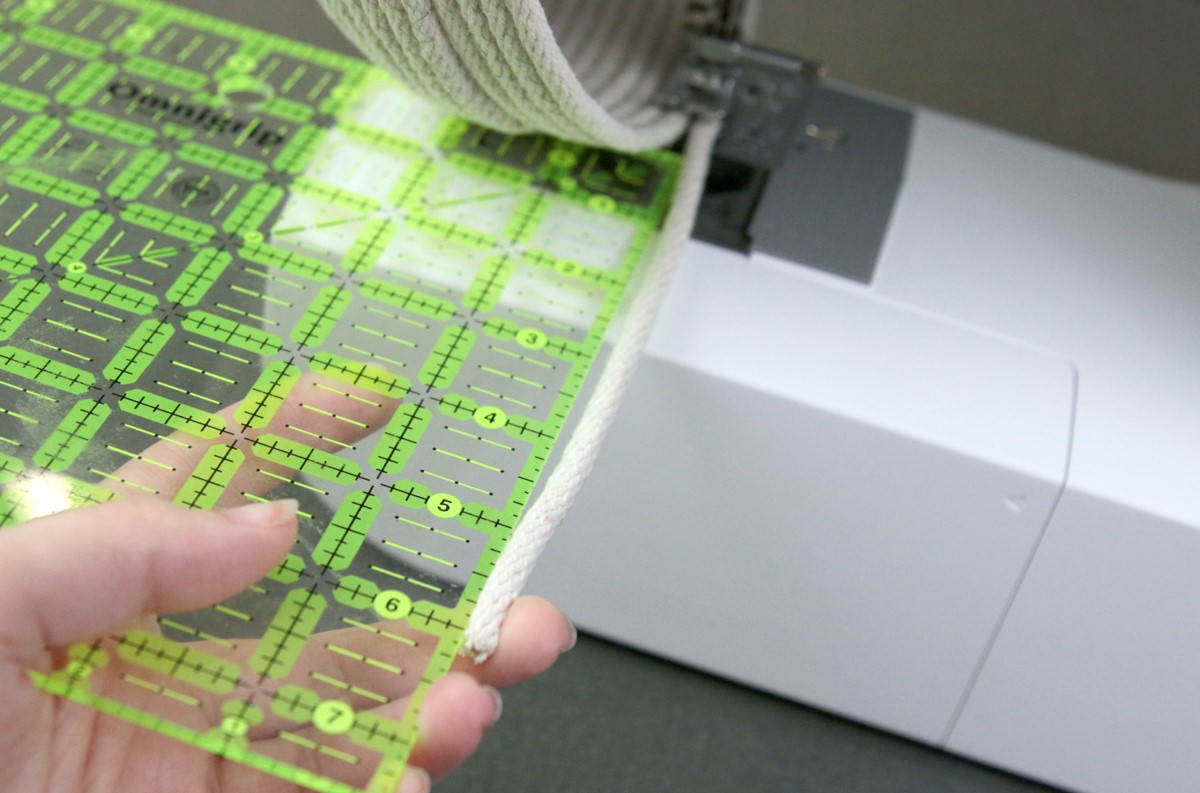
Extend the axis lines using a ruler and an air-erase pen. This will make it easier to place the base coil correctly in the hoop.
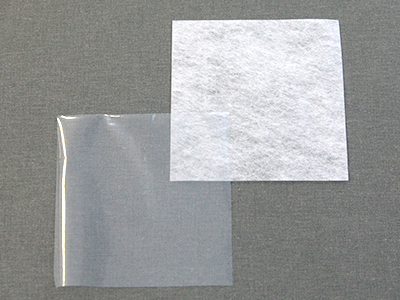
Water-soluble stabilizer is great for coil baskets as it can be easily removed. There are a couple different kinds of water-soluble stabilizer. Some are clear and plastic, like Sulky Ultra Solvy. Others are soft and fibrous like Vilene. Vilene is used in this example.
For best results, we will be floating the coil rather than trying to hoop it. Floating involves hooping the stabilizer firmly by itself. Then, the fabric (or coil in this example) is glued onto the stabilizer with temporary spray adhesive. Hand sewn stitches are used around the edge for extra security and will be shown in a later step.
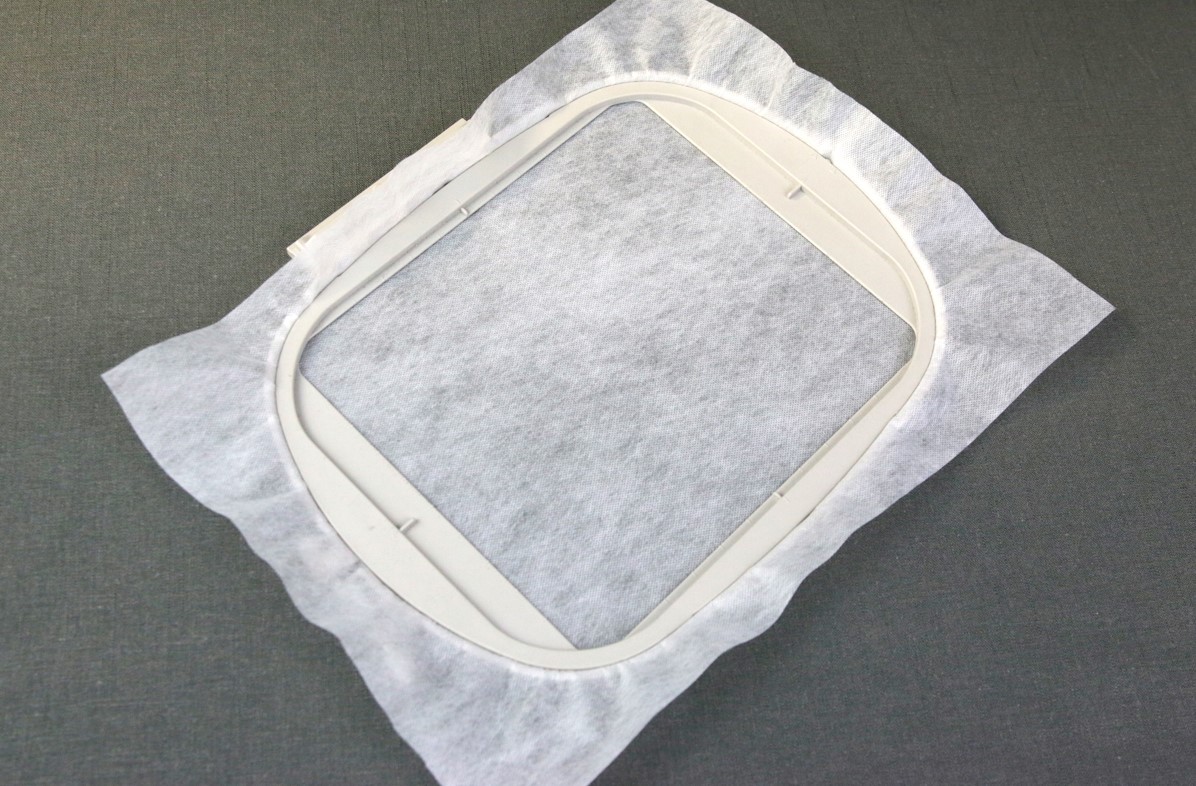
First, hoop a piece of water-soluble stabilizer by itself. Make sure it is hooped tight and taut.
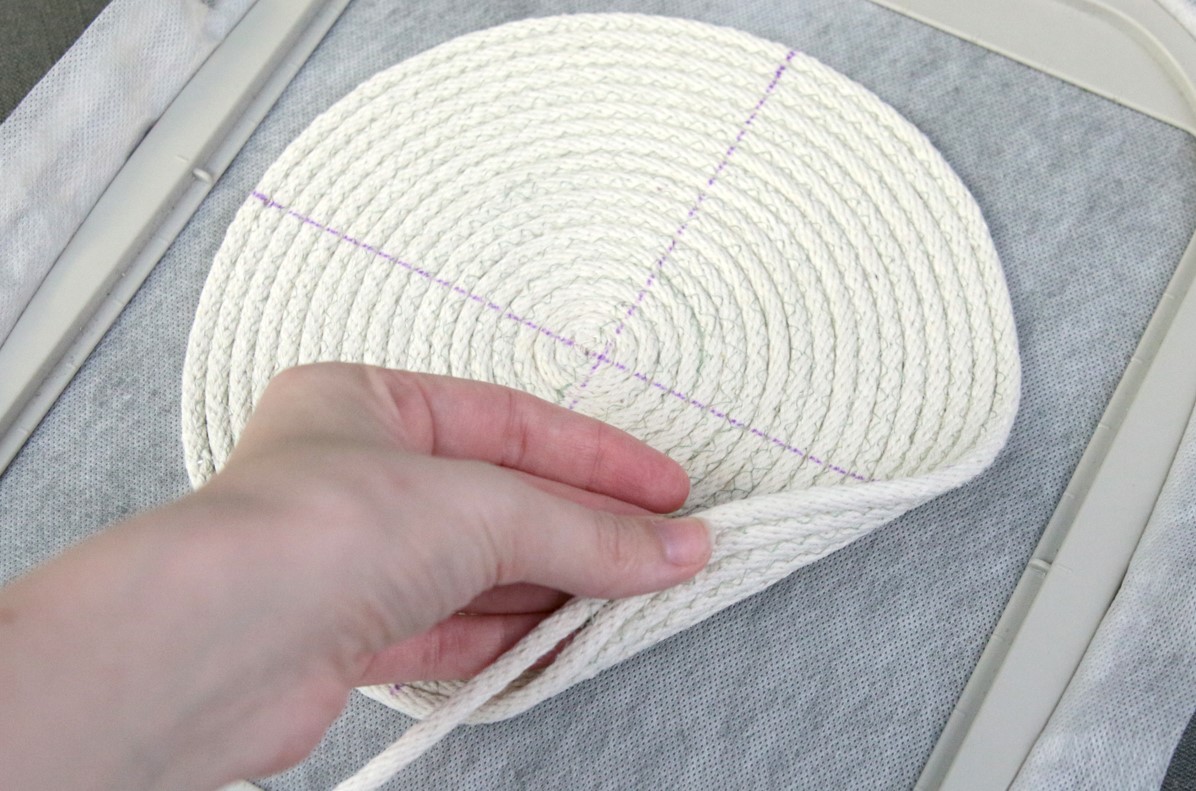
Spray the backside of the coil base with temporary spray adhesive, and smooth the base onto the hooped stabilizer.
Make sure to match up the drawn axis lines on the coil with the four marks on the hoop. Doing so ensures that the design will sew perfectly in the center of the coil and will not sew over the edge.
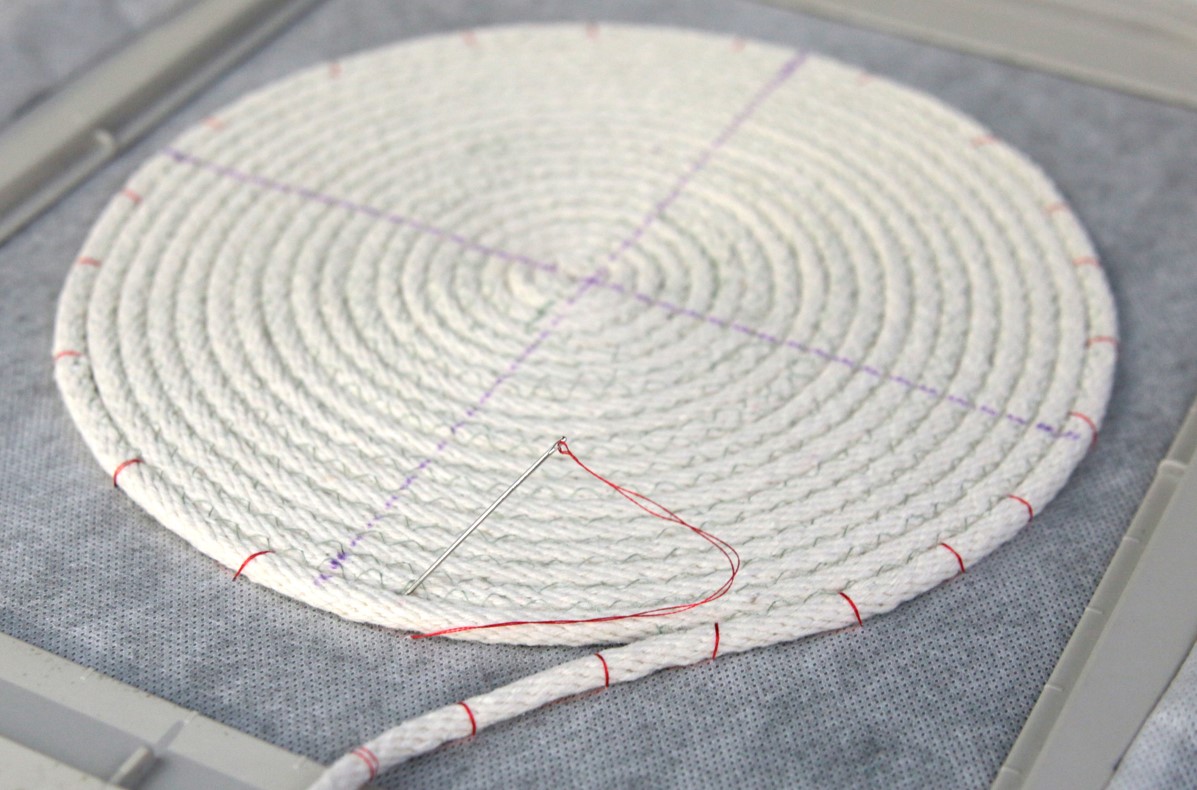
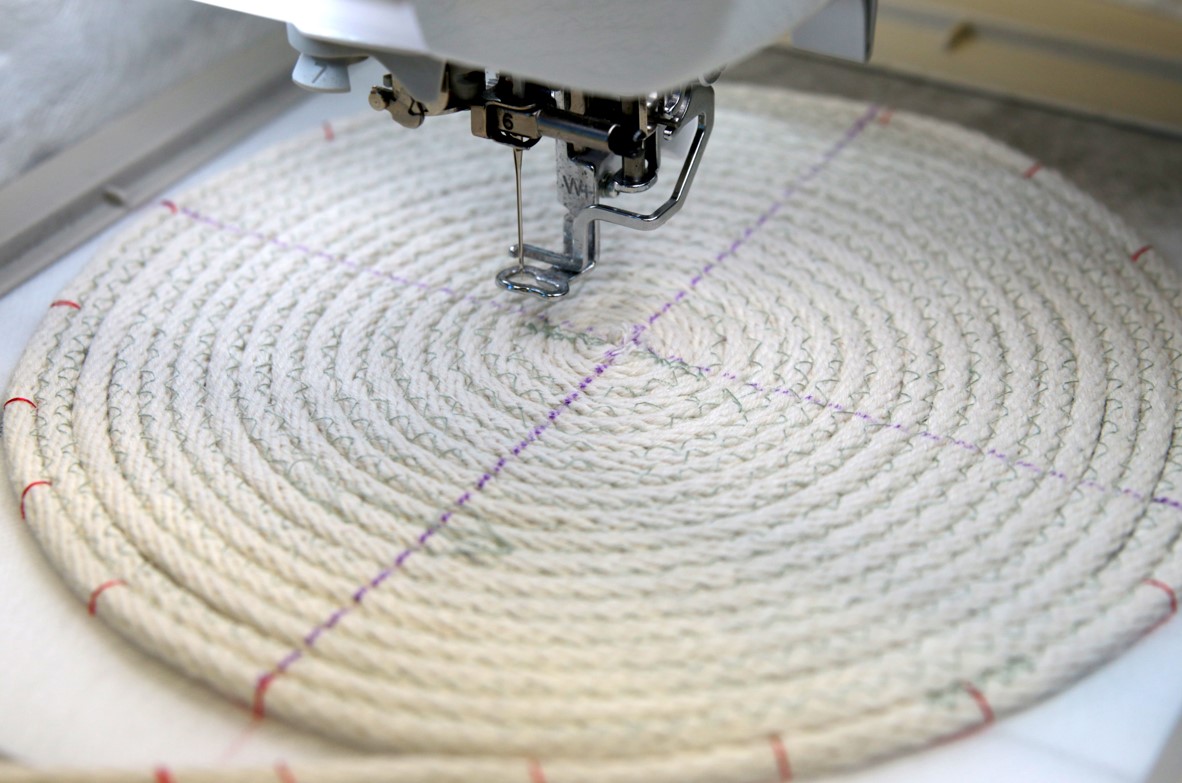
With a hand sewing needle and thread, hand sew the coil onto the stabilizer. You only need to sew around the outer edges of the coil. Make sure the base is kept smooth and flat against the stabilizer and that it stays lined up with the marks on the hoop.
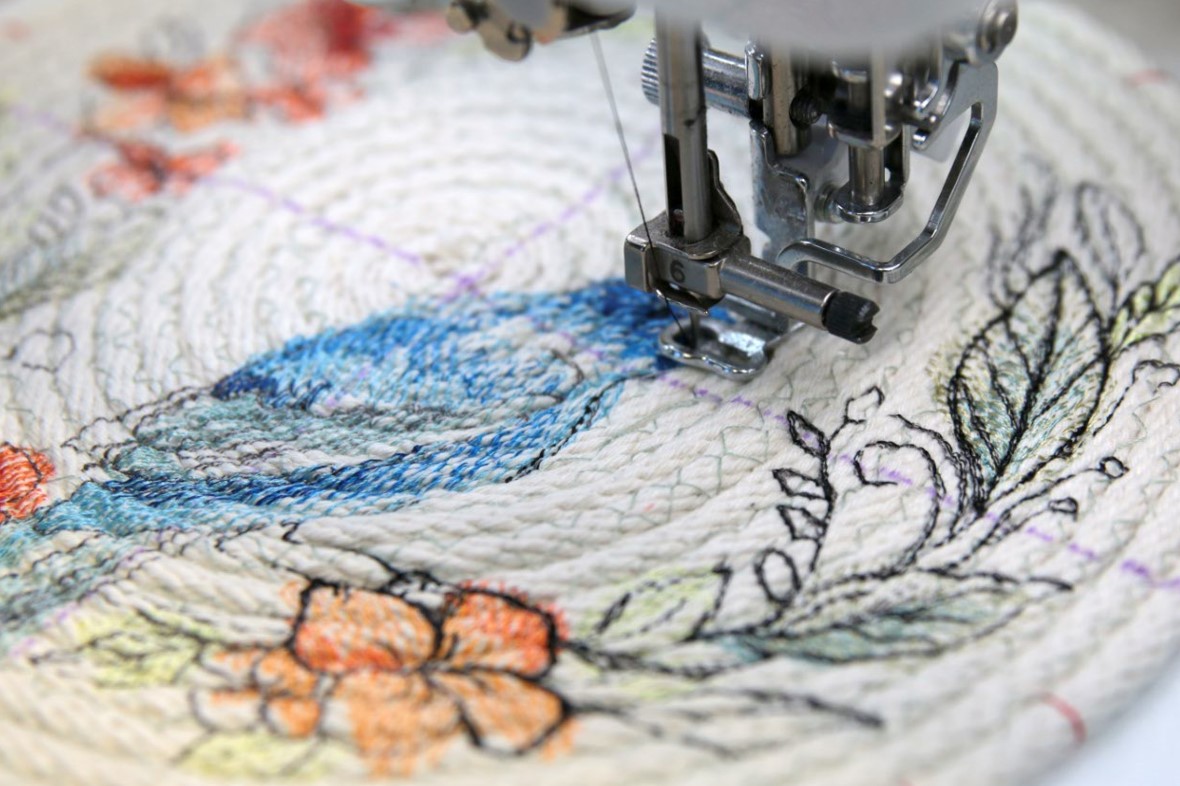
Attach the hoop onto the embroidery machine and center the needle over the center of the drawn lines. Load the embroidery file. For this project, we recommend using a 75/11 sharp sewing needle. This type of needle has a finer point and will make smaller perforations in the stabilizer and rope. Follow the color change sheet and embroider the entire design.
When the design has finished sewing, remove the hoop from the machine. Using a seam ripper, remove the basting stitches.
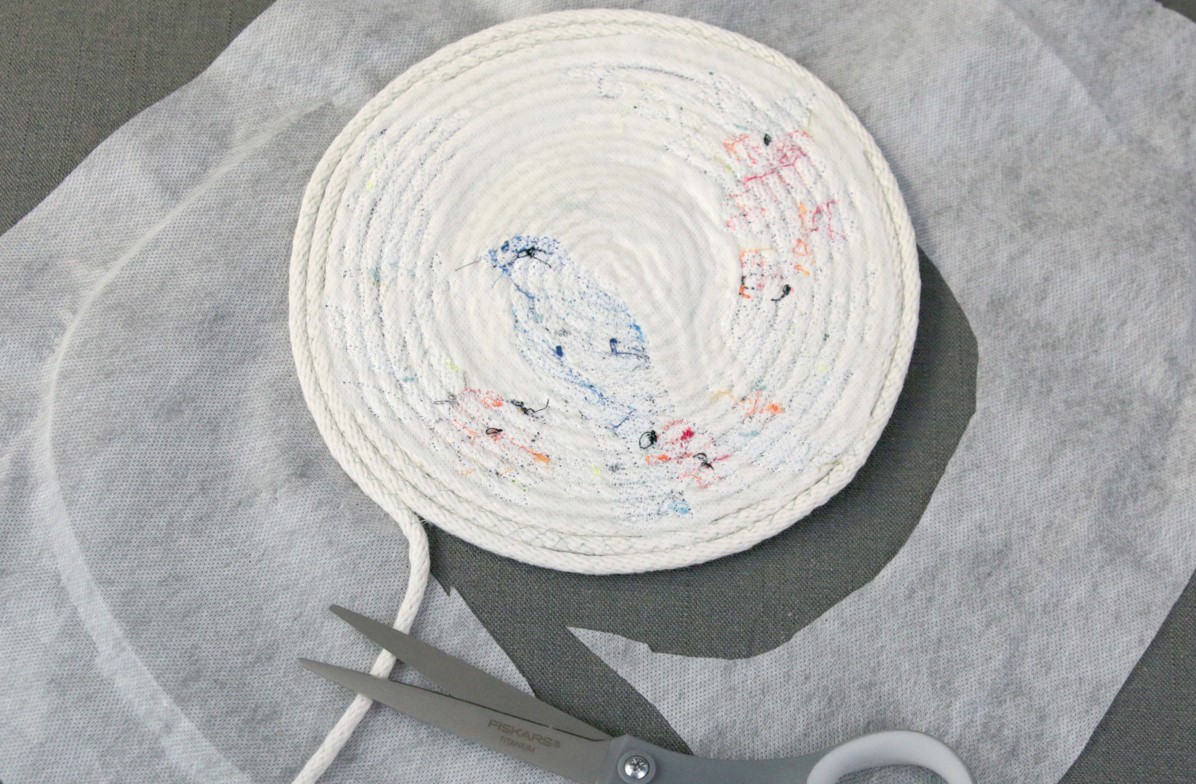
Once all of the basting stitches have been removed, trim away the excess stabilizer from around the back side of the embroidery.
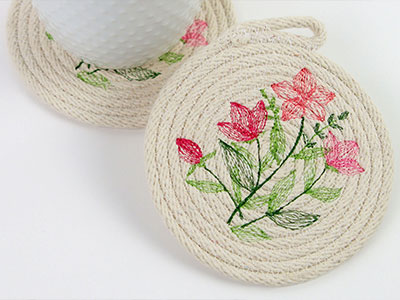
At this point, if you wish to make a coaster, placemat, or trivet, slowly stitch the raw end of the rope into a loop. Make sure to backstitch a little so the stitching doesn't unravel over time. To make a basket, do not cut the rope or create a loop. Continue onto the next step.
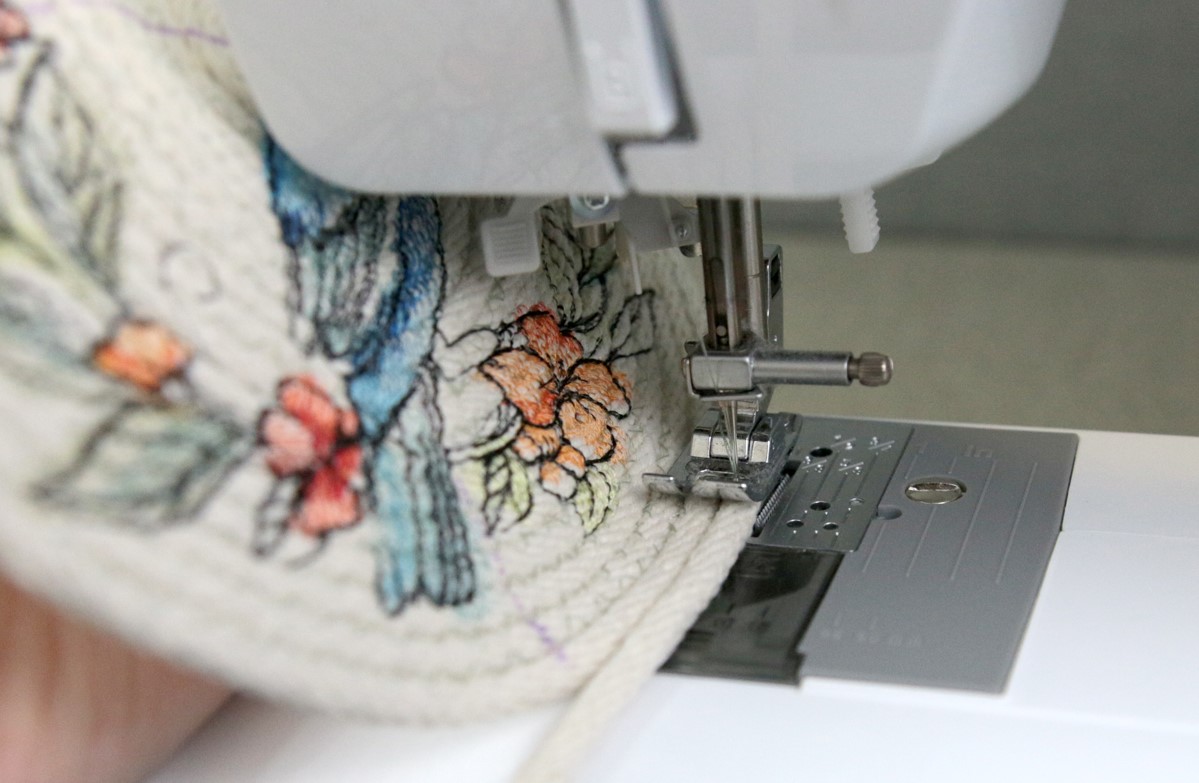
To sew the sides of the basket, place the coil back under the sewing machine, so the foot is right over where you stopped sewing before. Make sure the coil is still going clockwise.
Place your hand under the base, and tilt it up. Be careful, but keep your hand as close as possible to the foot of the machine. Keep it as close as you are comfortable.
With the base tilted up, begin to sew the tail onto the outer edges of the rope coil. Again, you will be using a zigzag stitch. Make sure to backstitch a little at the start so the stitching doesn't unravel. Because you are tilting the base up, the walls will begin to form.

Carefully continue to stitch as the walls are created. Keep the excess rope uncoiled at your feet as you sew. The more you tilt the base up, the steeper the walls will be.
Keep sewing until you're happy with the height of the coil basket's walls. For this demonstration, we made the walls of the basket about 3" tall.
To finish the basket, trim the tail of the rope so that it is about 5"-6" long.
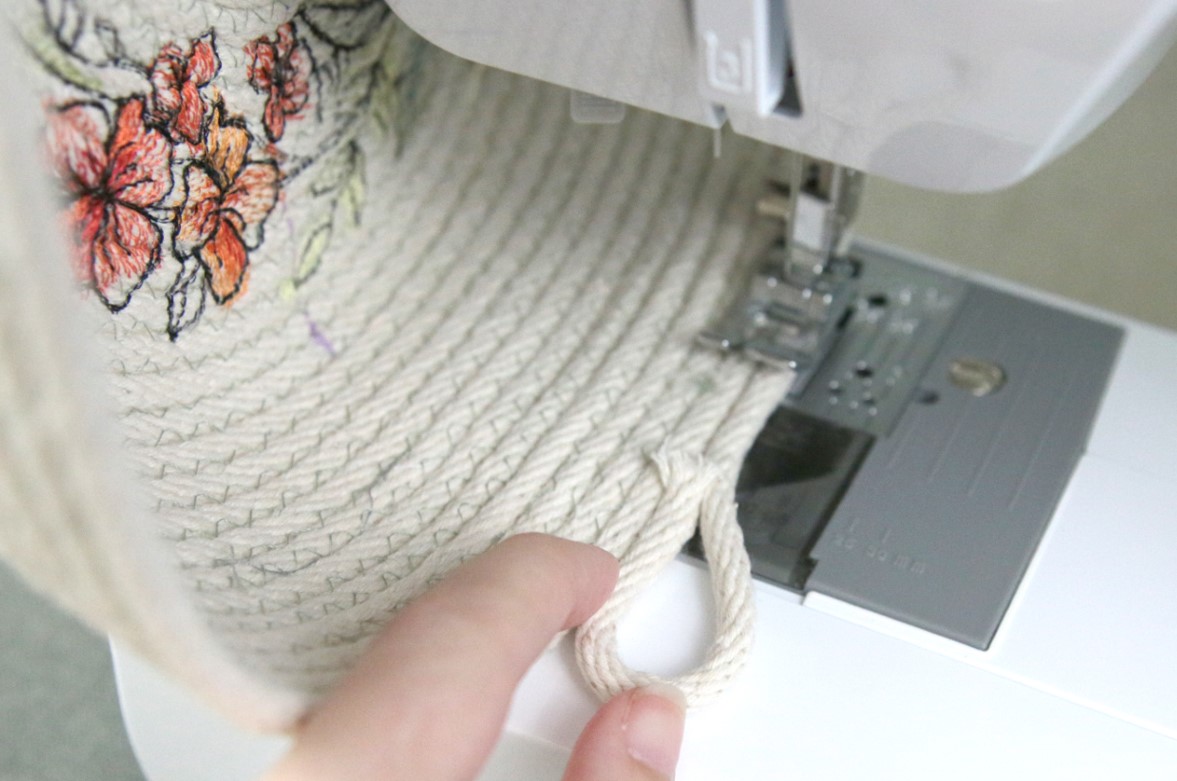
Create a loop by turning the end of the rope in. Make sure that it sits between the outer most layer of the basket and the remaining, un-sewn section of the tail.
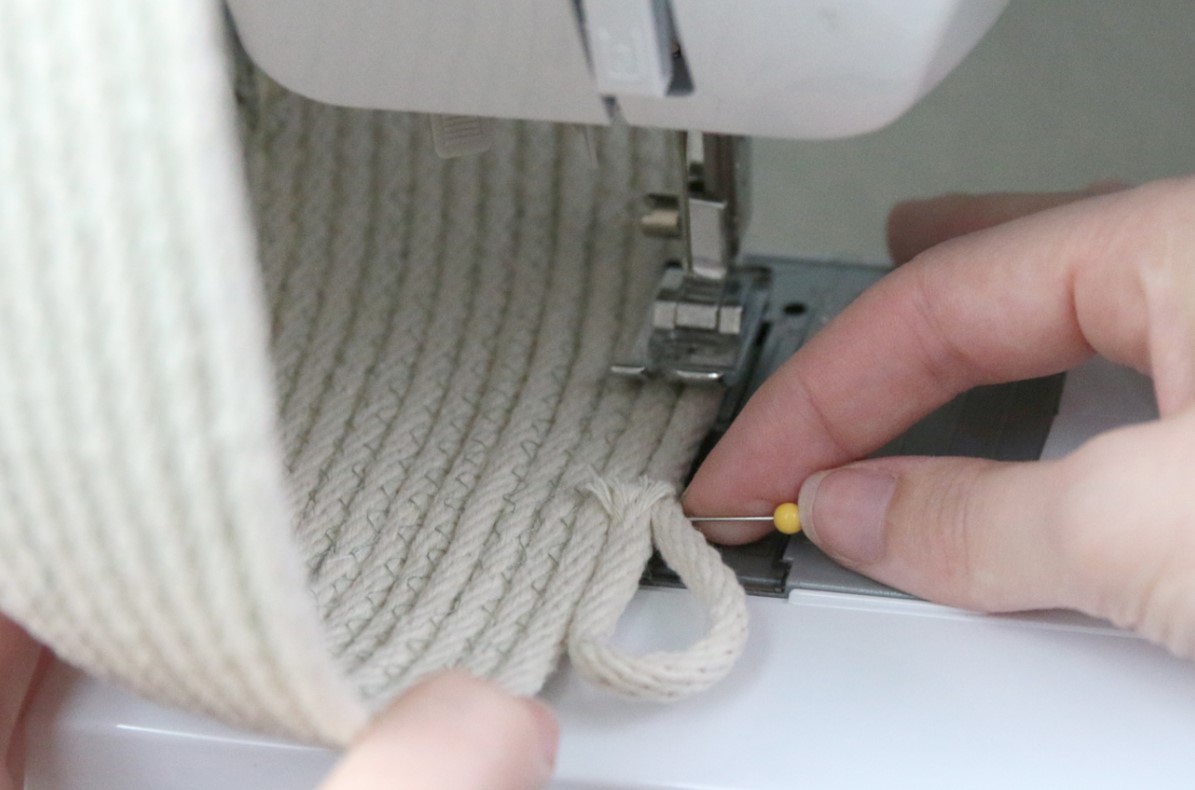
To help hold the hoop in place, carefully pin it where you would like the loop to start.

Slowly stitch the last of the tail onto the basket. Sew the raw end of the rope both to the top edge of the basket as well as the start of the loop. Make sure to backstitch a little, so the stitching doesn't unravel over time.
Follow the manufacturer's instructions to remove the remaining water-soluble stabilizer. For Vilene, simply soak the basket in water for a few hours. If desired, you can even hand wash the basket.


