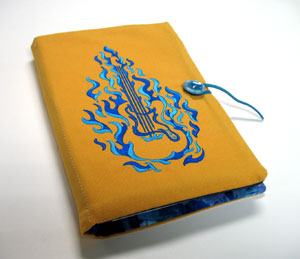
Dress up a sketch pad and protect your artwork at the same time with this stylish sketch pad holder!
Customize the holder by choosing fun embroidery designs and coordinating fabrics that match your artistic style.
Read below for these free project instructions!
Supplies
Supplies Needed:
**1/2 yard twill, denim, or lightweight canvas (for outer shell)
**1/2 yard print cotton (for inner lining and inside right pocket)
**1/4 yard denim (for inside left pocket)
**Medium weight cutaway stabilizer
**Air-erase pen (or other marking tool)
**Temporary spray adhesive
**Stiff (heavy weight) interfacing
**8 inch length of leather lacing
**1 inch button
**Sketch pad or note pad (ours is 6 inches wide by 8 1/2 inches high by 1 inch thick - 5 1/2 inch wide by 8 1/2 inch high pages)
Designs used:
Flaming Guitar - Md
Flaming Skull - Sm
Finished size:
6 1/2 inches wide by 9 inches high by 1 inch thick
Designs Used
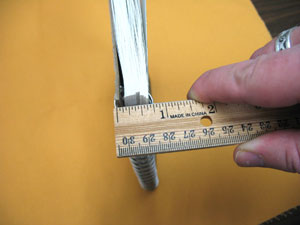
To begin, we will measure our sketch pad so we can custom fit the cover. Measure the width, height, and thickness at the thickest part of the pad (in our case it is the spiral binding). Our pad measures 6 inches wide by 8 1/2 inches high and about 1 inch thick.
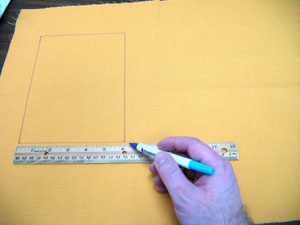
Using an air-erase pen (or other marking tool), draw a rectangle on the left side of the outer shell fabric using the width and height pad measurements - this will be the back of the cover.
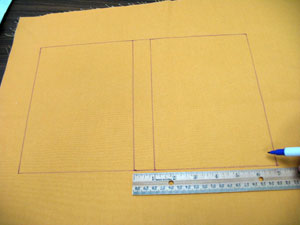
Draw another rectangle along the right side of the first rectangle using the thickness measurement - this will be the spine of the cover. Then, draw a third rectangle to the right of the spine using the width and height measurements - this will be the front of the cover.
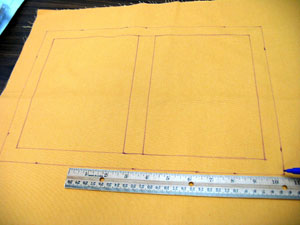
Measure out 3/4 inches all the way around the entire shape then draw lines to connect the marks.
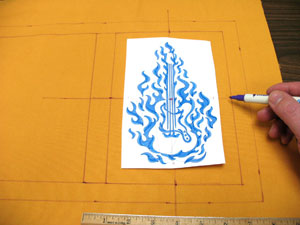
Now, let's prepare the front cover (the right side) for embroidery! Mark the center of each side of the inner shape by measuring and dividing by two. Then, draw lines to connect the marks - where the lines meet is the center.
If you have embroidery software, print a template of the design to use for placement. If you don't have embroidery software, you can cut a piece of paper the shape and dimensions of the design to help with placement and centering. Trim around the design to make it easy to place.
Poke a hole in the center of the template and align it with the center point on the fabric. Make sure the design fits well within the inner shape. There should be at least one inch of space between the edges of the design and the edges of the inner shape.
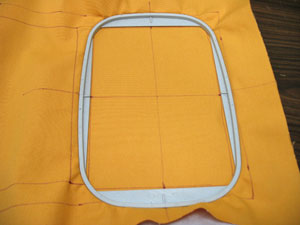
Spray a piece of cutaway stabilizer with temporary adhesive and smooth the fabric on top. Hoop the fabric and stabilizer together by aligning the marks on the hoop with the lines on the fabric. Attach the hoop to the machine and load the design. Move the hoop so that the needle is directly over the center point on the fabric. Embroider the design.
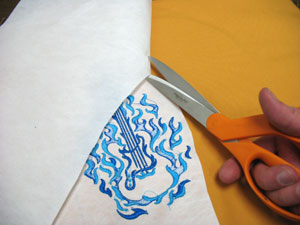
When the design has finished, trim away the excess stabilizer on the back of the embroidery.
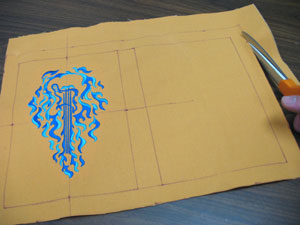
Cut out the shape of the outer shell by cutting along the outer lines.
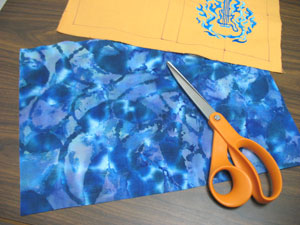
To prepare the inner lining of the cover, cut a piece of print cotton the same size as the outer shell.
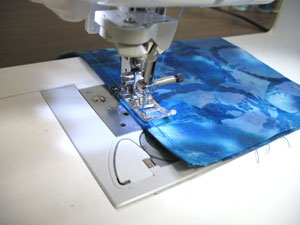
For the sketch pad pocket (the right inner pocket), take the width measurement of the inner lining piece multiplied by 0.38. Then, take that number and multiply it by two - this is the width dimension of the right pocket piece. Use the same height measurement as the inner lining piece. Our inner lining piece is 14 1/2 inches wide, so 14 1/2 multiplied by 0.38 is 5 1/2 inches and 5 1/2 inches multiplied by two is 11 inches. Our right pocket dimensions are 11 inches wide by 10 inches high. Cut the piece from the print fabric, fold it width-wise and press the fold with an iron. Then, sew a 1/4 inch seam along the folded edge only.
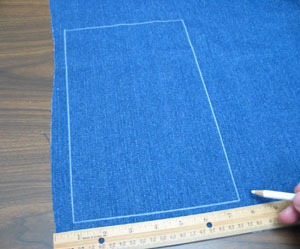
For the left inner pocket, first measure the front (right side) of the outer shell from the right outer edge to the spine. This will give you the width of the left pocket fabric. Measure the front of the outer shell from the top edge to the bottom edge - this is the height of the left pocket fabric. Draw a rectangle on the left pocket fabric using these dimensions (ours is 6 3/4 inches wide by 10 inches high).
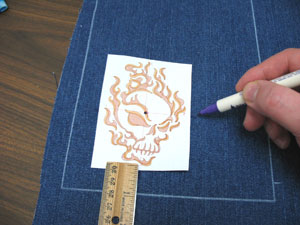
Print or draw a template of the design. Poke a hole in the center of the template and position it in the lower left corner of the shape with about one inch of space between the edges of the design and the edges of the shape. Mark the center point and the axis points with an air-erase pen (or other marking tool).
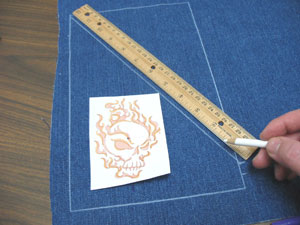
Measure and mark about one inch up from the bottom right corner. Then, draw a line from that mark up to the upper left corner.
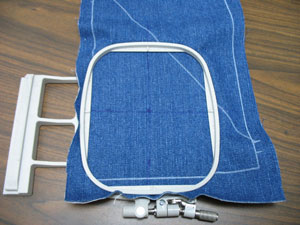
Remove the template and draw lines to connect the axis points. Spray a piece of cutaway stabilizer with adhesive and smooth the fabric on top. Hoop the fabric and stabilizer together by aligning the marks on the hoop with the lines on the fabric. Embroider the design as you did before and trim away the excess stabilizer when the design is complete.
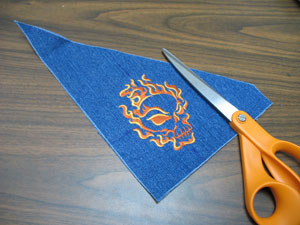
Cut out the shape by cutting along the left and bottom side and along the angled line on the right.
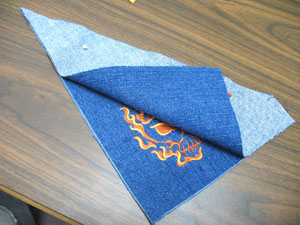
Lay the embroidered pocket piece on top of another piece of denim, right sides facing, pin together, and cut out the shape.
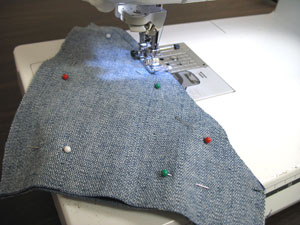
Sew a 1/4 inch seam along the angled right side only.
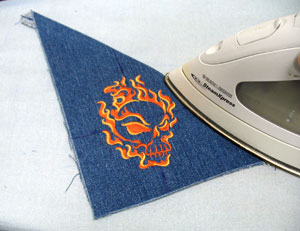
Turn the pocket right side out, press the seam, and top stitch a 1/4 inch seam along the right angled side only.
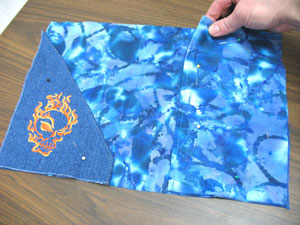
It's now time to assemble the cover! Lay the inner lining piece right side up. Then, align the right pocket on top of the inner lining along the right side with the seamed folded edge facing in. Then, align the left pocket with the left side of the inner lining with the left bottom corners aligned. Pin all in place then sew a 1/4 inch seam along the outer edges of the pockets.
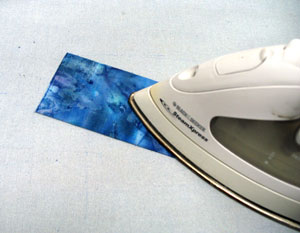
To make pencil/pen pocket, measure the area between the left and right pockets. Take this measurement and multiply it by two. Measure about halfway up the spine starting at the bottom - this is the height of the pencil pocket fabric. Cut a piece of the print cotton, fold it widthwise and press. Sew a 1/4 inch seam along the top edge and the raw side edge. Turn the pocket right side out, press, then sew a 1/4 inch seam around the entire outer edge.
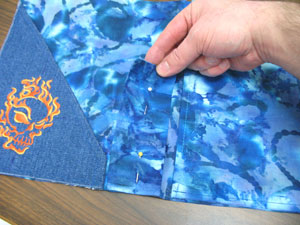
Pin the pencil pocket between the right and left pockets with the bottom raw edge aligned with the bottom of the inner lining.
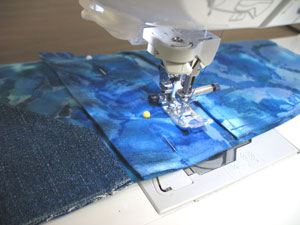
Sew a 1/4 inch seam along the side and bottom edges of the pocket.
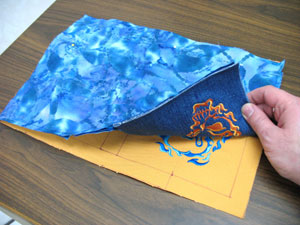
Now, lay the outer shell flat and align the inner lining on top, right sides facing. Align the left pocket with the front of the outer shell, the right pocket will then be aligned with the back of the outer shell. Pin in place.
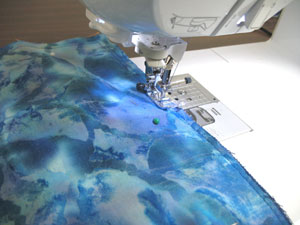
Sew a 1/2 inch seam along the top edge, the right edge (the side with the left inner pocket and front of the outer shell), and the bottom. Be sure to leave the left side open for turning.
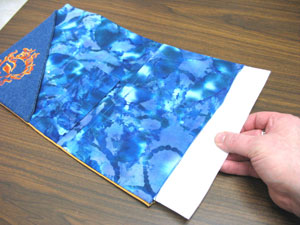
Turn the cover right side out and press the seams.
Prepare the interfacing for the inside of the cover by taking the original pad measurements and subtracting 1/4 inch from each dimension (our pad measurements are 6 inches wide by 8 1/2 inches high. So, we cut the interfacing 5 3/4 inches wide by 8 1/4 inches high). Cut two pieces of interfacing using these dimensions. Then, insert the first piece inside the cover and slide it all the way through to the left side. Insert the second piece about halfway inside the cover (so that it is a couple of inches from the opening in the cover).
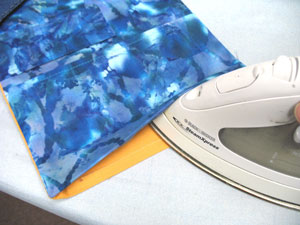
Fold the opening in 1/2 inch and press.
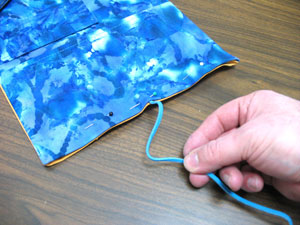
Cut a 8 inch length of leather lace and insert it between the layers of the opening in the center of the right side. Pin in place and sew a 1/4 inch seam along the right side. Sew back and forth over the lace to reinforce the hold.
Now, work the second piece of interfacing into the right side of the cover.
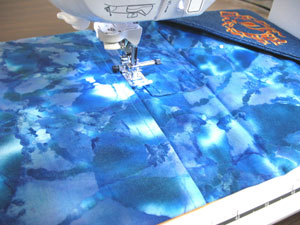
Sew a seam along the right side of the spine right in between the right pocket and the pencil pocket.
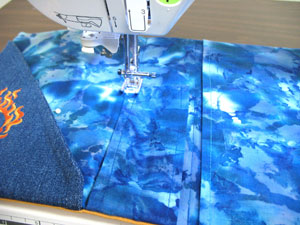
Also, sew a seam along the left side of the spine in between the pencil pocket and the left pocket.
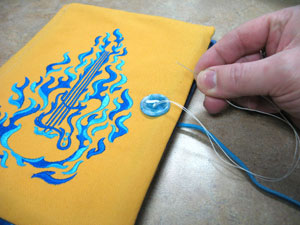
Sew a 1 inch button on the right center of the front of the cover. Make sure you only sew through the top layers and not through the left inside pocket.
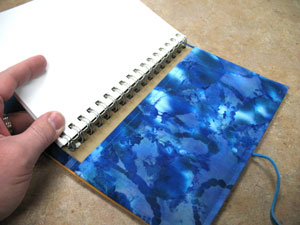
Insert the back cover of the pad inside the right pocket and you're ready to go!
