
It's a fabulous Fabric Wreath -- stuffed, and full of good old country style!
On your front door, this fabric wreath will softly welcome neighbors, friends, and family to your home for Christmas. Or change the designs to suit the season and every cozy, country occasion.
Select fabrics and designs to complement your home decor, and complete the look by decorating your wreaths with fringed, homespun ribbons.
The finished size for this wreath is 17 inches in diameter.
Supplies
Supplies needed:
** 1/2 yard quilter's cotton
(2 colors - 1/4 yard each)
** 3/4 yard flannel
** 3/4 yard polyester felt
** 1/2 yard cotton homespun fabric*
** Polyester fiberfill
** Medium weight, cutaway stabilizer
** Temporary spray adhesive
** Air-erase pen
** Masking tape
** Small plastic ring
** Needle and thread for some hand sewing
* Homespun fabric is a loosely woven fabric, usually of wool or linen, hand-loomed from hand-spun yarns. Kenny chose this type of fabric to make the ribbon ties because the weave is loose and it frays into fringe easily.
Designs Used

Preparing the pieces
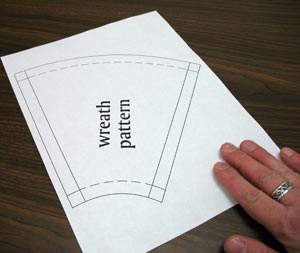
Click the link above to download the free pattern. The front of the wreath is made up of eight separate pieces. Print eight copies of the pattern.
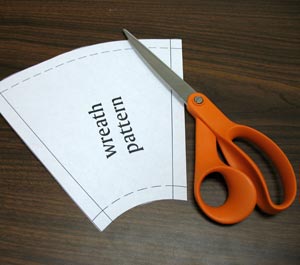
Cut out the shape of the patterns along the outer line.
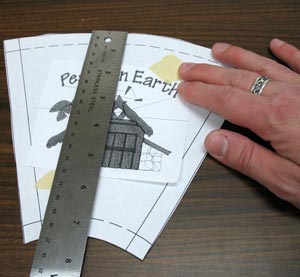
Create paper templates of the designs by printing them at full size. Cut around each design to make the templates easy to manage.
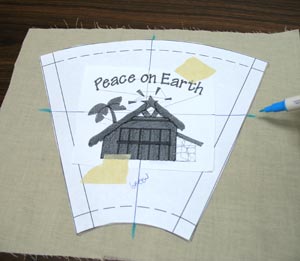
Position the templates on the pattern pieces. We started with the top piece. Place the template on top of the pattern and measure equal distances from the edges of the design to the edges of the pattern. Tape the template in place with a couple pieces of masking tape.
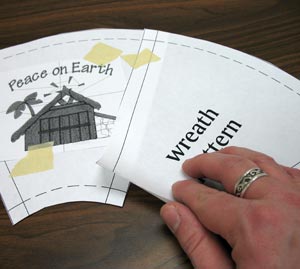
Align the next pattern piece (to the right) with the top piece. Align the inner lines of the pattern pieces together as shown (the pieces will overlap 1/2 inch). Tape the pattern in place.
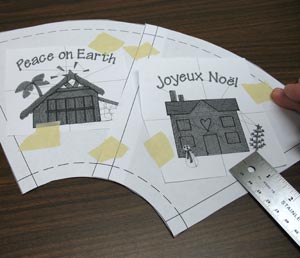
Add the second design template on the pattern piece you just added. "Eyeball" the template so that it is oriented the same as the top design. Then, measure equal distances between the edges of the design and the edges of the pattern. Tape the template in place.
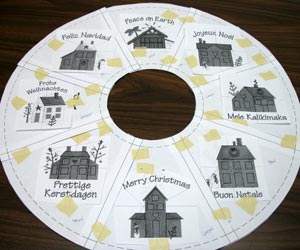
Continue adding the pattern pieces and design templates (working clockwise) around the entire shape.
Orient the designs with the top-most piece.
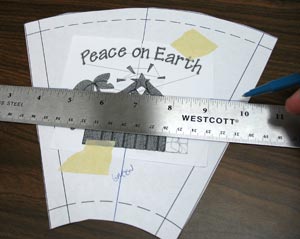
Next, separate the pattern pieces by removing the tape, but leave the templates in place. Draw lines extending the horizontal and vertical axis points of the templates out of the edges of the pattern pieces. These lines will be used for marking the design placement onto the fabric.
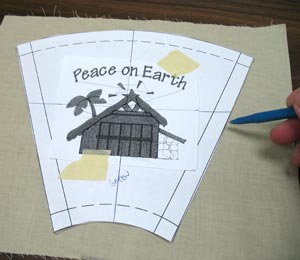
Cut a piece of the quilter's cotton a bit larger than the top pattern piece. Lay the pattern on the fabric and trace the shape.
With an air-erase pen, mark the horizontal and vertical axis points on the fabric.
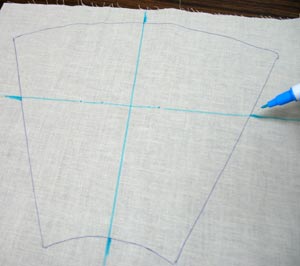
Remove the template and draw lines connecting the marks. Where the lines meet is the center point of the design.
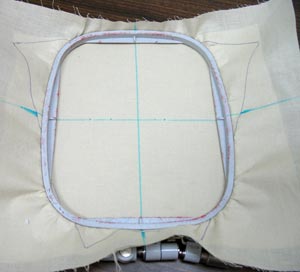
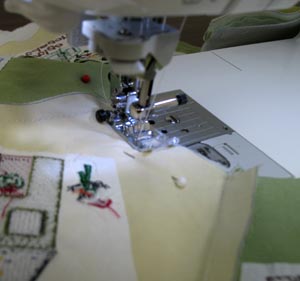
Hoop the fabric with cutaway stabilizer that has been sprayed with temporary adhesive. Hoop the fabric and stabilizer together by aligning the marks on the hoop with the lines on the fabric.
Attach the hoop to the machine and load the design. Align the needle over the center point on the fabric and embroider the design.
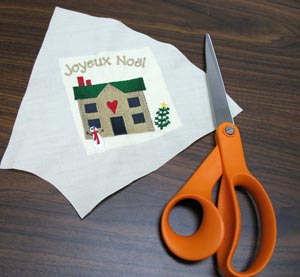
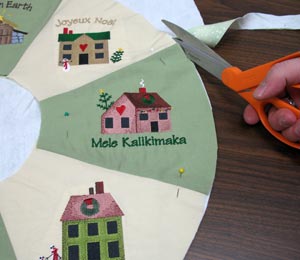
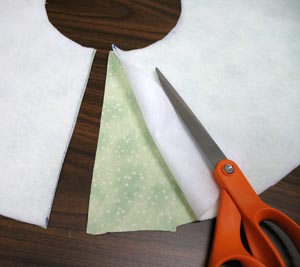
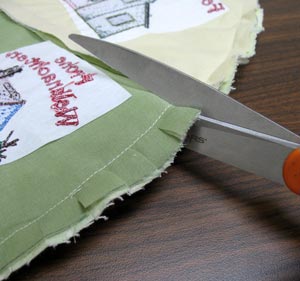
When the design has finished, trim away the excess stabilizer and cut out the shape.
Repeat the hooping and embroidering process for each piece.
Assembling the front pieces
Lay the top piece with the right side up and align the second piece on top with the right sides together. Pin in place along the right side. Sew a 1/2 inch seam along the pinned side.
Next, lay the pieces flat and add the third piece by aligning it on top of the second piece with the right sides together. Pin in place along the right side and sew a 1/2 inch seam. Continue this process around the entire shape. Do not sew the first and last pieces together -- they need to stay unattached so the wreath can be turned later on.
Press the seams flat on the back of the fabric. Press the seams towards the darker pieces of fabric.
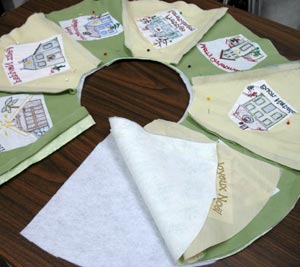
Preparing the back and inner pieces
Now we will prepare the flannel for the back piece and felt for the inner piece. (Adding white felt to the inside of the wreath will soften the edges of the stabilizer that tends to show through the light-colored quilter's cotton.)
Lay the front piece on top of the flannel and the felt, pin in place, and cut out the shape along both the outside and the center of the shape.
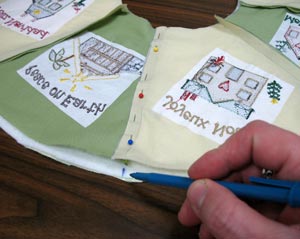
Lay the front piece on top of the back and inner pieces and mark the fabric on the inner and outer edge along the open seam of the front piece.
Remove the front piece, draw a line connecting the marks, and cut along the line. Cut through both the back and inner fabrics.
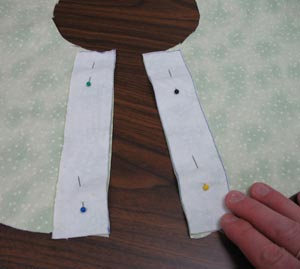
Cut two 1 1/2 inch by 7 1/4 inch pieces of flannel. (These pieces will be "extenders" for the ends of the back piece.) Align the long sides of the pieces with the ends of the back piece with the right sides together. Pin in place and sew a 1/2 inch seam along the inner edges.
Then fold the pieces over and finger press the seam. Top- stitch a 1/8 inch seam along the folded edges.
Assembling the wreath
Lay the layers together with the felt first, the flannel on top with the right side up, and then the front piece on top of the flannel with the wrong side up.
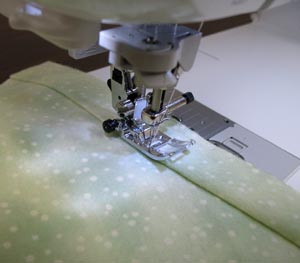
Sew a 1/2 inch seam along the inner and outer edges. Start and stop 1/2 inch from each end. Leave the cut ends open for turning.
Cut slits in the seam allowance along the inner and outer edges about every 1/2 inch. Be careful not to cut the seam!
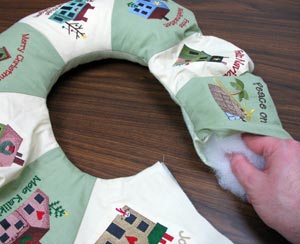
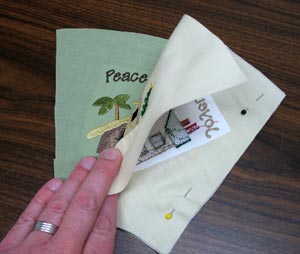
Turn the wreath right side out between the front and back fabric. Stuff it with the fiberfill, by adding it between the felt and the back piece of fabric.
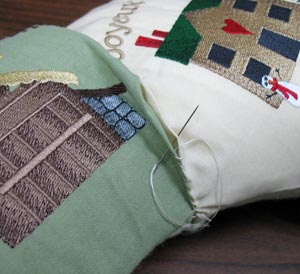
Turn the cut ends 1/2 inch to the inside, and sew together with needle and thread.

Creating ribbon ties
Fold the homespun fabric in half, creating two layers. Mark every inch along the short ends. Sew a 1/4 inch seam on both sides of each mark. (These seams will keep the ribbon from fraying completely.)
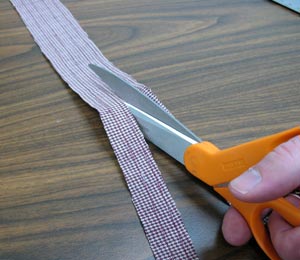
Cut strips of ribbon by cutting at the marks, following down between the seams. You will create 8 strips of fabric that are 18 inches long. Wash and dry the ribbon to create the fringe. After drying, trim away the excess threads.
Tip: If you throw all the ties in the washer together, they may come out in a knot. Use a large safety pin to hold one end of all the ties together. Then use another safety pin to hold the other ends together. Remove the pins before putting the ties in the dryer.
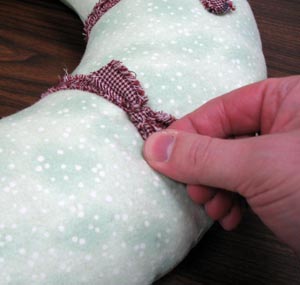
Wrap the ribbon around the wreath at each of the seams, tie a knot in the back, and trim away the excess.
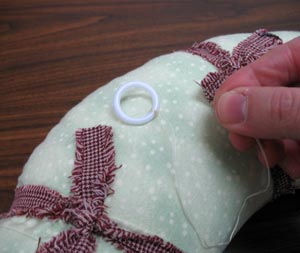
To create a hanger, sew a small ring to the back panel of the top center design.

This wreath will fill your home with country charm!


