Take all the reasons you love sweatshirts -- they're soft, cozy, colorful, and sturdy -- and then add one more: they can be turned into a handy tote!
With some measuring, cutting, and stitching, you can create a very cute bag (with a pocket!) With clever cutting the bag can made with almost one continuous piece. The pocket and embellishments are made from the scraps. Add embroidery you love, and this bag becomes a real keeper.
Read below for these free project instructions!
Supplies
Supplies Needed:
**A crewneck sweatshirt (we used a men's medium size)
**Medium weight cutaway stabilizer
**Air-erase pen (or other marking tool)
**Temporary spray adhesive
**5/8 inch ribbon
**Needle and thread for some hand sewing
**Small pom-poms for embellishments (optional)
Designs used:
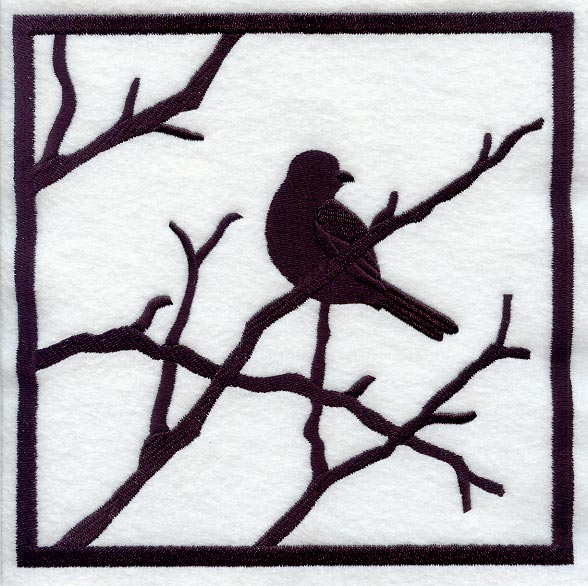
I used the medium size of Green is the New Black and the small size of Bird's Eye View Silhouette. Australian Wildflowers and Country Go 'Round designs would be very cute on a sweatshirt tote, too.
Finished Size:
11" wide by 9 1/2" high with a 45" handle
**We used a men's medium size sweatshirt for this project. You may use any size
sweatshirt you would like, but keep in mind, the final size of the bag will depend
on the original size of the sweatshirt.
Designs Used


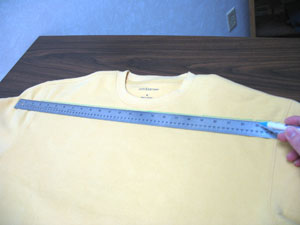
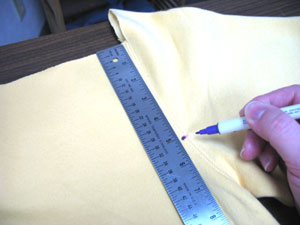
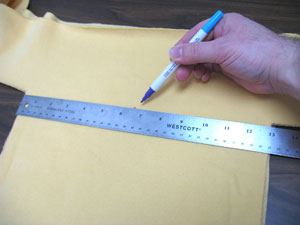
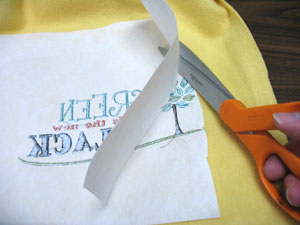
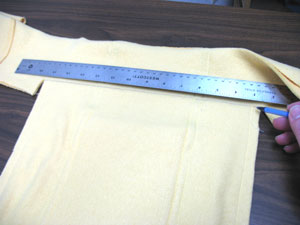
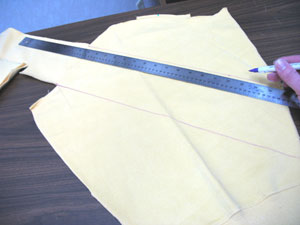
To begin, "square off" the top of the sweatshirt. To do this, lay the shirt flat with the right side up. Using an air erase pen (or other marking tool), draw a horizontal line between the side shoulder seams just under the bottom of the collar.
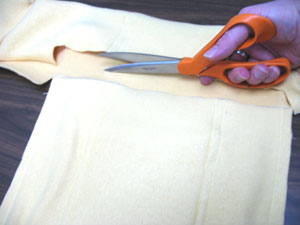
Cut out the shape along the line you just drew and the shoulder seams - cut through both the front and back layers. You can pin the layers together before cutting if they shift around.
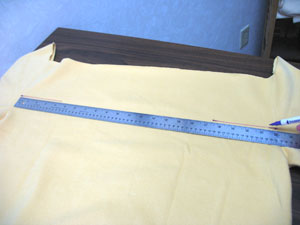
Measure and mark the sides so that they can be cut out as well. This reduces the width of the purse, making it a nice size. Measure and mark 5 inches down from the recently cut top edge along the shoulder seam. Do this on both shoulders.
Measure and mark 4-1/2 inches in towards the center of the shirt from the marks you just made. Then, draw lines to connect the marks.
Measure and mark 4-1/2 inches in from each bottom corner of the shirt and then draw vertical lines to connect the ends of the top lines with the marks you just made.
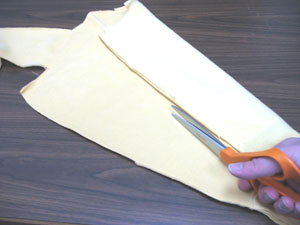
Cut out the shape following the drawn lines and the bottom of the shoulder seam. Be sure to cut through both the front and back layers of the shirt.
Let's prepare the fabric for the embroidery.
We are placing a design on one side of the bag and an embroidered pocket on the opposite side.
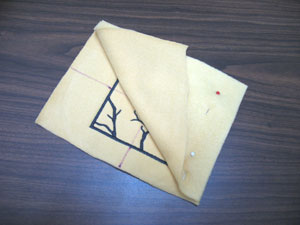
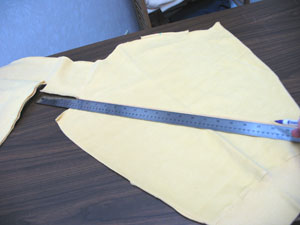
First we'll start with the side design. Lay the shirt flat with the front side facing up (lay the back layer aside). You will notice that after cutting, the shirt forms a "T" shape. Measure and mark the center of the fabric in between the bottom corners of the top of the "T" by measuring and dividing by two.
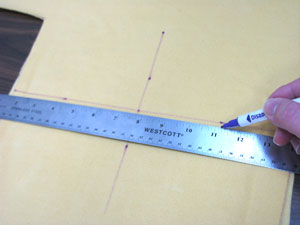
Measure and mark 4-1/2 inches down from each of the bottom corners of the top of the "T" along the sides. Draw a line to connect the side marks. Then, mark the center of the line by measuring and dividing by two. Finally, draw a line to connect the top center mark and the center mark on the line. These lines will be used for hooping.
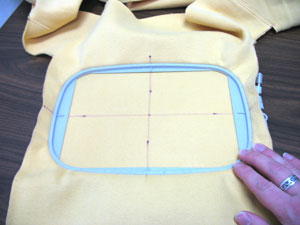
Create a paper template of the design by printing it at full size using embroidery software. If you don't have embroidery software, you can cut a piece of paper the shape and dimensions of the design to help with placement and centering.
Poke a hole in the center of the template and align it with the center point on the fabric. Make sure the design fits well within the space � there should be at least one inch of space between the side edges of the design and the edges of the fabric. Also, the design should not extend up past the bottom corners of the top of the "T".
Spray a piece of cutaway stabilizer with temporary adhesive and smooth the fabric on top. Hoop the fabric and stabilizer together by aligning the marks on the hoop with the lines on the fabric.
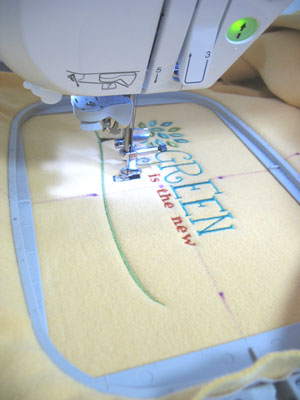
Attach the hoop to the machine and load the design. Move the hoop so that the needle is directly over the center point on the fabric. Embroider the design.
For more information on embroidering sweatshirts click here.
When the design has finished, unhoop the fabric and trim away the excess stabilizer on the back of the embroidery.
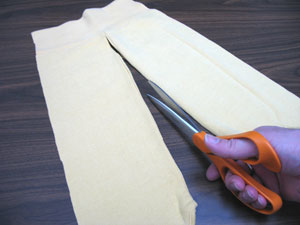
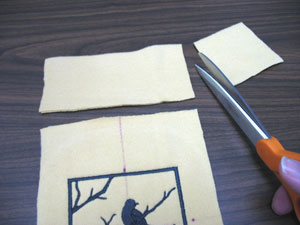
Next, we will prepare the pocket for the side of the bag. Take one of the scraps from the sides of the shirt and lay it flat. Then, cut the fabric in half along the seam.
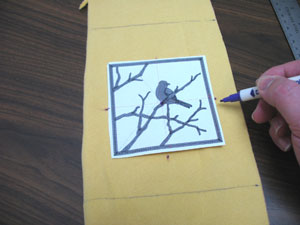
Draw a 6 inch wide by 7-1/2 inch high rectangle on the fabric (our fabric was already cut to 6 inches wide). Then, print a template of the design as you did earlier and position it about 4 inches from the top line to the center of the design. Center the design left and right by measuring and dividing by two. Poke a hole in the center of the template and mark the fabric. Also, mark the horizontal and vertical axis points.

Remove the template and draw lines connecting the axis marks. Then, spray a piece of cutaway stabilizer with adhesive and smooth the fabric on top. Hoop the fabric and stabilizer together by aligning the marks on the hoop with the lines on the fabric. Attach the hoop to the machine, load the design, move the hoop so that the needle is directly over the center point on the fabric and embroider the design.
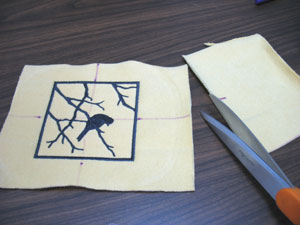
When the design is finished, trim away the excess stabilizer on the back of the embroidery. Then, cut out the shape.
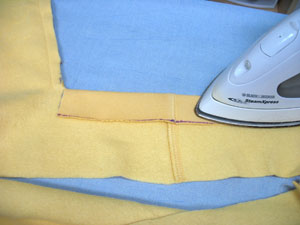
Cut another piece of shirt scrap to the shape of the embroidered piece - this will be the inside of the pocket. Align the pieces right sides facing and pin along the bottom edge.
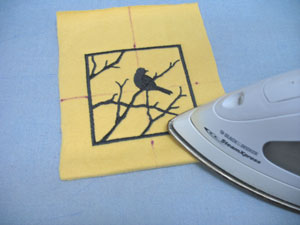
Sew a 1/4 inch seam along the bottom edge only. Then, fold the front and back of the pocket wrong sides together and press the bottom seam with an iron.
We will now create the top cuff of the pocket. Trim away any seam fabric along the bottom edge of the bottom cuff scrap of the shirt. Then, cut a piece of the cuff to the width of the top edge of the pocket.
Wrap the cuff around the top edge of the pocket with the raw edges on the backside of the pocket. Pin in place and sew a seam along the inner edge of the cuff (on the front side).
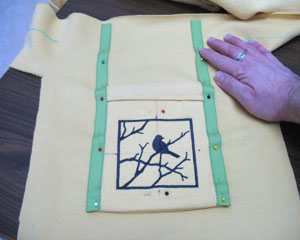
It's now time to attach the pocket.
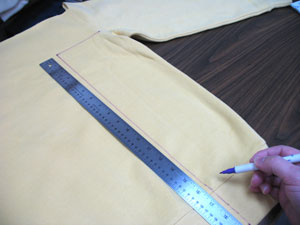
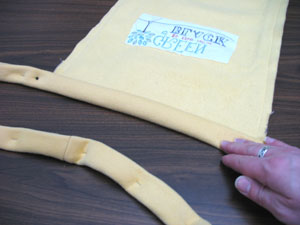
Lay the shirt with the back facing up (make sure the front layer is pushed out of the way). Lay the pocket on the back of the shirt with the top edge of the pocket about one inch from the bottom corners of the top of the "T". Center the pocket side to side by measuring equal distances between the edges of the pocket and the edges of the fabric. Then, cut two 12 inch strips of 5/8 inch wide ribbon.
Fold the bottom end of the ribbon over 1/2 inch and then lay the strips of ribbon over the sides of the pocket with the folded end aligned with the bottom corners of the pocket (half of the width of the ribbon should overlap over the edges of the pocket). Pin in place.
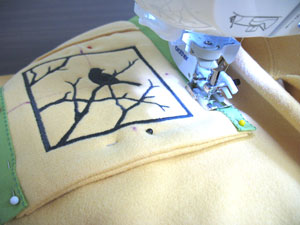
Sew a 1/8 inch seam all the way around the outer edges of both pieces of ribbon. Then, sew a 1/2 inch seam on the bottom edge of the pocket.
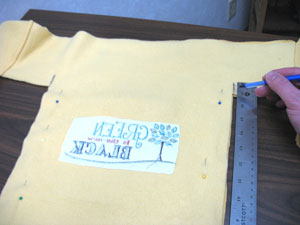
Now we will finish cutting the back and sleeves of the shirt in order to create the handles on the bag.
Align the front and back of the shirt right sides facing and pin along the sides. Draw a vertical line up one inch starting at the bottom corners of the top of the "T".
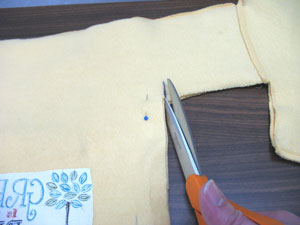
Cut slits in both layers of the fabric by cutting along the line you just drew.
Sew a 1/2 inch seam along the sides of the shirt starting one inch from bottom of the cuff and ending at the top of the slits (the one inch slits at the bottom cuff will wrap around the top edges of the bag later on).
On the back of the shirt, draw a horizontal line to connect the top of the slits.
Cutting the back layer only, cut along this line and along the shoulder seams. Do not cut the front layer on this step!
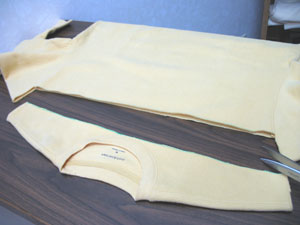
Next, cut along the bottom seams of the sleeves to open them up then, lay the sleeves flat.
Draw a vertical line across the sleeve using the bottom of the "T" as a guide.
Draw a vertical line across the sleeve using the top of the "T" as a guide.

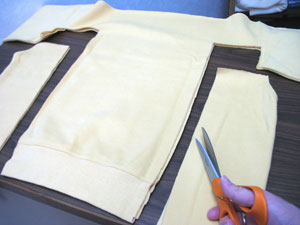
Square off the end of the fabric and cut out the shape. Do this on both sleeves.

Align the short ends of the sleeves right sides facing and pin in place. Sew a 1/2 inch seam along the short end only.
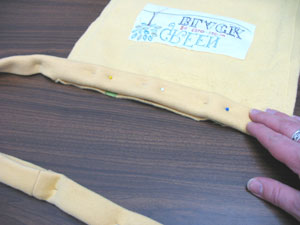
Fold the bottom edge of the "T" in one inch all the way around the loop and press in place.

Then, fold the top edge of the "T" in to meet the raw edge of the first fold and press.
Fold the folded edge of the top edge over to meet the folded edge of the first fold, press, and pin in place.
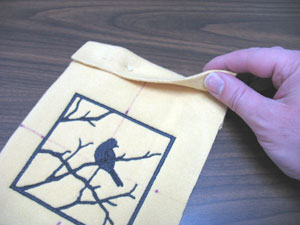
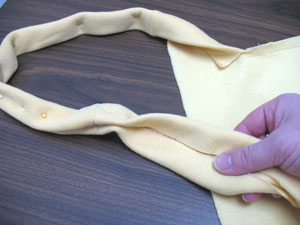
Fold the handle over the top edge of the bag then...
...fold again so that the top edge of the handle is aligned with the top edge of the bag and pin in place.
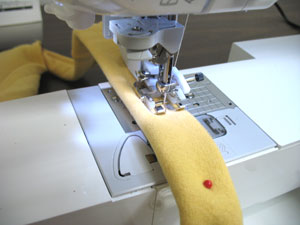
Sew a 1/2 inch seam along the open edge of the handle starting and stopping at the top corners of the bag.
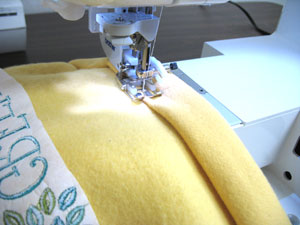
Now, sew a few stitches in the center of the handle at the top of the bag to tack it in place.
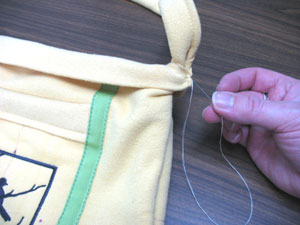
To create the lining of the bag, start by turning the bag right side out. Bring the bottom cuff of the bag up through the center and fold the cuff over the top edge of the bag. Wrap the cuff around the top corners of the bag and hand stitch in place. Then, hand sew the entire bottom edge of the bag closed. Also, sew a few stitches in the center of the cuff at the top of the bag on both sides to hold the cuff in place.
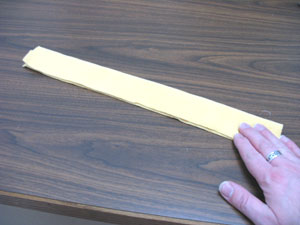
We added embellishments like a ribbon bow and fabric rosettes at the top edges. To make the rosettes cut a piece of scrap fabric 16 inches wide by 4 inches high. Fold the fabric lengthwise, press, and pin in place.

Fold the corners down as shown and pin in place.
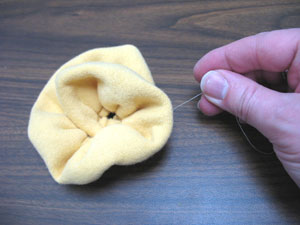
Using a basting stitch, sew a 1/2 inch seam along the raw edges only. Then, gently pull the bobbin thread to cinch the fabric. Form the fabric into a flower shape and hand sew the backside to hold it in place. Now, sew the rosette to the bag. We added a few small pom-poms inside one of our rosettes to add color and texture.
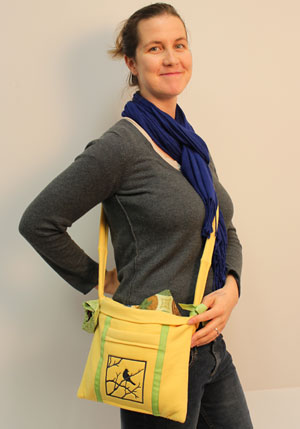
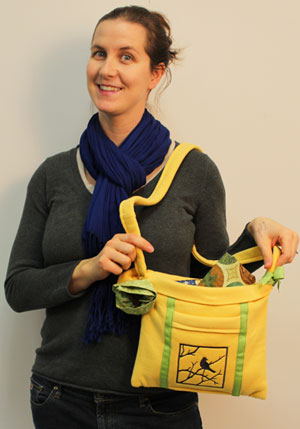
Soft yet sturdy, with a handy pocket, this sweatshirt tote bag is a refreshing change from the classic canvas. With embroidery designs on both sides, it looks charming, too!


