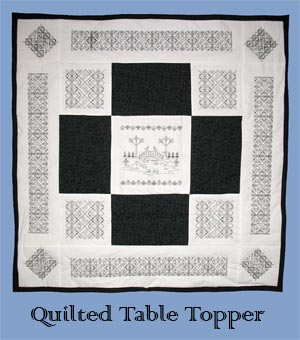
Top it off with a Quilted Table Topper!
This stunning table topper adds dramatic flair to any kitchen or dining table. Use it on a night stand or side table. Or hang it from a dowel for wall decor that makes a striking statement as fabulous wall art.
You will want one for yourself, but you'll want to make several as gifts for upcoming birthdays, bridal showers, weddings, and housewarming parties.
The finish size of this project is 42 x 42 inches.
Supplies
Supplies needed:
- 2 yards white quilter's cotton
- 1/2 yard cotton calico fabric
- 42 inch x 42 inch piece of quilter's cotton (for back)
- 42 inch x 42 inch piece of polyester batting
- 6 yards of 7/8 inch double-wide quilt binding bias tape
- Cut-away stabilizer
- Temporary spray adhesive
- Rotary cutter
- Quilting cutting mat
- Quilting ruler or straight edge
- Air-erase pen
- Dressmakers pencil or colored pencil
- Nylon monofilament thread
Designs Used:
** Blackwork Bird Pond Scene - Large; also available in Small and Medium
** Blackwork Birds and Blooms Square - Large and Small; also available in Medium and X-Large
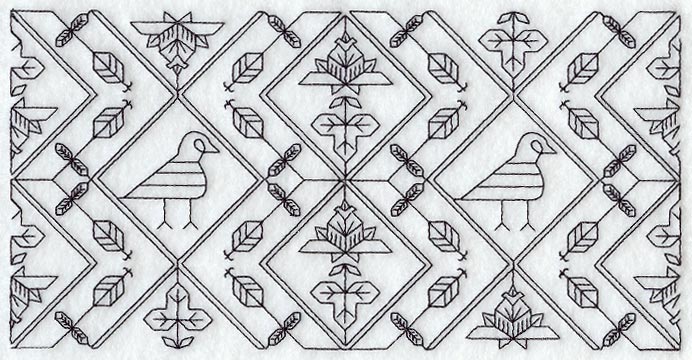
** Blackwork Birds and Blooms Wide Border - Small (Endless Hoop) also available in Blackwork Birds and Blooms Wide Border - Large
** Blackwork Blooms Border - Large; also available in Small (Endless Hoop)
Designs Used


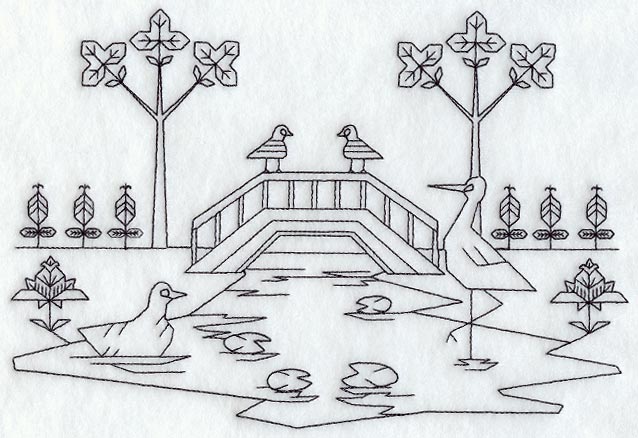
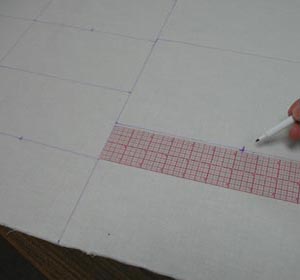
Begin by preparing the center fabric pieces for the top side of the quilt. This fabric will be embroidered. On white quilter's cotton, measure and mark one 12 1/2 x 12 1/2 inch square for the center and four 8 1/2 x 8 1/2 inch squares for the inner corners. Measure and mark the center of each square by measuring along the sides and dividing in two. Measure in between the side marks and divide by two -- this is the exact center of the square.
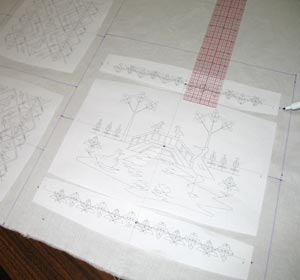
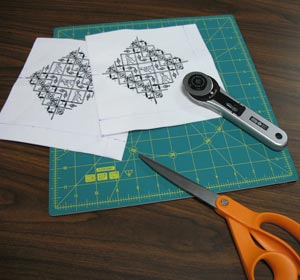
Create paper templates of the designs by printing them at full size. Cut around the templates to make them manageable. Poke a hole in the center of the template and align it with the center point on the fabric. Make sure that the design fits well within the square. Leave about two inches leeway between the edge of the design and the edge of the square.
This project features a scene design in the center square with a long thin border running along the top and bottom of the center square. To center all the elements, position the templates for the borders about one inch from the top and bottom of the scene design. Align the vertical axis lines of the borders with the vertical axis lines of the scene. With an air erase pen, poke a hole in the center of the border templates and mark the center points. Mark the horizontal axis points as well.

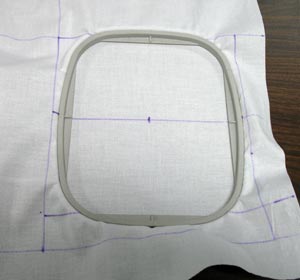
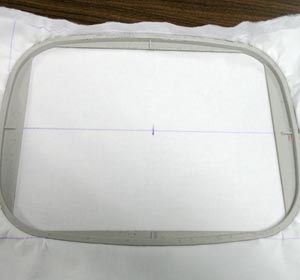
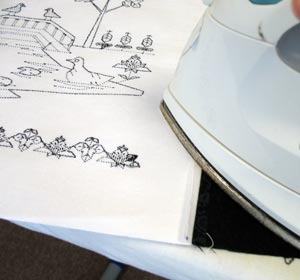
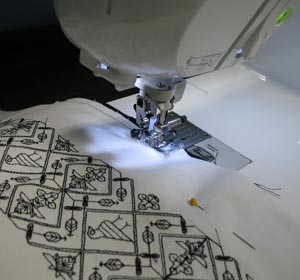
Remove the templates, and hoop the fabric with cut-away stabilizer that has been sprayed with adhesive. Hoop the fabric and stabilizer together by aligning the marks on the hoop with the lines on the fabric.

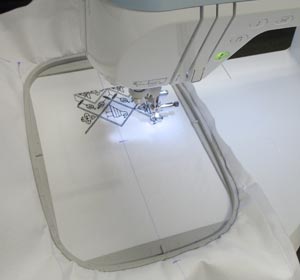
Attach the hoop to the machine, load the design, align the needle directly over the center point on the fabric, and embroider the design. Repeat the hooping, aligning, and embroidering process for the border designs.
Do the same for the four square designs.
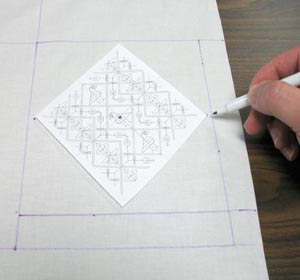
Next, prepare the fabric for the outer corners of the top side of the quilt. On the white quilterr's cotton, measure and mark four 7 1/2 x 7 1/2 inch squares. Measure and mark one inch in from the bottom and right side -- this creates an allowance for the outer binding which will be the last element added to the quilt. Print a full-size template of the design and position it at an angle with the bottom of the design facing the one- inch binding allowances.
Position the corners of the design 1/2 inch from the edge of the square. Poke a hole in the center of the template and mark the center onto the fabric. Mark the left and right corner of the design as well. Repeat the marking and design positioning process for each of the four corner squares.
Remove the template and draw a line between the corner points. Hoop the fabric with cut-away stabilizer as you did before.
Embroider the designs.

Now, prepare and embroider fabric for the outer borders of the top side of the quilt. On the white quilter's cotton, measure and mark four rectangles, 7 1/2 x 28 1/2 inches
Measure and mark the center of each rectangle (to determine the center, measure the short ends and divide by two).
Mark a center line along the entire rectangle by drawing a line connecting the two side marks.
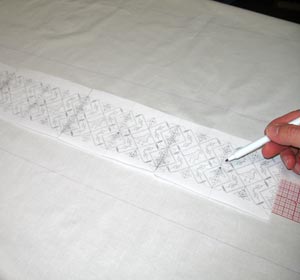
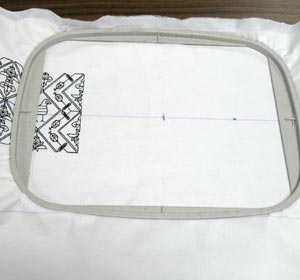
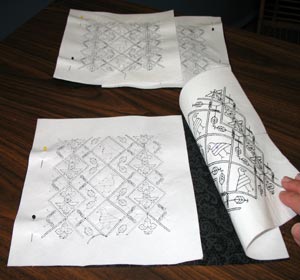
The project shown sews four of the rectangle designs across each outer border. Print four paper templates of the design, cut around them, and align them end to end with the horizontal axis lines (tape them together to make them easier to work manage).
Then, align the axis lines of the template with the centerline on the fabric. Position the ends of the template 2 1/2 inches from the ends of the outer border shape. Poke a hole in the center of each of the four designs and mark the fabric.
Hoop the fabric as you did before, starting on one end of the fabric. Align the center point on the fabric with the side center points on the hoop.
Attach the hoop, align the center point right over the center point on the fabric, and embroider the design
After the first design has been embroidered, re-hoop the fabric, moving the hoop to the next center point on the fabric.
Again, align the center point on the fabric with the center marks on the side of the hoop. The hoop will overlap the first design -- this is okay, the first design will not be damaged.
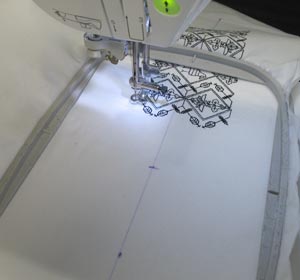
Attach the hoop, align the needle right over the center point, and embroider the design. Repeat this process for the remaining two designs on this border piece.
Repeat the process also for the other three outer border pieces.
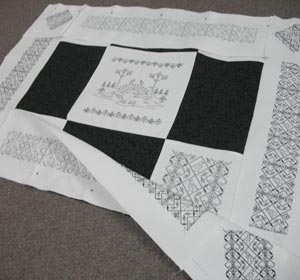
Cut out all of the shapes of the embroidered pieces. Use a rotary cutter and mat or a scissors to cut the pieces.
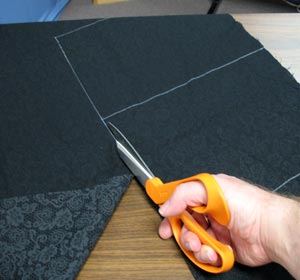
To finish the pieces for the top side of the quilt, cut four 8 1/2 x 12 1/2 inch pieces from the black calico fabric.
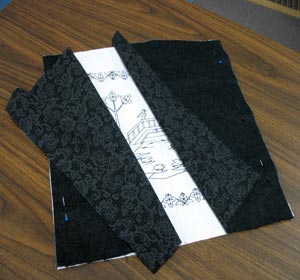
To assemble the top side of the quilt, lay the center square right side up and align two of the calico pieces, right side down, on top of the center square. Align the calico pieces on each side of the square and pin in place.
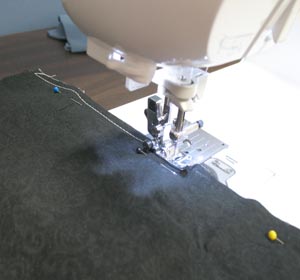
Sew a 1/4 inch seam along the pinned edges.
Press the back seams open.
Lay the remaining calico pieces right side up and align the inner corner squares, right side down, on top of the calico pieces with the design on the squares facing right side up.
Align the squares with the short sides of the calico pieces and pin in place. Sew a 1/4 inch seam along the pinned edges and press the back seams open.
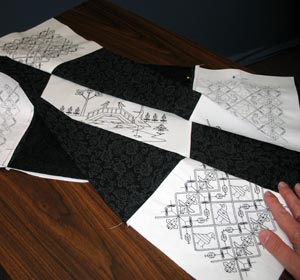
Lay the assembled center square section right side up. Align the assembled inner corner pieces, right side down, on the top and bottom of the center square section. With the center square design facing you, the top inner corner designs should face away from you and the bottom inner corner designs should face towards you. Pin the sections in place; pay close attention to aligning the seams between the pieces; and sew a 1/4 inch seam along the pinned edges. Press the back seams open.

Lay the assembled center section right side up. Align two of the outer border sections, right sides down, on top of the center section on the left and right sides. Position the outer borders with the design facing out. Pin in place and sew a 1/4 inch seam along the pinned edges. Press the back seams open.
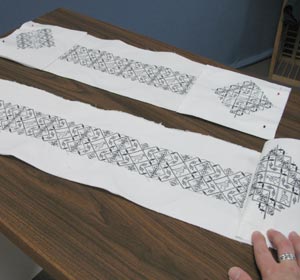
Lay the remaining two outer border pieces right side up with the designs facing towards you. Align the outer corner pieces, right side down, on top of the outer borders with the binding allowance facing out.
Pin in place and sew a 1/4 inch seam along the pinned edges. Press the back seams open.
Lay the center and side assembled section right side up and align the outer border and outer corner sections, right side down, on top. Position the outer border and corner sections with the design facing out.
Pin in place and sew a 1/4 inch seam along the pinned edges. Press the back seams flat.
The top side is now complete!

To assemble the quilt, lay the back fabric right side down. Lay the batting on top of the back fabric and align the top piece on top of the batting, right side up.
Pin in the center and along all the sides and sew a 1/2 inch seam around the entire outer edge.
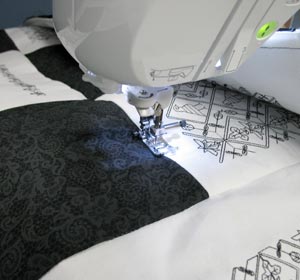
Using a nylon monofilament thread in the needle and bobbin thread that matches the back fabric, quilt through all the layers as desired.
The project piece shown was quilted along the existing seams between the pieces and around the outer edges of the design.
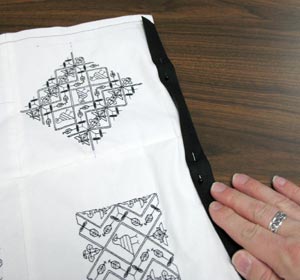
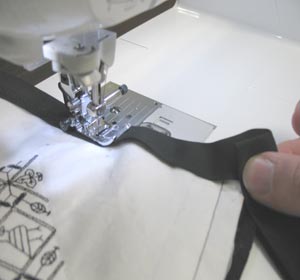
To add the binding, wrap the bias tape around the layers, starting at one of the corners. Pin in place.

Sew a seam about 1/8 inch from the inner edge of the tape.
Sew along the side to about 6 inches from the first corner. Then, fold the tape in on both sides, sew it in place and continue down the next side. Sew around the next corner and trim the tape about 3 inches from the second corner. Start a new strip of tape about an inch from the second corner and continue on to the end, finishing the last corner and covering the tape where you started.

It's a quilted masterpiece! Your friends, family, and guests will admire this stunning piece of art wherever you choose to display it in your home.


