
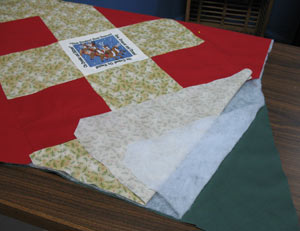
This fantastic Pillow Sham is not only zipperless, it's reversible, too!
Button-up your home decor projects with a pillow that can change from holiday to everyday in mere seconds.
Spruce up the living room, family room, or bedroom with this versatile pillow sham. Choose any design and fabric that suits your decorating style.
With no zippers to sew, this pillow is twice the fun to sew and use in your home, or to give as a gift!
The finished size for this project is 18 x 18 inches.
Supplies
Supplies needed:
** 18 x 18 inch pillow form
** 1/4 yard light-weight canvas - for small center block (Side 1)
** 1/2 yard micro suede fabric - for large center block (Side 2)
** 2 yards of solid-color quilter's cotton (1 1/2 yard green, 1/2 yard red)
** 1 1/2 yards print quilter's cotton (1 yard holly print, 1/2 yard poinsettia print)
** 32 x 32 inch piece of batting
** Medium weight, cut-away stabilizer
** Air-erase pen
** Temporary spray adhesive
** Large piece of tag board
** Buttons
** Needle and thread for hand sewing
Designs Used:
** Reindeer Stipple - Medium also available in Small and Large and X-Large
** The Night Before Christmas Block 11- Medium also available in Small, Large, and X-Large
** The Night Before Christmas Block 28 - X-Large also available in Small, Medium, and Large
Designs Used


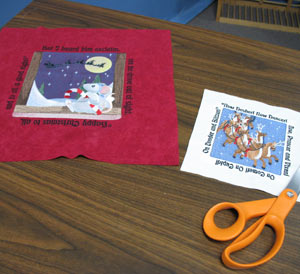
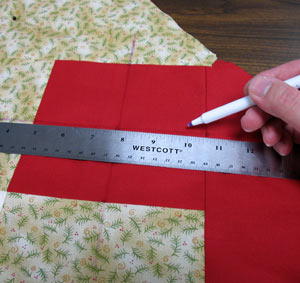
Side 1, Center Block
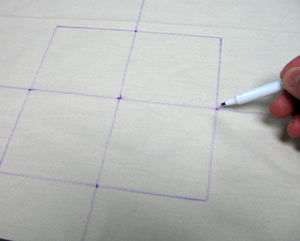
Measure and mark a 6 1/2 by 6 1/2 inch square on the light-weight canvas. Mark the center of the square by measuring each side of the square and dividing by two. Draw lines through by connecting the marks as shown.
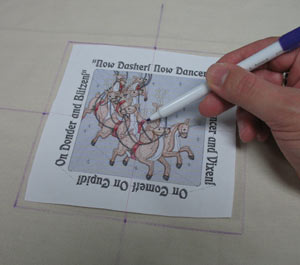
Using embroidery software, create a paper template of the design by printing it at full size. Cut around the template to make it a manageable size. Poke a hole in the center of the template and center it within the square.
Make sure the design fits well within the square. There should be at least one inch of space between the design and the edges of the square.
Spray the stabilizer with temporary adhesive and smooth the fabric over the stabilizer.
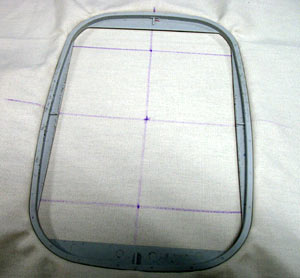
Hoop the fabric and stabilizer together by aligning the marks on the hoop with the lines on the fabric.
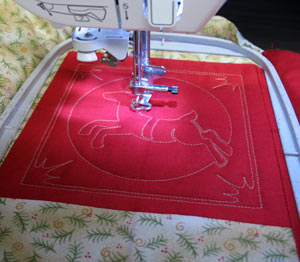
Attach the hoop to the machine, load the design, align the needle directly over the center point on the fabric, and embroider the design.
Side 2, Center Block
Mark a 12 1/2 x 12 1/2 square onto the center block fabric.
Repeat the same process for the other center block; print the template at full size, draw the lines, hoop the fabric. Then, attach the hoop to the machine, load the design, align the needle directly over the center point on the fabric, and embroider the design.
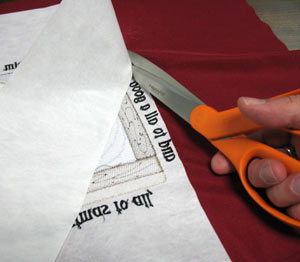
Once the designs have been embroidered, carefully trim away the excess stabilizer.
Cut the square shapes for both center panels.
Side 1, Front Panel
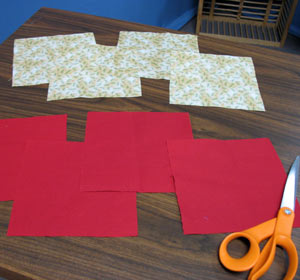
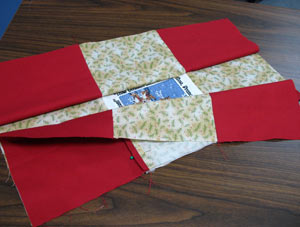
Cut four 6 1/2 x 6 1/2 inch squares for the solid-colored quilter's cotton and four 6 1/2 x 6 1/2 inch squares from the print quilter's cotton.
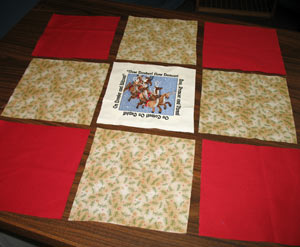
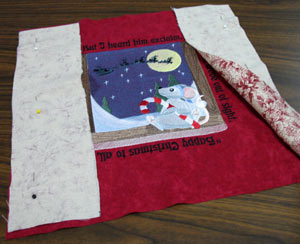
Lay out the pieces with the solid and print squares around the embroidered block as shown.
Align the side squares, right sides together, with the center squares and pin along the inner edges.
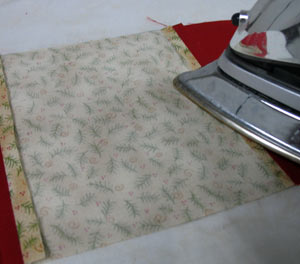
Sew a 1/4 inch seam along the pinned edges and then press the seams open on the backside of the fabric.
Align the top and bottom row, right sides together, with the center row and pin along the inner edges. Sew a 1/4 inch seam along the pinned edge and press the seams open.
Side 1, Folding Flaps
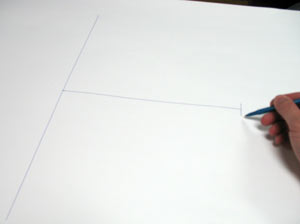
Create a pattern for the flaps using the tag board.
Draw an 18 inch vertical line using a straight edge. Mark the center point of the line. Draw an 11 inch horizontal line out from the center point. Add a 2 inch vertical line centered at the end of the 11 inch horizontal line.
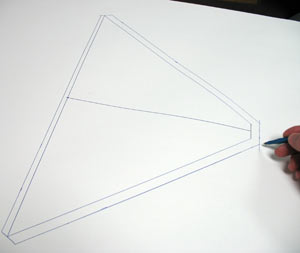
Draw lines connecting the 18 inch line and the 2 inch line. Measure and mark 1/4 inch on the outside of the 18 inch line and 1/2 inch on the outside of the remaining lines. Draw lines connecting these marks. (These lines represent the seam allowances.)
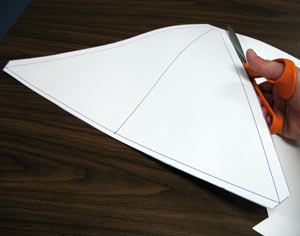
Cut out the shape along the outer lines.
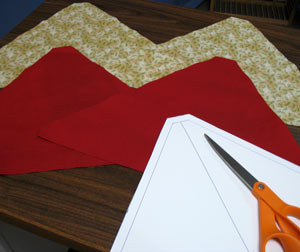
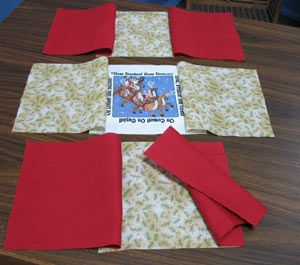
Trace and cut out four of the pattern shapes on the quilter's cotton. We chose two pieces of the print and two pieces from the solid fabrics.
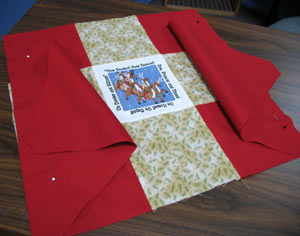
Lay the Side 1 piece right side up and align two opposite flap pieces, right sides together, with the pieced blocks. Pin in place and sew a 1/4 inch seam along the pinned edges.
Pin the second two flaps in place and sew with a 1/4 inch seam.
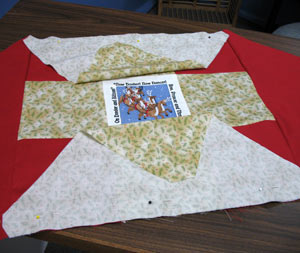
Press the seams flat on the back side of the fabric.
Lay the fabric on top of the backing. Cut the backing to the shape of the fabric.
Lay the fabric on top of the quilter's cotton and cut out the shape. Layer the fabric and batting with the quilter's cotton on the bottom, batting in the middle, and the assembled side on top, right side up. Pin the layers in place.
Side 1, Front Panel Stipple
Lay the pinned layers of Side 1 right side up. Mark the center of the solid squares by measuring each side and dividing by two. Draw lines connecting the marks.

Using embroidery software, create a paper template of the design by printing it at full size. Cut around the template to make it a manageable size. Poke a hole in the center of the template and center it within the square.
Make sure there is at least one inch of space between the design and the edges of the square.

Hoop the three layers together by aligning the marks on the hoop with the lines on the fabric.
Attach the hoop to the machine, load the design, align the needle directly over the center point on the fabric, and embroider the design.
Repeat this process for all four squares.
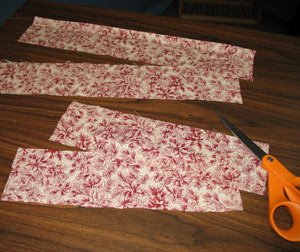
Side 2, Front Panel
Cut the printed quilter's cotton to 18 1/2 x 3 1/2 inch pieces and two 12 1/2 x 3 1/2 inches.
Lay the embroidered fabric right side up. Align the short pieces, right sides together, with the left and right sides of the block. Pin in place and sew a 1/4 inch seam along the pinned edges.
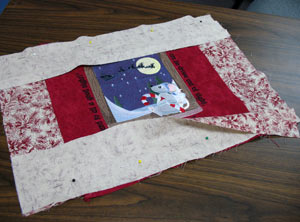
Align the long pieces with the top and bottom of the center block, right sides together. Pin and sew a 1/4 inch seam along the pinned edges.
Side 2, Folding Flaps
Trace and cut four more pieces of quilter's cotton using the tag board flap pattern. Pin and sew the pieces to the Side 2 assembled block as you did with the first side.
Assemble Sides 1 and 2
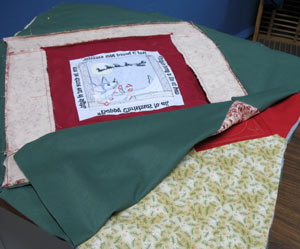
Lay Side 1 of the pillow sham right side up. Align Side 2, right side down, on top of Side 1. Sew a 1/2 inch seam along the pinned edge, leaving one flap open for turning.

Turn the sham right side out and press the seams. Turn in the edges on the open flap 1/2 inch, press in place, and pin in place. Top stitch the around the entire edge of the sham with a 1/4 inch seam.
Button Closures
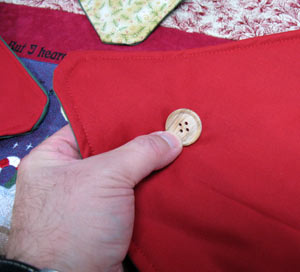
Lay the sham with Side 2 right side up. Sew a button on the on bottom side of the right flap 3 1/2 inches from the tip of the flap.
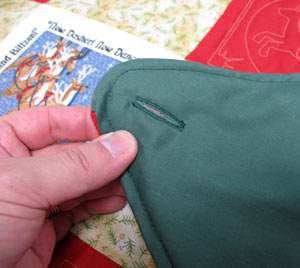
Add a button hole 3/4 inch from the tip of the left flap.
Flip the sham over so that Side 1 is right side up. Add a button to the bottom of the side bottom flap 3 1/2 inches from the tip.
Add a button hole 3/4 inch from the tip of the top flap.
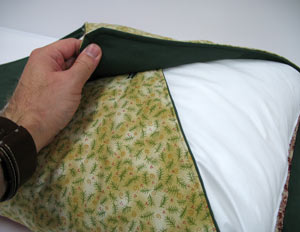
Lay the fabric flat and lay the pillow form over the pillow sham. Align the pillow with the center square, and fold the flaps to meet in the center and button in place.
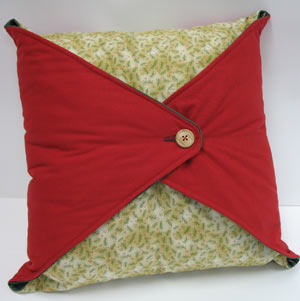
Fold the other flaps in and button in place.
You can also add tassels to the corners for a little extra flair. The tassels will be seen either way the pillow is buttoned!

This reversible and zipperless pillow makes it possible to change your decor from season-to-season or minute-to-minute!


